by
by 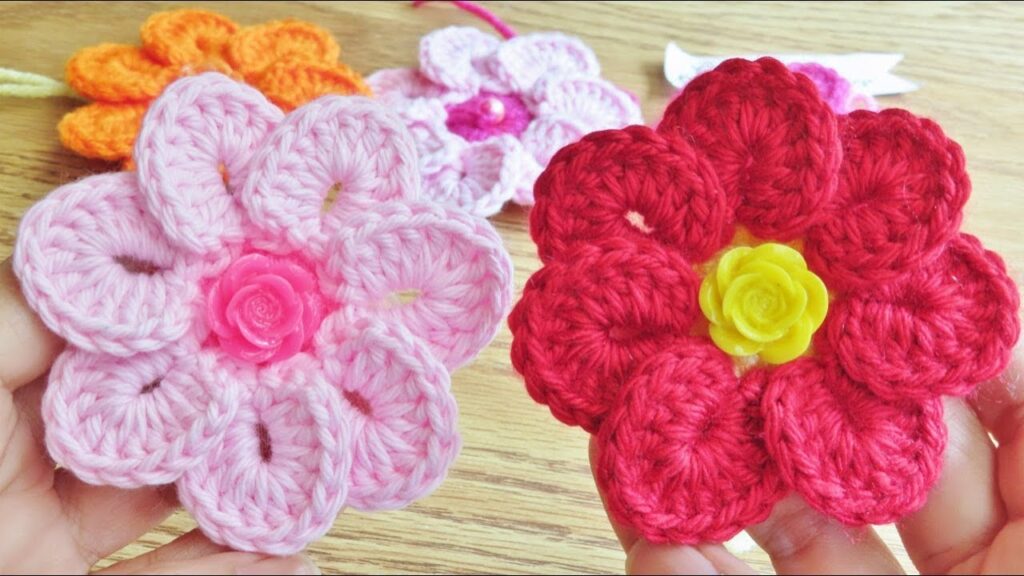
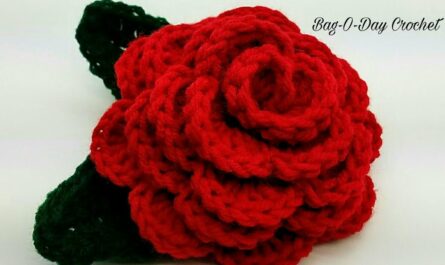
Crochet flowers are timeless embellishments, adding a touch of whimsy and color to everything from hats and scarves to home decor and gifts. Whether you’re a seasoned crocheter or just starting out, this detailed guide will lead you through creating a beautiful classic crochet flower.
Materials:
- Yarn in your desired color(s) – Worsted weight yarn works well for beginners.
- Crochet hook appropriate for your yarn weight (e.g., size G/4.00mm for worsted weight).
- Yarn needle for weaving in ends.
- Scissors.
- Optional: Stitch marker (to mark the beginning of the round).
Skill Level: Beginner
Gauge: Gauge is not crucial for this project, as the flower size can be adjusted to your preference.
Let’s Get Crocheting!
1. Start with the Center:
There are two common ways to begin the center of your flower:
- Magic Ring: This method creates a seamless center without a tail. Make a magic ring and crochet single crochets (sc) or double crochets (dc) around until you have a desired base size.
- Chain and Slip Stitch: Chain a few stitches (4-6) and slip stitch into the first chain to form a ring. Crochet sc or dc around the ring as before.
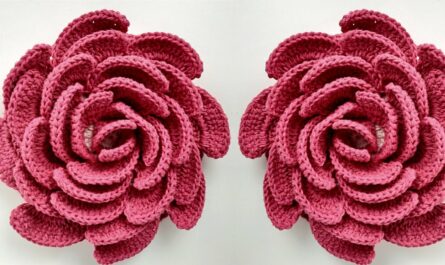
2. Create the Petals:
- Chain and Skip Stitches: Chain your desired petal length (e.g., 8-10 chains) and turn your work. Skip the first chain and sc or dc in each remaining chain. Slip stitch back to the base of the chain. This creates a simple pointed petal.
- Increase and Decrease Stitches: For a more defined petal shape, work increases at the base (e.g., 2 sc or dc in one stitch) and decreases at the tip (e.g., slip stitch two stitches together). Experiment with different stitch combinations to achieve your desired petal look.
3. Assemble the Flower:
- Join Petals to Center: With your right side facing, slip stitch the base of each petal around the center ring, positioning them evenly. You can adjust the number of petals for a fuller or sparser flower.
- Optional: Add Another Round: To create a defined center, crochet a round of sc or dc around the base of all the petals, joining them together seamlessly.
4. Finishing Touches:
- Weave in Ends: Use your yarn needle to neatly weave in any loose yarn ends.
- Shape and Block (Optional): Gently shape your flower by hand and lightly steam block it using an iron and damp cloth (if your yarn allows) for a crisp and even finish.
- Embellish (Optional): Add a touch of personality with beads, buttons, or a small crocheted leaf.
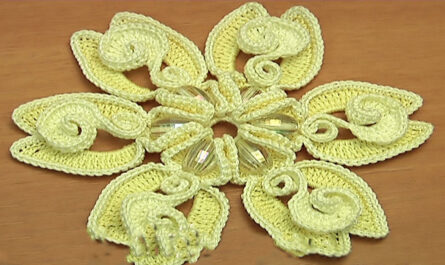
Customize Your Creation!
The beauty of crochet flowers lies in their versatility. Play around with different yarn colors, petal shapes, and center variations to create unique blooms that match your style. Here are some ideas:
- Use variegated yarn for a multi-colored effect.
- Experiment with different stitch combinations for textured petals.
- Add a contrasting color ring around the center for definition.
- Create leaves or stems to complete your floral arrangement.
With a little practice and creativity, you’ll be crocheting beautiful flowers in no time! Share your creations online and inspire others to join the blooming fun!
Additional Tips:
- Use a stitch marker to mark the beginning of each round for easier counting.
- Watch video tutorials for visual guidance, especially if you’re a beginner.
- Practice crocheting basic stitches before starting the flower.
- Don’t be afraid to experiment and personalize your design!
Happy crocheting, and may your flowers bloom with beauty!
Video tutorial