by
by It’s wonderful that you’re looking to crochet a Butterfly Shawl! This is a truly captivating design, known for its unique shape that mimics a butterfly’s wings, often featuring beautiful lace patterns or textured stitches that enhance the “wing” effect. While it might look intricate, many butterfly shawl patterns are surprisingly accessible to adventurous beginners or intermediate crocheters, as they often build upon basic stitches.
Given your location in Phnom Penh, where it’s warm, choosing the right yarn is key for a comfortable and beautiful shawl.
Ideal Yarn Choices for a Butterfly Shawl in Phnom Penh:
- Cotton or Cotton Blends: Excellent breathability and drape. Perfect for lighter, airier shawls. It holds shape well, and is durable.
- Bamboo or Bamboo Blends: Incredibly soft, silky, and has a beautiful drape. It’s also breathable and naturally cooling, making it a luxurious choice for warmer climates.
- Linen or Linen Blends: Offers a crisp drape and excellent breathability. It softens beautifully with wear and washing.
- Lightweight Acrylic or Acrylic Blends: Modern acrylics can be very soft and have good drape. They are usually budget-friendly and easy to care for (machine washable). Look for “DK” or “sport weight” acrylics.
- Yarn Weight: For a shawl that isn’t too heavy, consider Fingering (Super Fine / 1), Sport (Fine / 2), or DK (Light Worsted / 3) weight yarns. These will create a delicate, lacy fabric perfect for a shawl. Worsted weight (Medium / 4) can also work, but will result in a thicker, heavier shawl.
How to Crochet a Butterfly Shawl (Beginner-Friendly Approach)
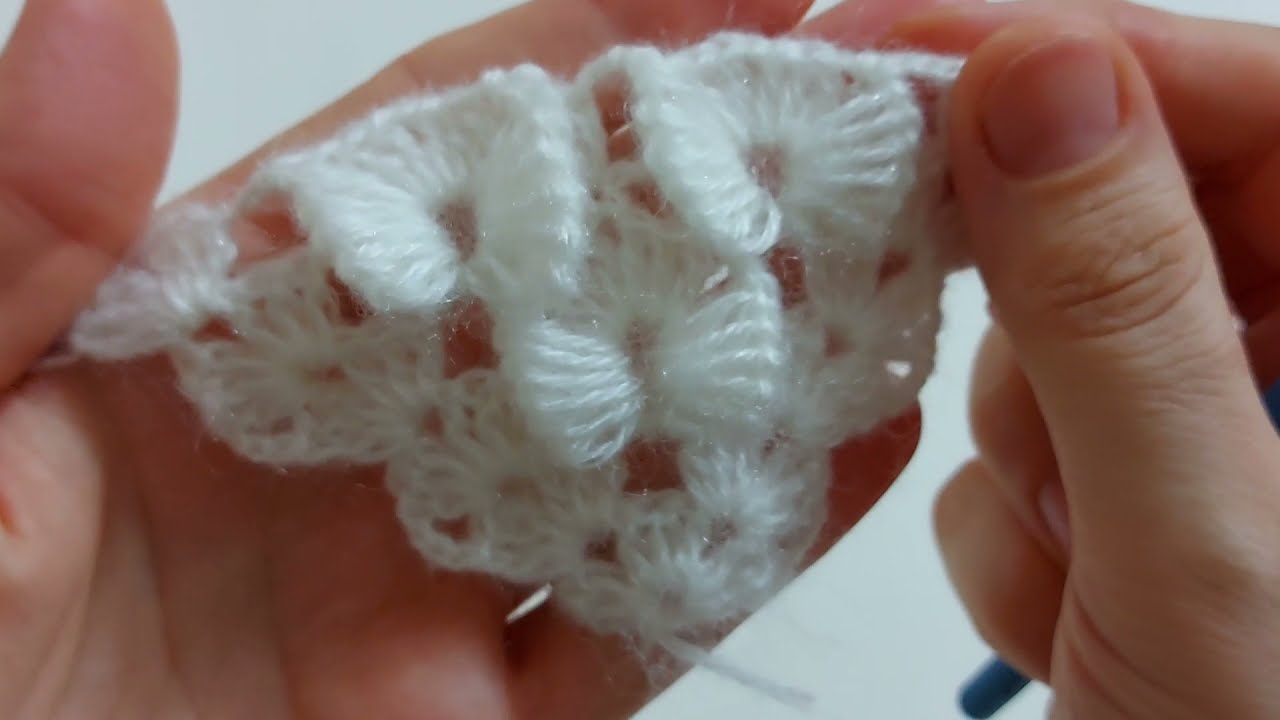
There are many variations of butterfly shawls, but most rely on a central “spine” or body from which the “wings” fan out, often with increases to create the distinctive shape. For a beginner-friendly approach, we’ll focus on a relatively simple stitch pattern and gradual shaping.
This pattern uses a combination of basic stitches and often a “V-stitch” or similar openwork pattern to create the lacy effect reminiscent of wings.
1. Essential Materials You’ll Need
- Yarn:
- Fiber: Choose from the options above (Cotton, Bamboo, Linen, lightweight Acrylic or blends).
- Weight: Sport (Fine / 2) or DK (Light Worsted / 3) is ideal for a graceful drape. If you prefer a slightly quicker project and a bit more warmth (for air-conditioned spaces), Worsted Weight (Medium / 4) can also work, but choose a soft variety.
- Color(s): Shawls look stunning in solid colors that highlight the stitch pattern, or in variegated/gradient yarns that create a beautiful color transition. You could also use a main color and an accent color for a border.
- Quantity: This varies greatly by yarn weight and desired shawl size. For a medium-sized shawl (approx. 50-60 inches wingspan), expect:
- Fingering/Sport weight: 600-1000 yards (550-900 meters)
- DK weight: 500-800 yards (450-730 meters)
- Worsted weight: 400-600 yards (360-550 meters)
- Crochet Hook:
- For Fingering/Sport weight: 3.5mm (US E/4) or 4.0mm (US G/6)
- For DK weight: 4.0mm (US G/6) or 4.5mm (US 7)
- For Worsted weight: 5.0mm (US H/8) or 5.5mm (US I/9)
- Always check your yarn label for the recommended hook size, and feel free to go up half a size to achieve a softer drape, which is desirable for a shawl.
- Scissors: For cutting yarn.
- Yarn Needle (Tapestry Needle): Essential for weaving in ends.
- Optional: Stitch markers (very helpful for marking the center stitch/space and beginning of rows), blocking mats and rust-proof pins (highly recommended for shaping and opening up lace patterns).

2. Basic Crochet Stitches You’ll Use
This pattern will typically involve:
- Chain (ch): To begin your work, create turning chains, and form chain spaces within the lace pattern.
- Slip Stitch (sl st): For joining and neatening.
- Single Crochet (sc): Used for stability or a tighter edge.
- Double Crochet (dc): A primary stitch for forming the body of the shawl and components of the V-stitch.
- V-stitch (V-st): Often used to create an open, lacy effect. (Work [1 dc, ch 1, 1 dc] into the same stitch or space).
The Butterfly Shawl Pattern (Simple V-Stitch & DC Construction)
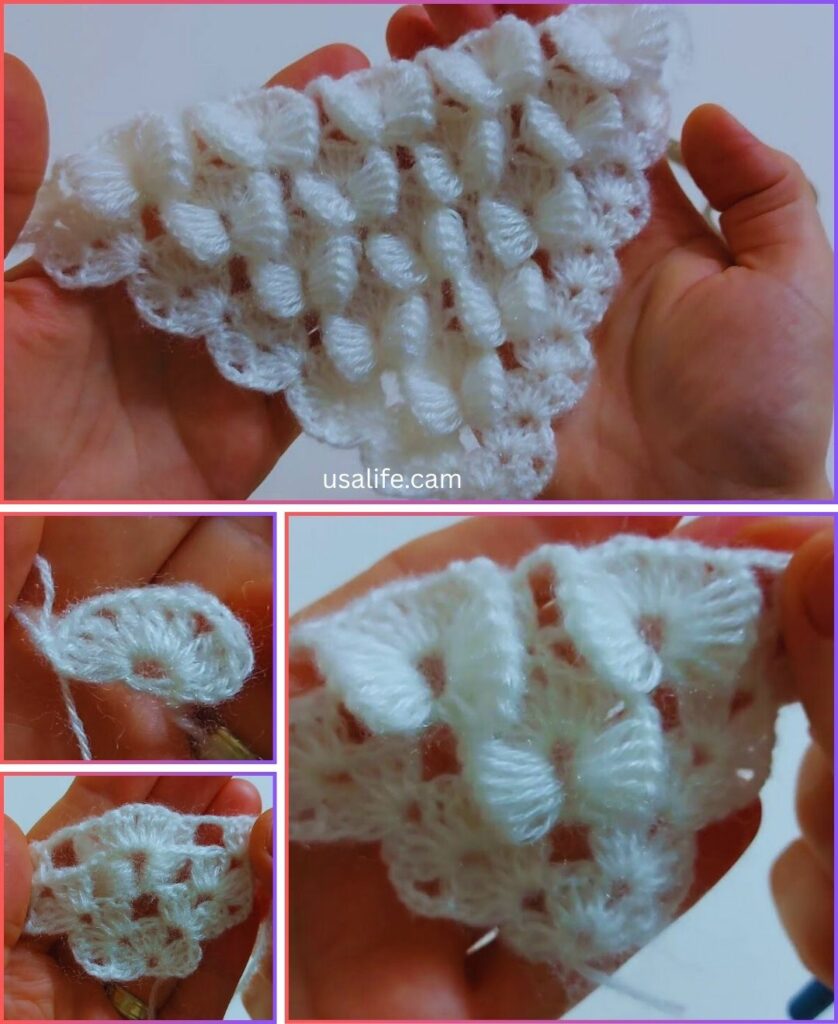
This pattern typically starts with a central chain or small motif, and then you increase stitches on either side of a central spine stitch or chain space to create the widening “wings.”
Abbreviations (US Crochet Terms):
- ch: chain
- sl st: slip stitch
- sc: single crochet
- dc: double crochet
- V-st: V-stitch (1 dc, ch 1, 1 dc in indicated stitch/space)
- st(s): stitch(es)
- sp: space
- *: repeat instructions between asterisks

Understanding the Shawl Construction:
This is a top-down, triangular shawl, but with specific increases that create the butterfly shape. You’ll typically increase at the center and at both ends of each row.
Let’s begin (Using your chosen yarn and hook):
- Starting Chain: Ch 4.
- Row 1: Work (1 dc, ch 2, 1 dc) into the 4th chain from your hook. (This forms your first “V” and central space). (2 dc, 1 ch-2 sp)
- Ch 3 (counts as first dc of next row), turn your work.
- Place a stitch marker in the ch-2 space if you find it helpful for identifying the center.
- Row 2: Work 1 dc into the first dc of the previous row.
- Work (1 dc, ch 2, 1 dc) into the center ch-2 space. (This is your center increase).
- Work 2 dc into the top of the turning ch-3 from the previous row. (6 dc, 1 ch-2 sp)
- Ch 3 (counts as first dc), turn your work.
- Row 3: Work 1 dc into the first dc of the previous row.
- Work 1 dc in ea dc until you reach the center ch-2 space.
- Work (1 dc, ch 2, 1 dc) into the center ch-2 space.
- Work 1 dc in ea dc until the last stitch.
- Work 2 dc into the top of the turning ch-3 from the previous row. (10 dc, 1 ch-2 sp)
- Ch 3 (counts as first dc), turn your work.
Understanding the Pattern for the Main Body:
You will continue to repeat the general structure of Row 3, which is:
- Start of row increase (2 dc in first st)
- Work dc stitches across to center
- Center increase ([1 dc, ch 2, 1 dc] in ch-2 sp)
- Work dc stitches across to end
- End of row increase (2 dc in last st/turning chain)
Introducing the V-Stitch for a Lacy Effect:
After a few rows of solid double crochet (e.g., 3-5 rows to establish the center), you can start incorporating V-stitches to create a more open, lacy wing pattern.
Let’s assume you’ve completed 3 rows as above, and you have 10 dc stitches and a ch-2 space.
Row 4 (Transition to V-Stitch – Example):
- Ch 3 (counts as 1 dc), turn.
- Work 1 dc into the first dc (initial increase).
- * Sk 1 st, work 1 V-st (1 dc, ch 1, 1 dc) into the next st.* Repeat across until you are near the center ch-2 space.
- Work 1 V-st or (1 dc, ch 2, 1 dc) into the center ch-2 space (adjust based on pattern). Let’s use
(1 dc, ch 2, 1 dc)for consistent center shaping. - Continue with * Sk 1 st, work 1 V-st into the next st.* Repeat until the last 2 stitches.
- Work 1 dc into the second to last st.
- Work 2 dc into the top of the turning ch-3.
- Ch 3, turn.
Row 5 (Working into V-Stitches):
- Work 1 dc into the first dc.
- Work 1 V-st into the ch-1 space of each V-st from the previous row, until you reach the center ch-2 space.
- Work (1 dc, ch 2, 1 dc) into the center ch-2 space.
- Continue working 1 V-st into the ch-1 space of each V-st from the previous row, until the last 2 stitches.
- Work 1 dc into the second to last st.
- Work 2 dc into the top of the turning ch-3.
- Ch 3, turn.
Continue repeating Row 5 (or variations where you might add an extra dc at the start/end of the row, or change stitch counts for the V-sts) until your shawl reaches your desired size. The number of V-stitches on each side of the center will increase with each row.
General Guidelines for Increasing:
- Side Edges: Always add an increase at the very beginning and very end of each row. For dc rows, this is typically 2 dc in the first/last stitch. For V-stitch rows, it might be 1 dc followed by V-sts, and then 1 dc and 2 dc in the last st.
- Center Spine: Always work an increase (often [1 dc, ch 2, 1 dc] or [1 V-st] with a ch 2) into the center chain space. This is what creates the main triangle.
- “Butterfly” Shape: The key to the butterfly shape is that the side edges are usually straight or slightly curved, and the main shaping comes from the strong center increase. Some patterns might have additional increases along the sides for a more pronounced “wing” curvature.

Finishing Your Butterfly Shawl
- Fasten Off: Once your shawl reaches the desired size, cut your yarn, leaving a tail of about 6-8 inches (15-20 cm). Pull the tail completely through the loop on your hook and pull tight to secure the last stitch.
- Weave in All Ends: This is absolutely crucial for a polished, professional-looking shawl. Use your yarn needle to carefully weave in every single yarn tail. Take your time, making sure they are securely hidden within the stitches and won’t unravel with wear.
- Blocking (Highly Recommended): Blocking is a game-changer for lace shawls, especially butterfly designs. It opens up your lace patterns, evens out your stitches, and makes the shawl lie flat and drape beautifully.
- Wet Blocking: Gently wet your entire shawl (you can spray it or lightly immerse it in cool water with a little wool wash if applicable).
- Carefully squeeze out excess water (do not wring or twist!).
- Lay the shawl flat on a clean towel or a foam blocking mat. Gently stretch and shape it into the desired butterfly outline. Use rust-proof pins to secure the edges and points of the “wings” to your blocking surface. Try to open up all the lace holes.
- Allow the shawl to air dry completely. This can take several hours or even overnight.
Tips for Making a Beautiful Butterfly Shawl
- Read the Pattern Carefully: Different butterfly shawl patterns have unique constructions. Always read the entire pattern before you begin to understand the flow and specific increase points. Many patterns will provide stitch counts at the end of each row, which is incredibly helpful.
- Stitch Markers are Your Friend: Use a stitch marker to clearly mark the central chain-space or stitch in each row. This prevents you from losing your place and ensures your increases are centered.
- Gauge Swatch (Optional but Recommended): While not as critical for a shawl as for fitted garments, making a small gauge swatch can help you determine if your chosen hook size gives you the drape and stitch definition you desire for your yarn.
- Relax Your Tension: For a flowy, comfortable shawl, try to maintain a relaxed tension. A tight tension can make the fabric stiff and less drapes-y.
- Experiment with Yarn: Don’t be afraid to try different fiber types and weights. A silk blend or a shiny bamboo could give your shawl an ethereal, delicate look that perfectly suits the “butterfly” theme.
- Embellishments (Optional): Once finished, you could add small beads along the edges or at points in the lace for extra sparkle.
Crocheting a butterfly shawl is a rewarding experience, resulting in a stunning and unique accessory. Take your time, enjoy the process, and soon you’ll have a beautiful wearable piece of art!