 by
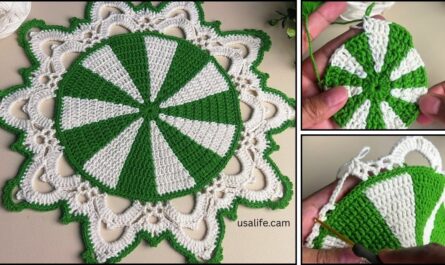
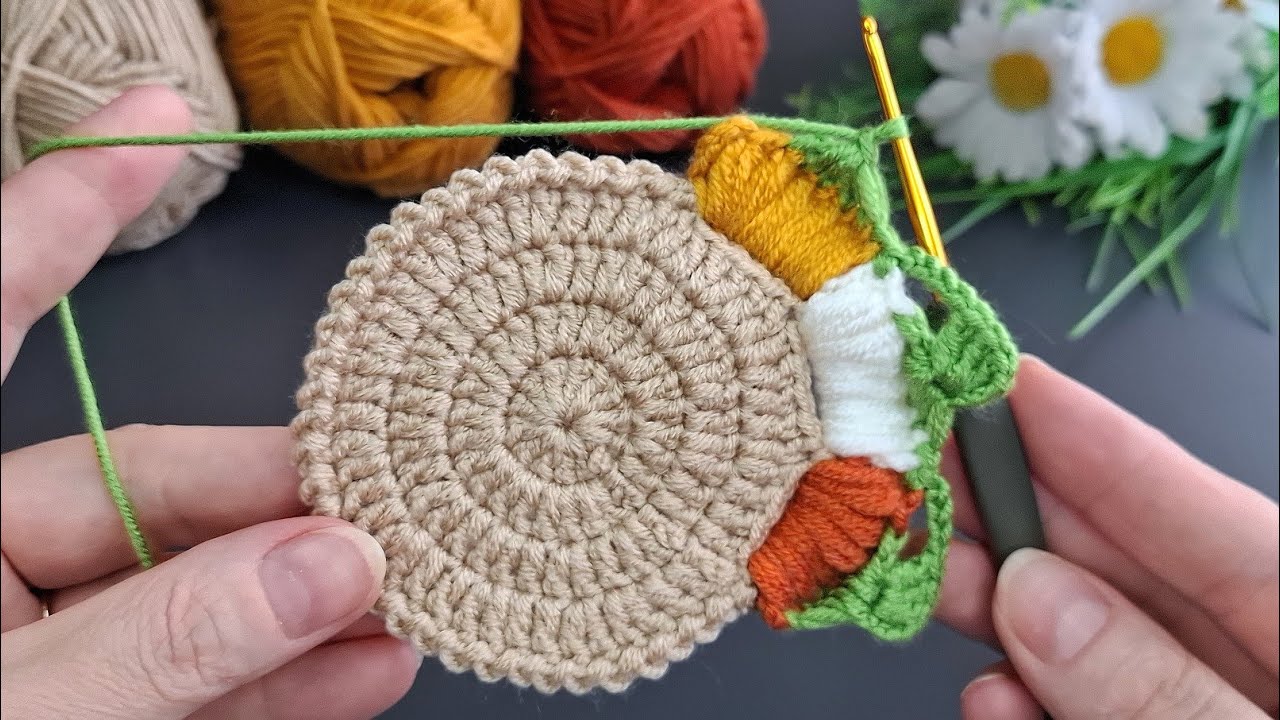
by That’s a fantastic idea! Combining a simple coaster with a lovely 3D flower adds a beautiful, decorative touch. We’ll make the coaster base wonderfully easy, and then create a simple, yet effective, 3D flower to attach to it.
For this project, you’ll want to use 100% cotton yarn for both the coaster and the flower, as it’s durable, absorbent, and holds its shape well, especially for the flower petals.

How to Make a Wonderfully Easy Crochet Coaster with a 3D Flower
This guide will break it down into two main parts: the flat coaster base and the simple 3D flower, followed by how to assemble them.
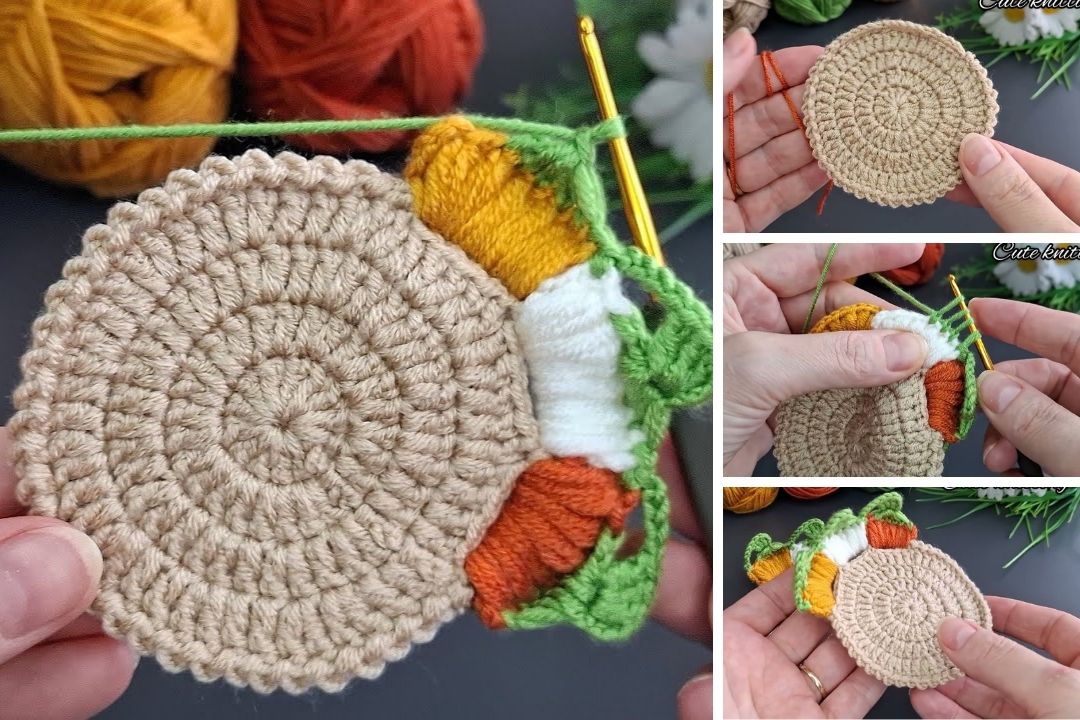
Part 1: The Wonderfully Easy Coaster Base
This is the standard round coaster pattern, easy to make and perfect as a foundation.
Materials for Coaster Base:
- Yarn: 100% Worsted Weight Cotton Yarn (any color for your coaster)
- Crochet Hook: 4.5mm (US G/7) or 5.0mm (US H/8) (to create a dense fabric)
- Scissors
- Yarn Needle (Tapestry Needle)
Abbreviations:
- ch: chain
- sc: single crochet
- sl st: slip stitch
- MR: magic ring (or use chain method below)

Instructions for Coaster Base:
Starting Your Coaster (Choose ONE method):
- Method 1: Magic Ring (Recommended for a Tighter Center)
- Create a Magic Ring (MR).
- Ch 1 (does NOT count as a stitch).
- Work 8 sc into the Magic Ring.
- Gently pull the yarn tail to close the center hole tightly.
- Join with a sl st to the top of the first sc. (8 sc)
- Method 2: Chain Method (Easier for Beginners)
- Ch 2.
- Work 8 sc into the second chain from your hook.
- Join with a sl st to the top of the first sc. (8 sc)
Building the Coaster (Increasing Rounds to Keep it Flat):
- Round 1:
- Ch 1 (does not count as a stitch).
- Work 2 sc in each st around.
- Join with a sl st to the top of the first sc. (16 sc)
- Round 2:
- Ch 1 (does not count as a stitch).
- *1 sc in the next st, 2 sc in the following st*. Repeat from * to * around.
- Join with a sl st to the top of the first sc. (24 sc)
- Round 3:
- Ch 1 (does not count as a stitch).
- *1 sc in each of the next 2 sts, 2 sc in the following st*. Repeat from * to * around.
- Join with a sl st to the top of the first sc. (32 sc)
- Round 4:
- Ch 1 (does not count as a stitch).
- *1 sc in each of the next 3 sts, 2 sc in the following st*. Repeat from * to * around.
- Join with a sl st to the top of the first sc. (40 sc)
Continue this pattern (increasing the number of single crochets between the increase stitches by one in each subsequent round) until your coaster base is about 4-5 inches (10-12 cm) in diameter.
- Fasten off and weave in all ends securely.

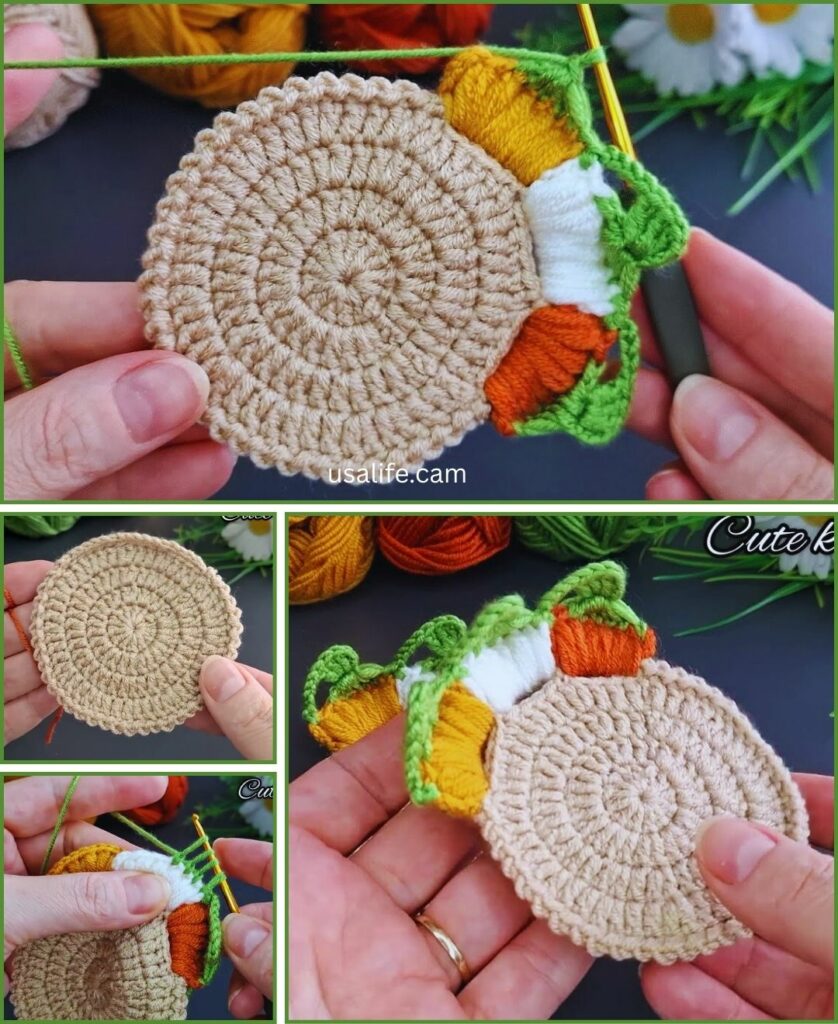
Part 2: The Wonderfully Easy 3D Flower
This flower uses simple stitches and layering to create a beautiful raised effect. We’ll make two layers for a fuller flower.
Materials for 3D Flower:
- Yarn: 100% Worsted Weight Cotton Yarn (a different color for your petals, and optionally a small amount for the center).
- Crochet Hook: Same hook size as your coaster (4.5mm or 5.0mm).
- Scissors
- Yarn Needle (Tapestry Needle)
Abbreviations (New ones):
- dc: double crochet
- tr: treble crochet (also called triple crochet in US terms)
- htr: half treble crochet (or half triple crochet) (A stitch between dc and tr: YO twice, insert hook, YO pull through 1, YO pull through 2, YO pull through 2) – Correction: A simpler 3D flower might avoid htr or tr for “wonderfully easy.” Let’s stick to dc or use a simple shell for petals.
Revised 3D Flower Pattern (Simpler “Puff” Petals):
This method uses a simple shell stitch or puff stitch variation to create easily defined petals.
Flower Center / Base (Common for both layers):
- Create a Magic Ring (MR).
- Ch 1 (does NOT count as a stitch).
- Work 8 sc into the Magic Ring.
- Pull ring tight. Join with a sl st to the first sc. (8 sc)

Flower Layer 1 (Back Layer – Larger Petals):
This layer will sit behind the second layer, giving the flower depth.
- Ch 2 (does NOT count as a stitch).
- Work (2 dc, ch 1, 2 dc) all into the same first stitch you joined into. (This creates your first “petal”).
- Sl st into the next stitch.
- *Into the next stitch, work (2 dc, ch 1, 2 dc). Sl st into the next stitch.* Repeat from * to * 3 more times. (You will have created 4 petals by skipping stitches in between and ending with a sl st into the last stitch). Self-correction: If we use 8 sc as base, and want 5-6 petals, we should skip 1 st or 0 st based on petal size. Let’s aim for 4 petals for simplicity, meaning we skip 1 st after each petal cluster.
Revised Layer 1 Petals (Simpler, More Petals):
- From the center base (8 sc), Ch 2 (does NOT count as stitch).
- *In the same stitch where you just joined, work (3 dc). Sl st into the next stitch.* Repeat from * to * 7 more times. (You will have 8 “petals” made of 3 dc clusters. This creates a dense, slightly ruffled first layer.)
- Fasten off, leaving a long tail for sewing. Weave in the starting tail of the flower base.
Flower Layer 2 (Front Layer – Smaller Petals):
This layer will sit on top of the first. You can use the same color or a contrasting one.
- Create a Magic Ring (MR).
- Ch 1 (does NOT count as a stitch).
- Work 6 sc into the Magic Ring.
- Pull ring tight. Join with a sl st to the first sc. (6 sc)
- Ch 2 (does NOT count as stitch).
- *In the same stitch where you just joined, work (3 dc). Sl st into the next stitch.* Repeat from * to * 5 more times. (You will have 6 “petals” made of 3 dc clusters.)
- Fasten off, leaving a long tail for sewing. Weave in the starting tail of this layer’s base.
Part 3: Assembly & Finishing
- Stack the Layers: Place the smaller 6-petal flower (Layer 2) directly on top of the center of the larger 8-petal flower (Layer 1). Align them nicely.
- Sew Layers Together: Use the long tail from Layer 2 and your yarn needle. Stitch through the center of both flower layers to secure them together. You can make a few stitches crisscrossing the center.
- Attach Flower to Coaster:
- Place the assembled 3D flower in the center of your crocheted coaster base.
- Using the same long tail from Layer 2 (or a new piece of yarn if needed), stitch through the center of the flower and then down through the coaster base. Make sure your stitches go through both flower layers and the coaster.
- Make several stitches in a circle around the very center of the flower, going through all layers, to secure it firmly to the coaster. This also creates a slight “dimple” in the center, enhancing the 3D effect.
- You can also add a decorative bead or a French knot in the very center if you like, sewing it down as you attach the flower.
- Weave in All Ends: Securely weave in all remaining yarn tails from both the flower and the coaster, making sure they won’t unravel or show through.
- Blocking (Optional, but Recommended for Coaster): Wet the entire coaster (with the flower attached), gently shape it flat, and let it air dry. This will help the coaster base lay perfectly flat and set the shape of the flower.
Tips for a “Wonderfully Easy” 3D Flower Coaster:
- Contrasting Colors: Using a different color for the flower (or each layer of the flower) makes the 3D effect really pop!
- Simple is Best: Don’t try complex stitches for your first 3D flower. The 3 dc cluster (shell stitch) is effective and easy.
- Practice Petals: If you’re unsure, try crocheting one petal cluster on its own to get the feel of it.
- Secure Sewing: Take your time with the sewing step. A securely attached flower will last longer and look better.
- No Turning Chains for Petals: Notice the petals don’t use turning chains – you work directly into the stitches or chain spaces to create the cluster.
You’ve now created a beautiful and practical coaster with a delightful 3D flower embellishment! Enjoy your charming new coaster!