 by
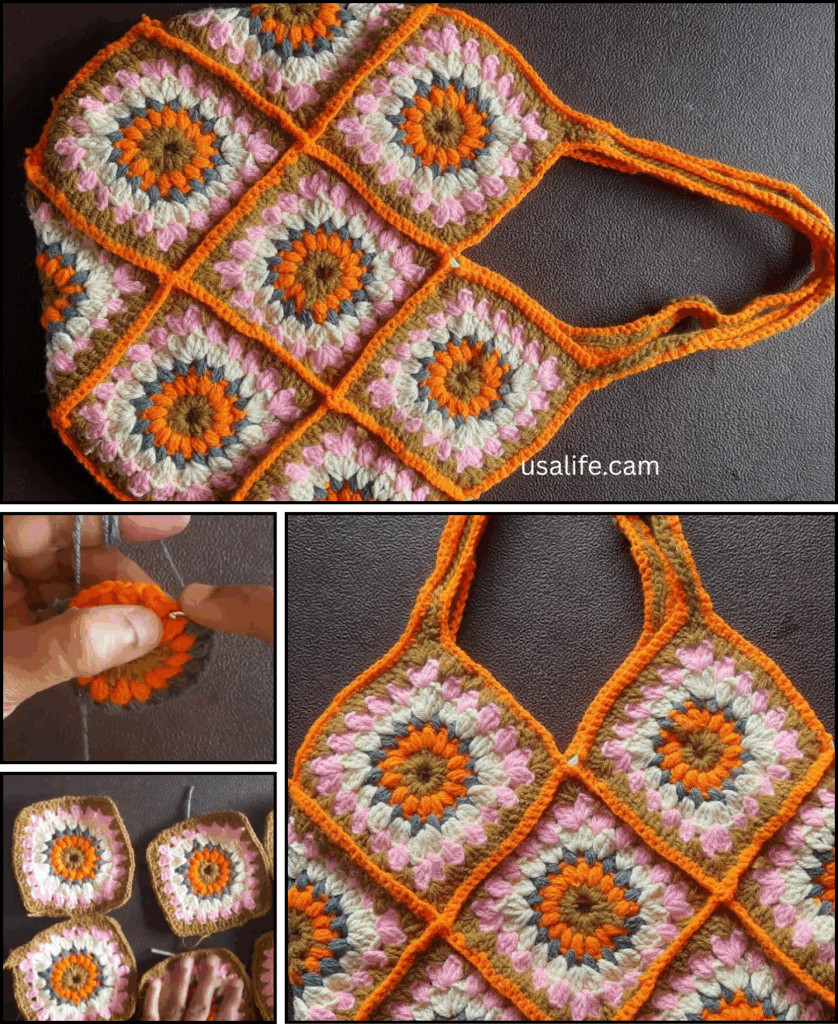
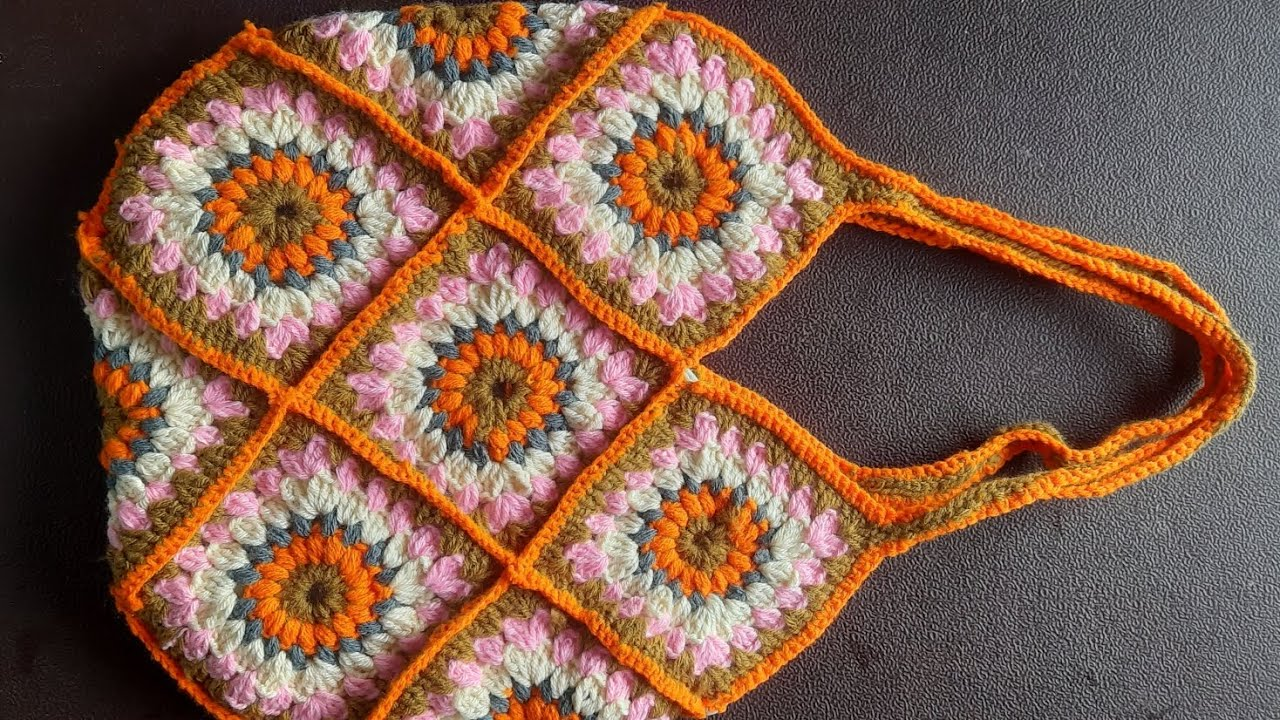
by Crocheting a granny square handbag is a fun and customizable project. Here’s a step-by-step guide to making a basic granny square handbag:
🧶 What You’ll Need:
- Yarn (choose cotton or acrylic for durability)
- Crochet hook (check yarn label for recommended size)
- Yarn needle
- Scissors
- Optional: Fabric for lining, magnetic snap/button
🧵 Step-by-Step Instructions
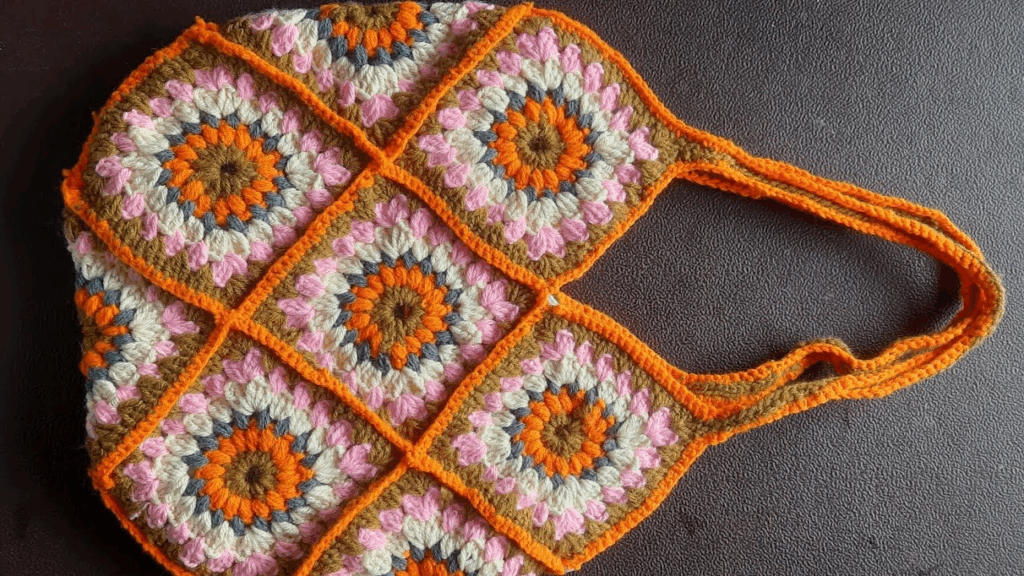
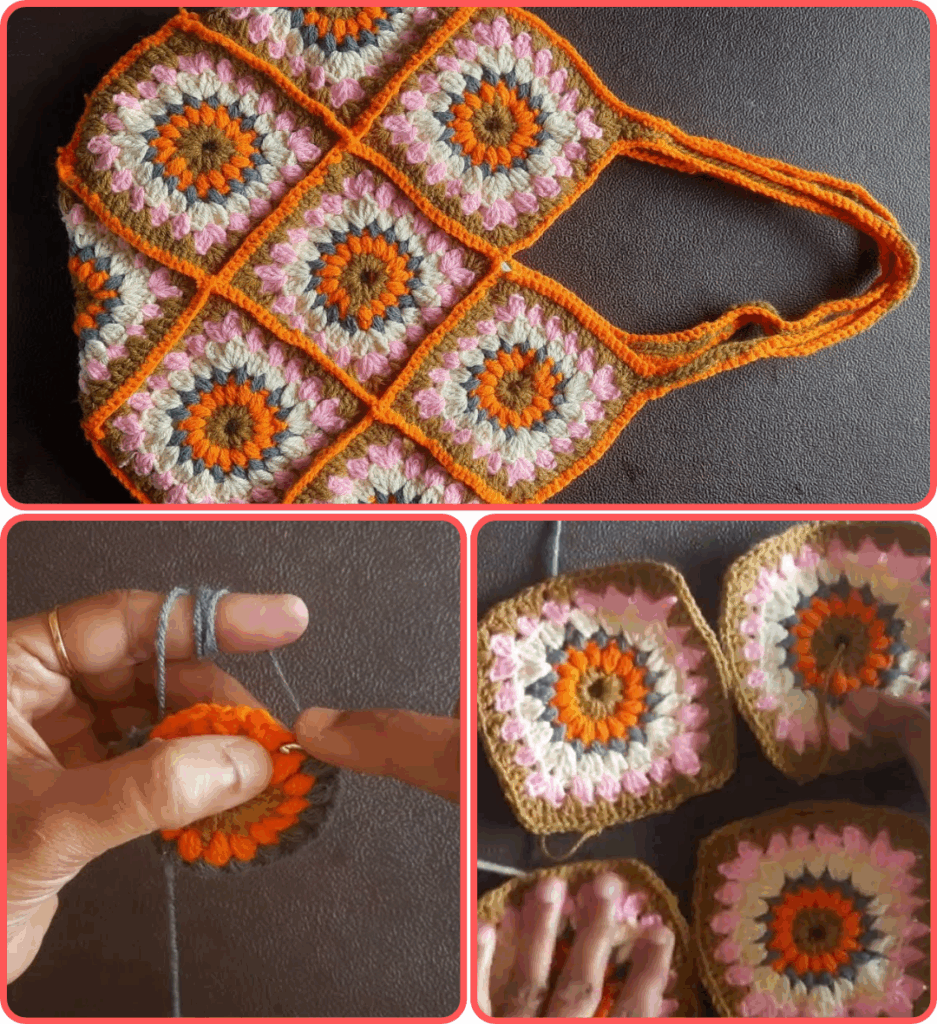
1. Make the Granny Squares
A standard handbag usually uses 6 to 13 squares depending on your design.
Basic Granny Square Pattern:

- Start with a magic ring or ch 4 and join to form a ring.
- Round 1: Ch 3 (counts as dc), 2 dc into ring, ch 2, (3 dc, ch 2) x 3, join with sl st.
- Round 2: Sl st to corner, ch 3, 2 dc, ch 2, 3 dc (in same corner), (3 dc, ch 1) in space, (3 dc, ch 2, 3 dc) in corner repeat around.
- Rounds 3–4: Continue expanding, adding clusters and corners.

Make the same number of squares (e.g., 13 for a cube-like bag: 5 sides + flap + base + optional inner support).
2. Block the Squares
Helps shape them evenly. Pin to a board, spray lightly with water, and let dry.

3. Join the Squares
Use either:
- Slip stitch or whip stitch with yarn needle
- Join-as-you-go method on final round
Typical layout:
mathematicaCopyEditFront | Back | Side | Side | Bottom | Flap (optional) | Inner pocket (optional)
4. Add Handles
Options:
- Crochet straps: Use sc rows until desired length
- Use store-bought leather or bamboo handles (sew or attach with D-rings)
5. Optional: Add a Lining
Cut fabric to size and sew inside the bag to keep it structured and protect items.
6. Closure (Optional)
Add a button, zipper, or magnetic snap for closure.
Would you like a specific pattern layout (e.g., 13-square cube style or tote-style)?
Video tutorial: