 by
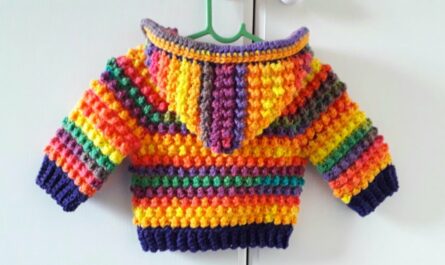
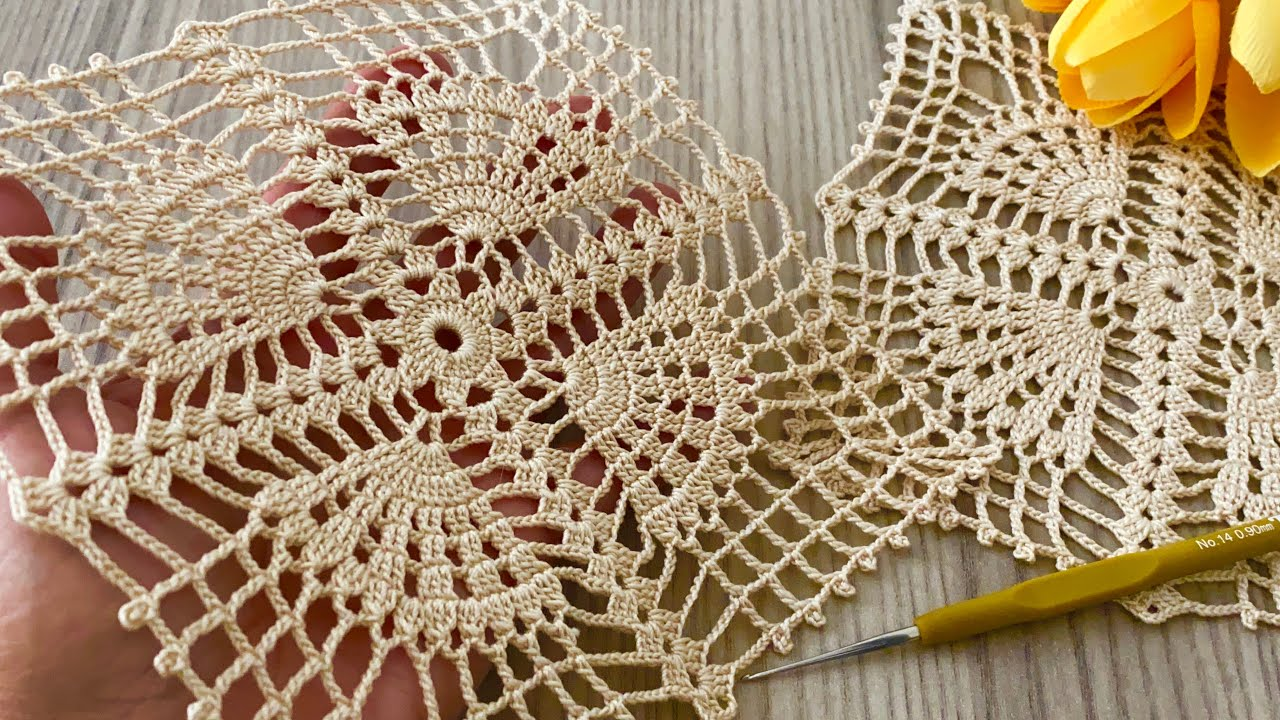
by Crocheting a square motif is the “DNA” of some of the most iconic handmade items, from vintage blankets to modern designer blouses. A square motif is essentially a circle that has been forced into four corners through strategic stitch increases.
Since you’re looking to create pieces like runners and blouses, I recommend the Solid Square Motif. It is more structural than a traditional lacy granny square, giving your clothing better “coverage” and your table runners a flatter, more professional surface.

1. The Maker’s Toolkit
To get started, especially in a warmer climate like Cambodia, choose materials that won’t make your hands sweat or the garment feel heavy.
| Item | Recommendation | Why? |
| Yarn | 100% Mercerized Cotton | High definition, breathable, and doesn’t stretch out. |
| Hook | 3.5mm or 4.0mm | Creates a tight, tidy stitch. |
| Notions | Tapestry needle & Scissors | For hiding yarn tails (weaving in). |
| Stitch Markers | At least 4 markers | To mark the corners (essential for beginners). |
2. Step-by-Step Solid Square Tutorial
This pattern uses US Crochet Terms.
Abbreviations:
- MR: Magic Ring (or Ch 4 and join with sl st to form a ring)
- CH: Chain
- DC: Double Crochet
- SL ST: Slip Stitch
Round 1: The Foundation
- Start: Create a Magic Ring.
- Set Up: CH 3 (this counts as your first DC).
- The First Side: Work 2 DC into the ring.
- The First Corner: CH 2.
- Repeat: Work 3 DC, CH 2 three more times.
- Close: Pull the magic ring tight. SL ST to the top of the initial CH 3 to join.
- Result: You have 4 clusters of 3 DC and 4 corner spaces.

Round 2: Growing the Corners
- Set Up: CH 3 (counts as first DC).
- Side Stitches: Work 1 DC in each of the next 2 stitches.
- The Corner: When you reach the CH-2 space, work (2 DC, CH 2, 2 DC) all into that space.
- Repeat: Work 1 DC in every stitch until the next corner. Work (2 DC, CH 2, 2 DC) in the corner space. Repeat around.
- Close: SL ST to the top of the initial CH 3 to join.
Round 3: Expansion
- Pattern: You will notice that each side now has more stitches. Simply work 1 DC in every stitch along the sides.
- Corners: Every time you hit a corner space, always work (2 DC, CH 2, 2 DC).
- Finish: Continue until the square is your desired size. For a blouse, a 12cm or 15cm square is common.
3. Designing for Purpose
For a Table Runner
To make a runner, you want the squares to be perfectly identical.
- Joining: Use the Whip Stitch for a flat seam so your plates and glasses don’t wobble.
- Math: If your table is 180cm long and your square is 15cm, you will need:$$\frac{180}{15} = 12 \text{ squares for one row.}$$
For a Blouse or Tunic
- Drape: Use a hook that is 0.5mm larger than recommended for the yarn. This makes the square “softer” so it hangs nicely on the body.
- Layout: A simple “Box Top” can be made by joining two large panels (e.g., a grid of 4×4 squares for the front and 4×4 for the back).
- Neckline: To create a neck hole, simply stop joining the shoulder seams about 20cm before the center.

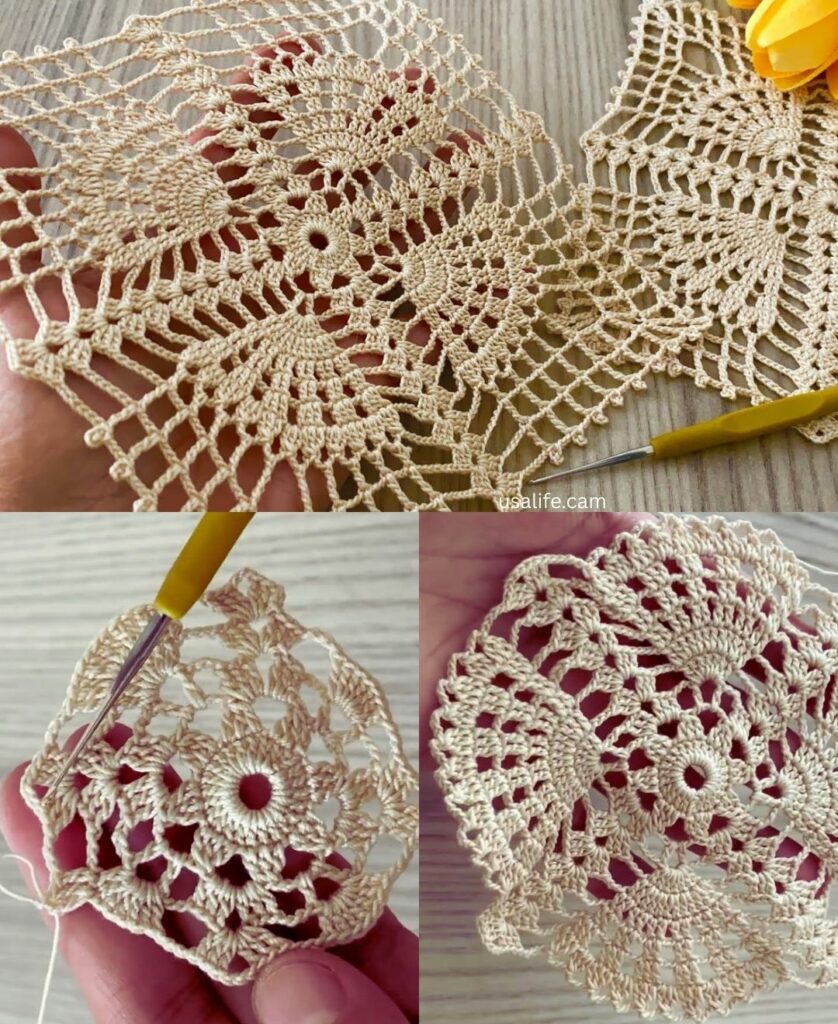
4. The Secret to “Stunning” Squares: Blocking
Even the best crocheters have squares that look a little “curly” when finished.
- Pin it: Place your square on a foam board.
- Stretch it: Pin the four corners so the edges are perfectly straight.
- Steam it: Use a garment steamer or the steam setting on an iron (do not touch the yarn with the iron!).
- Dry: Let it dry completely. This “sets” the fibers, making your motifs look professional and store-bought.
Would you like me to help you figure out how many squares you need based on your specific body measurements for a blouse?
Video tutorial: