by
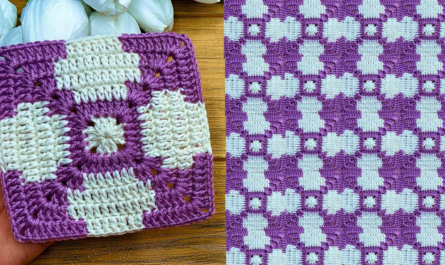
by Crocheted doilies and table mats are delicate, lace-like pieces made using thin thread and small hooks. They are usually worked in the round from the center outward, forming repeating motifs such as petals, pineapples, fans, or shells.
🧶 1. Materials You Need
Thread
- Use cotton crochet thread, usually:
- Size 10 for beginners (easier to see)
- Size 20 or 30 for finer lace
Hook
- Steel crochet hooks, typically:
- 1.5 mm – 1.75 mm for size 10 thread
- 1.0 mm – 1.25 mm for size 20/30 thread
Other Supplies
- Small scissors
- Tapestry needle
- Starch (optional for stiffening)
- Blocking board + pins

🔤 2. Basic Stitches You Should Know
These are the stitches most commonly used in doilies:
| Stitch | Abbreviation | Description |
|---|---|---|
| Chain | ch | Used to start rounds and create spaces |
| Slip Stitch | sl st | Joins rounds or moves position |
| Single Crochet | sc | Short, tight stitch |
| Double Crochet | dc | Common in lace patterns |
| Treble Crochet | tr | Taller stitch for lacework |
| Double Treble Crochet | dtr | Very tall stitch, often in radiating designs |
| Picot | — | A little decorative knot of 3 ch |
🔄 3. General Structure of a Doily Pattern
Most doilies follow this structure:
Round 1: Center
- Start with a magic ring or chain-4 ring
- Work a small number of stitches inside the ring
Rounds 2–5: Expansion
- Add stitches evenly around the center
- Use dc, tr, and chains to create open lace sections
Rounds 6–20+: Pattern Rounds
- Form motifs such as:
- Pineapple shapes
- Shell patterns
- Fan shapes
- Petals (like the ones in your photo)
- Patterns repeat symmetrically (6, 8, 12, or 16 repeats)
Final rounds: Edging
- Often picots, shells, or arches
- Adds decorative finish and stability

✏️ 4. Example: Simple Doily Pattern (Beginner-Friendly)
This is a generic small doily you can make to build skill.
(You can expand it by continuing similar rounds.)
Round 1
- Make a magic ring
- Ch 3 (counts as dc), work 11 dc into ring (12 total)
- Join with sl st
Round 2
- Ch 4 (counts as dc + ch1)
- *dc in next stitch, ch 1* repeat around (12 ch-1 spaces)
- Join
Round 3
- Sl st into first ch-1 space
- Ch 3 + 2 dc in same space (shell)
- *3 dc in next space* repeat around
Round 4
- Ch 5 (counts as tr + ch1)
- *tr between shells, ch1* repeat
Round 5
- Into each ch-1 space work: 2 dc, ch1, 2 dc (V-shell)
- Repeat around
Round 6
- Ch 4, dc into same space
- Ch 3, V-stitch into next ch-1 space repeat
Round 7
- Ch 3, dc in same stitch
- Ch 5, 2 dc in next ch-1 space repeat
Round 8 (Final Edging)
- In each ch-5 space: sc, ch 3, sc, ch 3, sc
- Creates a pretty picot lace edge
✨ 5. Tips for More Professional Results
✔ Keep tension even
Fine thread makes tension more noticeable.
✔ Use blocking
- Wet the doily
- Stretch flat
- Pin into shape
- Let dry completely
This makes the lace crisp and perfect.
✔ Use starch (optional)
Spray starch or sugar starch can stiffen the doily.
✔ Practice reading chart diagrams
Most advanced doilies use symbol charts that show the motifs clearly.
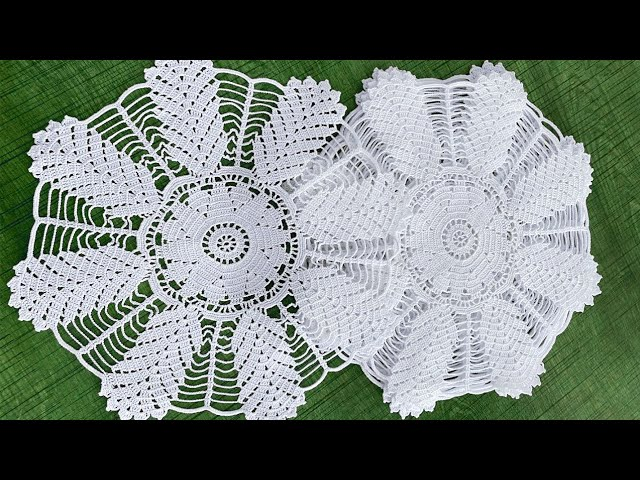
🌼 6. How to Make Doilies Like the Ones in Your Image
The doilies in your photo feature:
- Large petal motifs
- Tall stitches (tr, dtr)
- Open mesh between petals
- Symmetrical circular construction
To make similar doilies, look for patterns involving:
- Pineapple motif rounds
- Fan or shell petals
- Petal-based doily charts
- 10–12 repeating segments
Or I can write a custom pattern for one of the designs you showed —
just tell me:
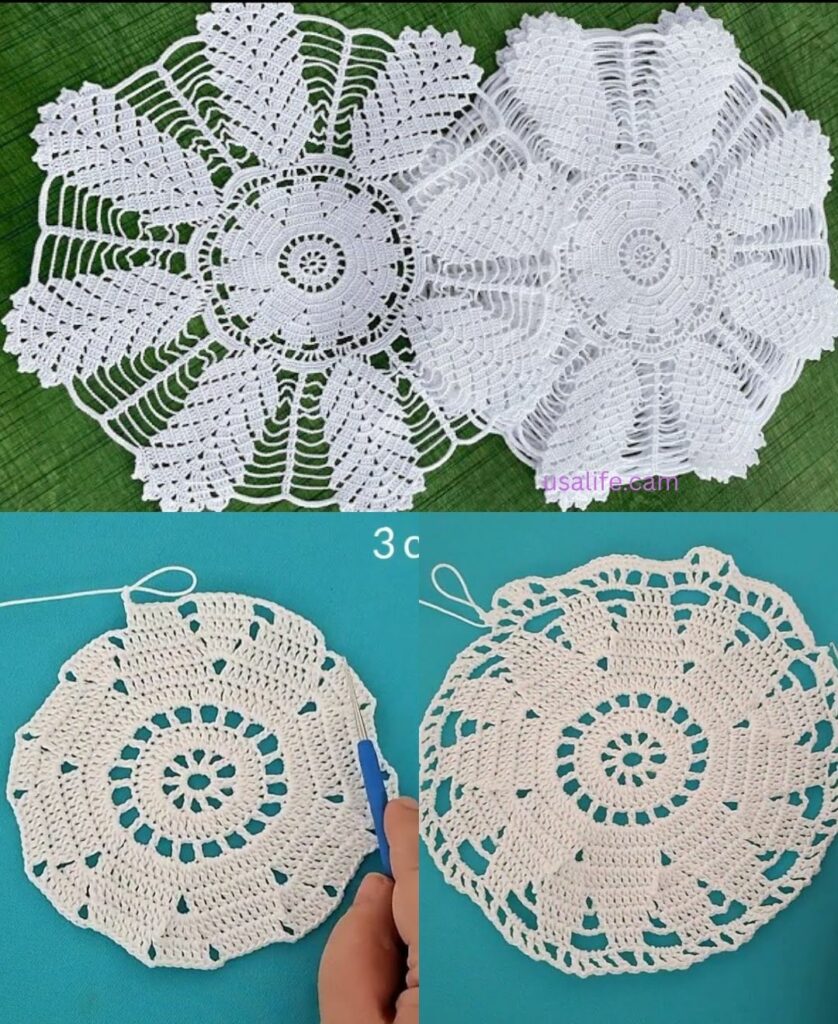
👉 Do you want:
- The left doily pattern?
- The right doily pattern?
- Or a simplified beginner version inspired by them?
I can create a full row-by-row pattern for you.
Video tutorial: