 by
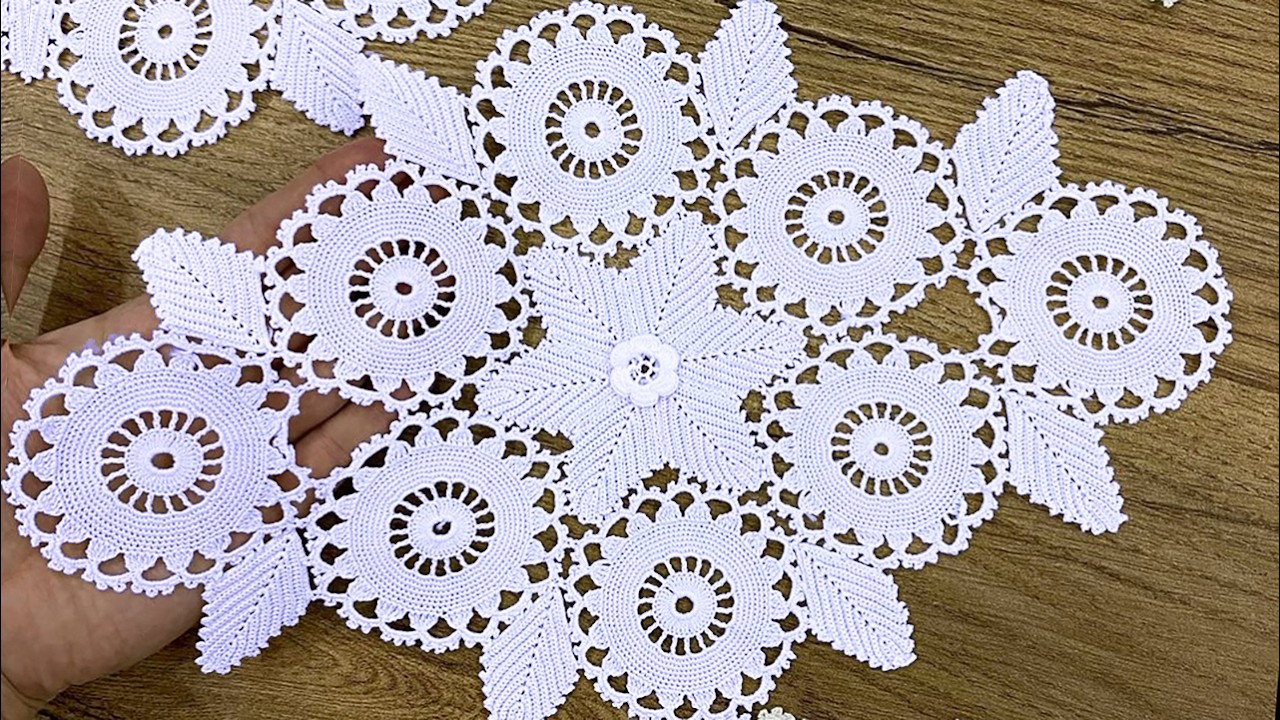
by That sounds like a grand project! Crocheting a full tablecloth requires planning, patience, and repetitive lace work. The most common and successful method is creating a Circular Lace Tablecloth that starts in the center and expands outwards.
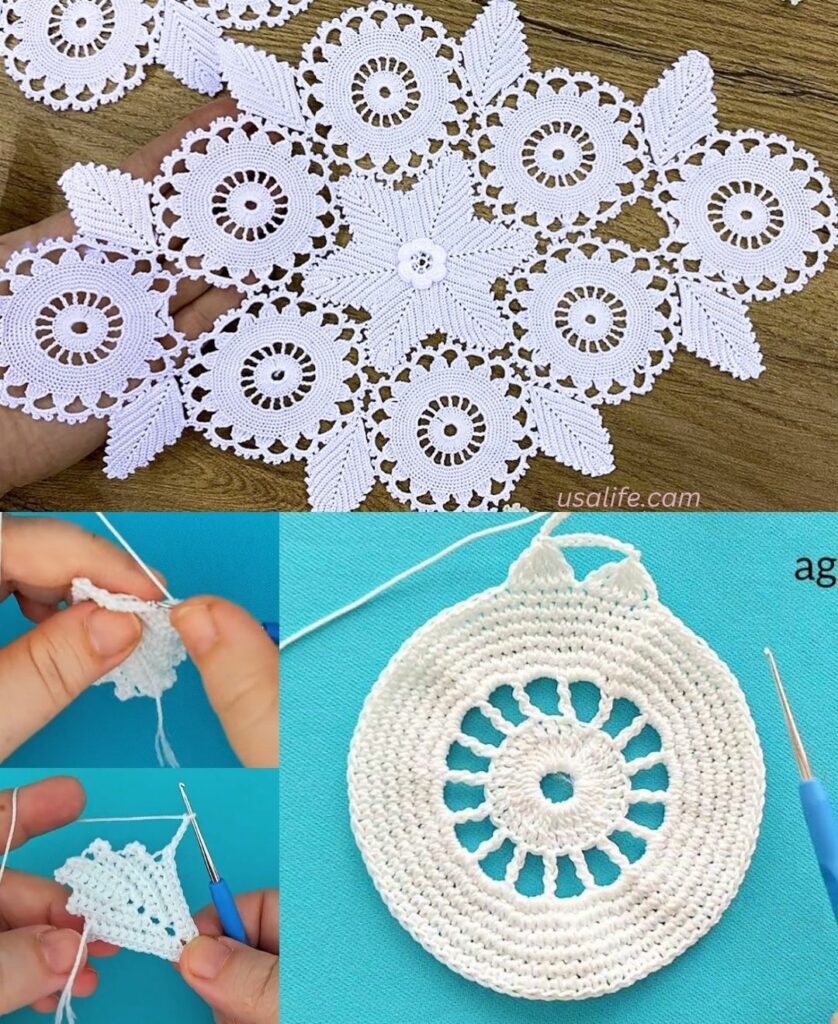
Here is a detailed, step-by-step tutorial focusing on a scalable Circular Pineapple Lace Design, which is classic, intricate, and perfect for creating a large, elegant textile.

🍍 Circular Pineapple Lace Tablecloth Tutorial
The Pineapple Lace motif is created by gradually shaping a fan or shell into an open, tear-drop shape using chain loops and decreasing stitches.
Materials You’ll Need
- Yarn/Thread: Fingering or Sport Weight Cotton Yarn (Size 1 or 2) is highly recommended for drape and washability. For a very traditional look, use Size 10 or 20 Cotton Thread.
- Crochet Hook: Appropriate size for your yarn (e.g., 3.0 mm – 4.0 mm).
- Stitch Marker, Scissors, Tapestry Needle.
Key Crochet Terms
| Abbreviation | Stitch Name |
| ch | Chain |
| sl st | Slip Stitch |
| sc | Single Crochet |
| dc | Double Crochet |
| V-st | V-Stitch (dc, ch 1, dc) |
| Shell | Multiple dc stitches in one space |
Part 1: Establishing the Center and Motifs
We will start with a solid center and establish 8 repeating sections for the lace.
- Round 1 (Center): Make a Magic Ring. ch 3 (counts as dc). Work 15 dc into the ring. Join with a sl st to the top of the ch 3. (16 sts)
- Round 2 (Mesh Setup): ch 1. sc in the same st. ch 3. Skip 1 st. Repeat [sc in the next st, ch 3, sk 1 st] around. Join with a sl st to the first sc. (8 ch-3 loops).
- Round 3 (First Shell): sl st into the first ch-3 loop. ch 3 (counts as dc). Work [2 dc, ch 1, 3 dc] into the same loop. ch 1. Repeat [Shell (3 dc, ch 1, 3 dc) in the next ch-3 sp, ch 1] around. Join with a sl st to the top of the ch 3. (8 Shells).

Part 2: Creating the First Pineapple Row
This section introduces the tall chains and V-stitches that will support the pineapple shape.
- Round 4 (Separation): sl st to the ch-1 peak of the shell. ch 1. sc in the peak. ch 5. Repeat [sc in the ch-1 peak of the next shell, ch 5] around. Join with a sl st to the first sc. (8 ch-5 loops).
- Round 5 (Defining V-Sts): sl st into the ch-5 loop. ch 3 (counts as dc). Work (ch 1, dc) (V-st) into the same loop. ch 3. Repeat [V-st in the next ch-5 loop, ch 3] around. Join with a sl st to the top of the ch 3. (8 V-sts).
Part 3: Shaping the Pineapple Motif (Expansion)
Now we build the cluster that will later become the pineapple body.
- Round 6 (Base of Pineapple): sl st into the ch-1 sp of the V-st. ch 3 (counts as dc). Work [6 dc] into the same ch-1 sp. ch 5 (creates the deep mesh between pineapples). Repeat [7 dc shell in the V-st sp, ch 5] around. Join with a sl st to the top of the ch 3.
- Round 7 (Starting the Net): ch 3 (counts as dc). dc in the next 6 sts (7 dc shell). ch 3. sc in the middle of the ch-5 sp. ch 3. Repeat [dc in the next 7 sts, ch 3, sc in the ch-5 sp, ch 3] around. Join with a sl st to the top of the ch 3.

- This process defines the shell top and establishes the first chain loops that will form the pineapple body.
Continuing the Pattern (Until Desired Size)
To expand your tablecloth, you will need multiple pineapple rows.
- Work the Shell Top: In the next round, decrease the dc stitches in the shell (dc in the next 6 sts, sk 1, or dc in the next 5 sts, sk 2). This rounds off the shell top.
- Increase Pineapple Loops: Simultaneously, increase the number of chain loops between the shell tops (e.g., ch 3, sc in the next ch-3 sp, ch 3, sc in the next ch-3 sp, ch 3).
- Finish the Pineapple: Once the loops are wide enough, you will typically sl st or sc the final rows of the shell top together, and then begin the next set of large shells in the mesh between the completed pineapple motifs.
- Repeat: Continuously repeat the process of Shell Tops and Increasing Chain Loops until the tablecloth is the desired diameter (e.g., 60-80 inches).

Part 4: Finishing and Blocking (Mandatory!)
Blocking is the most critical step for any crocheted lace item, especially a tablecloth.
- Weave in Ends: Securely weave in all yarn tails on the back of the work.
- Soak: Submerge the entire tablecloth in lukewarm water or a very mild starch/fabric stiffener solution.
- Pin: Gently squeeze out excess water. Lay the tablecloth on a large floor mat or blocking boards. Using rust-proof pins, pin every single point, scallop, and corner, stretching the lace firmly to open up the pattern and ensure a perfect circle shape.
- Dry: Allow the piece to dry completely (which may take a full day or two for a large piece) before removing the pins.
Your elegant lace tablecloth is now complete! It’s a true heirloom piece.
Video tutorial: