 by
by That is a lovely choice! Crocheting leaves is a fast, fun way to add charming, natural embellishments to any project, especially for autumn or floral motifs. The best patterns for beginners rely on working rows around a foundation chain to achieve the characteristic pointed oval shape.
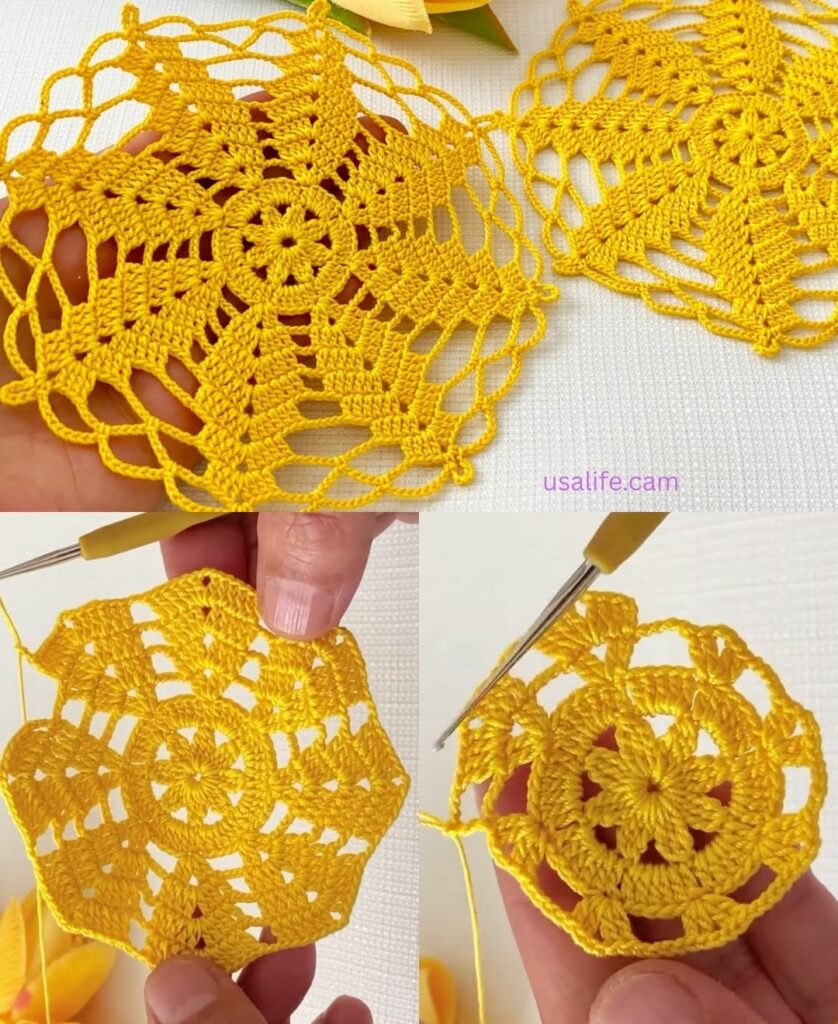
Here is a detailed tutorial for a simple, yet charming Crocheted Leaf Motif.

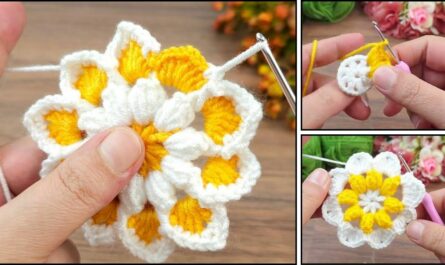
🌿 Charming Crochet Leaf Motif Tutorial
This leaf is worked in the round (or rather, in rows) around a starting chain, using varying stitch heights to create the spine and the pointed tip.
Materials You’ll Need
- Yarn: Light or Medium weight yarn (worsted or DK) in shades of Green or Autumnal colors (red, gold, brown).
- Crochet Hook: The size appropriate for your yarn (e.g., 4.0 mm).
- Scissors
- Tapestry Needle: For weaving in ends.
Key Crochet Terms
| Abbreviation | Stitch Name | Purpose in Leaf |
| ch | Chain | Creates the central spine. |
| sl st | Slip Stitch | Used for anchoring and joining. |
| sc | Single Crochet | Lowest stitch, used at the tip and base. |
| hdc | Half Double Crochet | Medium stitch, used for gentle curves. |
| dc | Double Crochet | Tallest stitch, used at the center curve. |
Step-by-Step Instructions
Part 1: Establishing the Spine
- Foundation Chain: ch 9. (This chain forms the central spine of your leaf. Adjust this number for a longer or shorter leaf).
- Turn: We will now work back along the chain, moving from the tip to the base.

Part 2: Working Down the First Side (The Tip)
We use short to tall stitches to create the smooth, curved edge.
- Tip: Work sl st into the 2nd ch from the hook (this creates the sharp point).
- Low Curve: sc in the next ch. hdc in the next ch.
- Center Curve: dc in the next 3 chains.
- Base: hdc in the next ch. sc in the last ch (the ch closest to the knot).
Part 3: Turning the Corner (Creating the Stem)
This section transitions from the first side to the second and forms the small stem.
- Stem: ch 3 (This forms the small stem).
- Turn: Now, rotate your work so you are looking at the underside of the foundation chain.
- Anchor: Work sl st into the sc stitch you just worked (the last sc from the previous step) to anchor the stem loop.

Part 4: Working Up the Second Side
We now work back up the other side of the foundation chain, mirroring the first side.
- Base: sc into the first unworked loop on the opposite side of the foundation chain.
- Center Curve: hdc in the next ch. dc in the next 3 chains.
- Low Curve: hdc in the next ch. sc in the next ch.
- Finish Tip: Work sl st into the last unworked loop (the same place where you worked the very first slip stitch).

Part 5: Finishing
- Secure: sl st into the base of the stem (where the ch 3 stem begins).
- Fasten Off: Cut the yarn, leaving a long tail (about 6 inches). Pull the tail through the last loop to secure the knot.
- Weave in Ends: Use your tapestry needle to weave both the starting tail and the finishing tail into the back stitches of the leaf. If you want a longer stem, leave the final tail long and use it to attach the leaf.
Your charming crocheted leaf motif is complete! They are perfect for grouping together or using as accents on hats and scarves. Would you like a pattern for a different type of leaf, like an oak leaf?
Video tutorial: