 by
by That is a truly beautiful and ambitious project! Crocheting a full-sized tablecloth or large table cover requires patience and a pattern that expands reliably from the center outwards. The most popular method involves creating a Circular Lace Design that increases consistently in diameter.
Here is a detailed tutorial focusing on a scalable Circular Lace Motif that uses classic shell and mesh techniques, perfect for expanding to tablecloth dimensions.
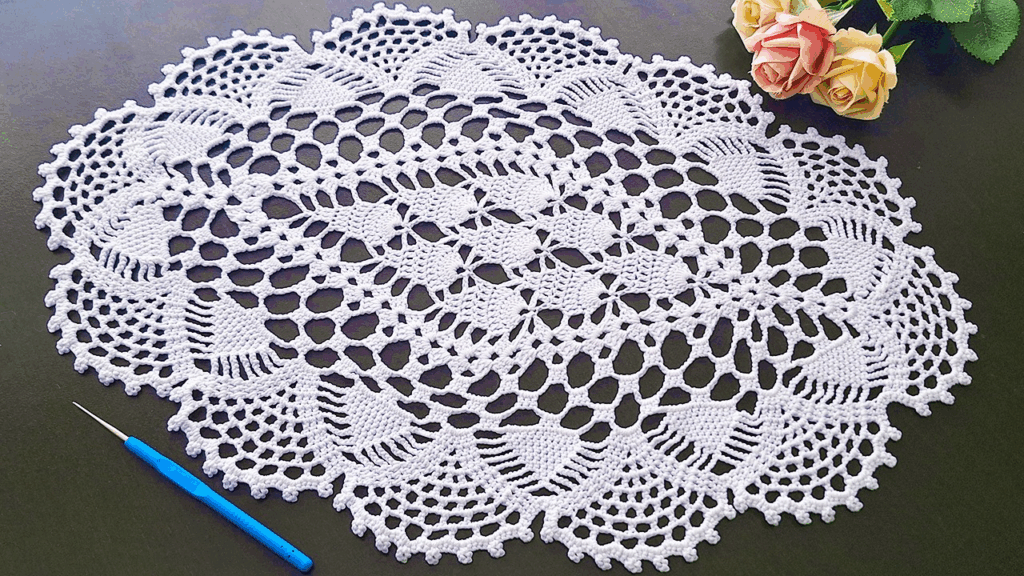
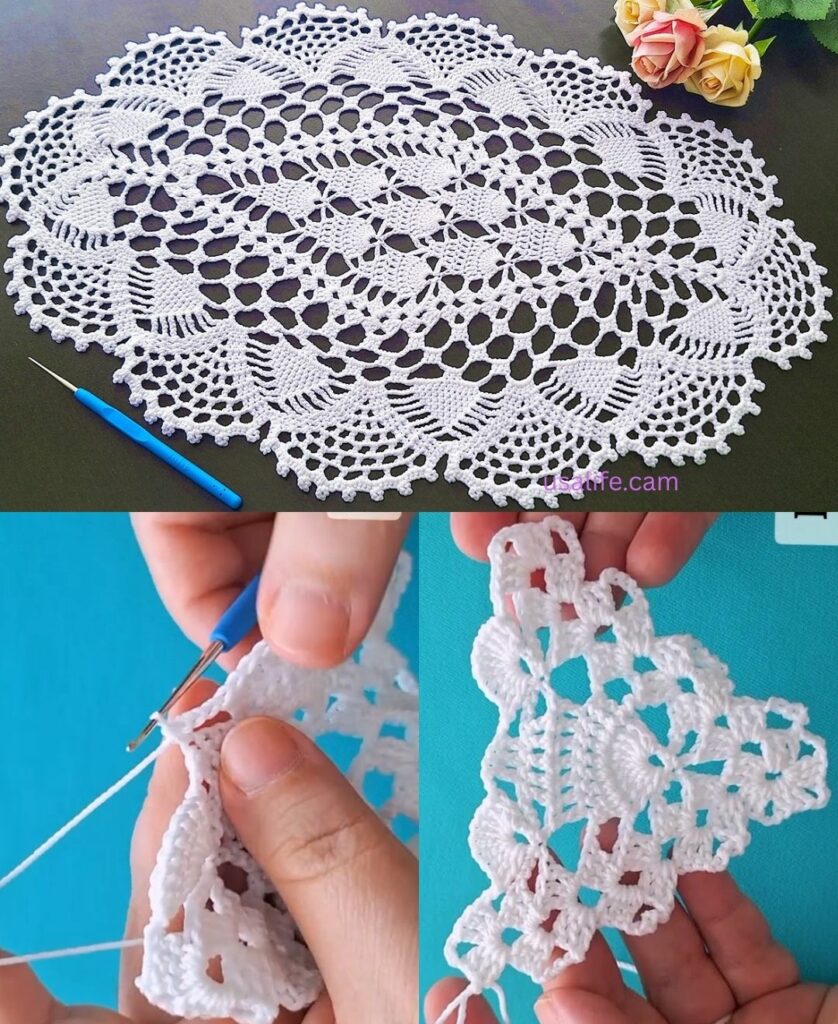
🍽️ Circular Lace Tablecloth Tutorial
This pattern is designed to grow outward by alternating between Shell Rounds (which provide stitch bulk and define the motif) and Mesh Rounds (which create the open lace effect and the necessary chains for expansion).
Materials You’ll Need
- Yarn/Thread: The choice of material dictates the final look and size:
- Fine Lace: Use Size 10 or 20 Cotton Thread for a delicate, traditional result.
- Medium Lace: Use Fingering or Sport Weight Cotton Yarn (Size 1 or 2) for better visibility and drape, especially for a large table.
- Crochet Hook: Appropriate size for your yarn (e.g., 1.5 mm for thread, 3.5 mm for yarn).
- Stitch Markers, Scissors, Tapestry Needle.
Key Crochet Terms
| Abbreviation | Stitch Name |
| ch | Chain |
| sl st | Slip Stitch |
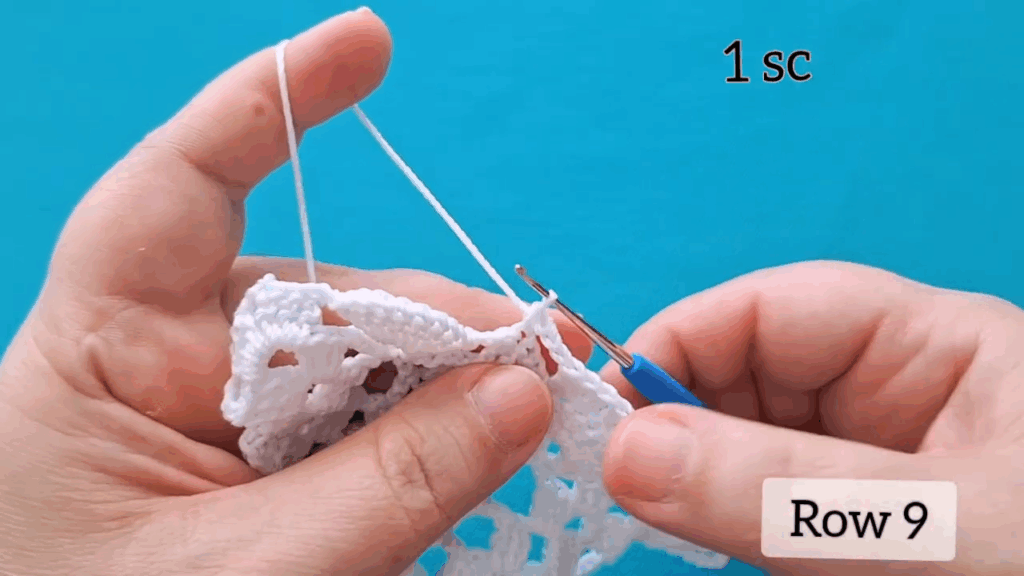
| sc | Single Crochet |
| dc | Double Crochet |
| tr | Treble Crochet |
| sp | Space (chain space) |
| Shell | A group of multiple DC stitches in one space |
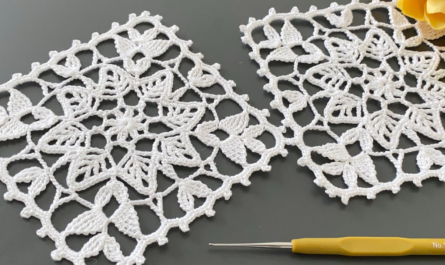
Part 1: Establishing the Center and Motifs (8 Repeats)
We begin by creating a solid center and establishing 8 foundation anchor points for the repeating lace motifs.
- Round 1 (Center): Make a Magic Ring. ch 3 (counts as dc). Work 15 dc into the ring. Join with a sl st to the top of the ch 3. (16 sts)
- Round 2 (Mesh Setup): ch 1. sc in the same st. ch 3. Skip 1 st. Repeat [sc in the next st, ch 3, sk 1 st] around. Join with a sl st to the first sc. (8 ch-3 loops).
- Round 3 (First Shell): sl st into the first ch-3 loop. ch 3. Work [2 dc, ch 1, 3 dc] into the same loop. ch 1. Repeat [Shell (3 dc, ch 1, 3 dc) in the next ch-3 sp, ch 1] around. Join with a sl st to the top of the ch 3. (8 Shells).
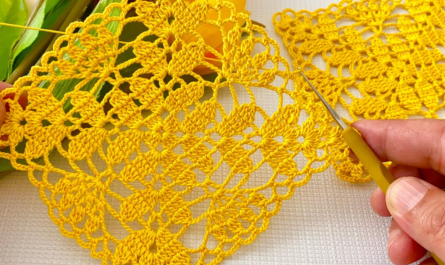
Part 2: Building Diameter and Lace Expansion
The pattern now alternates between a dense shell round and an open mesh round.
- Round 4 (Separation Mesh): sl st to the ch-1 peak of the shell. ch 1. sc in the peak. ch 5. Repeat [sc in the ch-1 peak of the next shell, ch 5] around. Join with a sl st to the first sc. (8 ch-5 loops).
- Round 5 (Taller Shells): sl st into the ch-5 loop. ch 4 (counts as tr). Work [4 tr, ch 1, 5 tr] into the same ch-5 loop. sc in the next sc anchor. Repeat [Large Shell (5 tr, ch 1, 5 tr) in the ch-5 loop, sc in the sc anchor] around. Join with a sl st to the top of the ch 4. (8 Larger Shells).
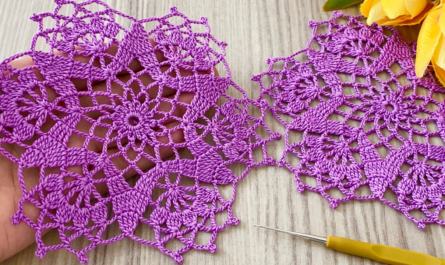
Continuing the Expansion (Scaling Up)
To continue growing the tablecloth:
- Increase Chains: In subsequent mesh rounds, increase the number of chains (e.g., ch 7, then ch 9, etc.) to create wider arcs between motifs.
- Increase Shell Stitches: In shell rounds, use more stitches (e.g., 7 tr, ch 1, 7 tr) or even taller stitches (double treble, dtr) to fill the larger chain spaces.
Critical Scaling Check: Check your work often. If the edge begins to curl up like a bowl, you need more increases (bigger shells/chains). If the edge begins to ripple or wave excessively, you need fewer increases (smaller shells/chains).
- Note on Size: To scale to a large tablecloth (60+ inches), you may need to increase the number of motifs (e.g., from 8 to 10 or 12) by working two smaller shells into one large chain space every few rounds.

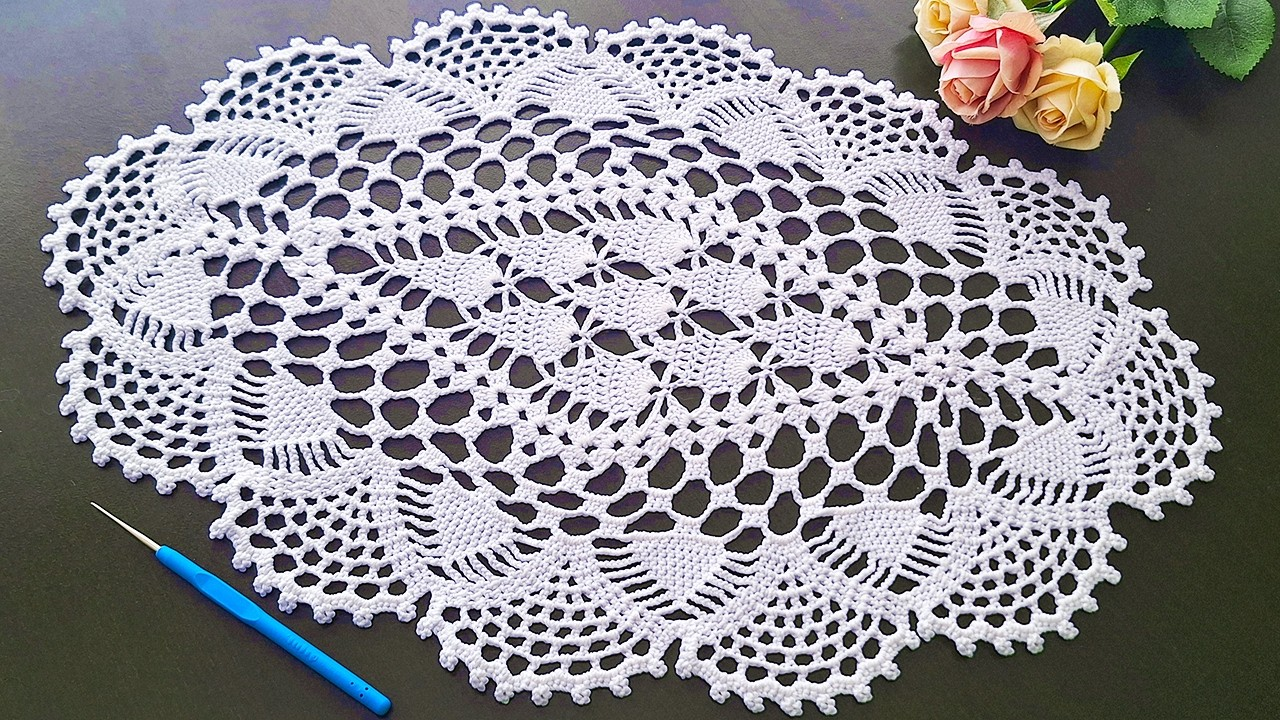
Part 3: Finishing and Blocking (The Most Important Step!)
Blocking is absolutely essential for a lace tablecloth. It defines the pattern, opens up the mesh, and ensures the piece lies flat.
- Final Edging: When the tablecloth reaches the desired size, complete the final edge with a consistent finish, such as a Picot Scallop (sc, then [sc, picot (ch 3, sl st in first ch), sc] in the next few stitches).
- Weave in Ends: Securely weave in all tails with a tapestry needle.
- Soak: Submerge the entire tablecloth in lukewarm water. You may add a diluted starch or fabric stiffener solution if you want a crisp finish.
- Pin: Gently squeeze out excess water. Lay the tablecloth on a large, flat, padded surface (blocking mats are ideal). Using rust-proof pins, meticulously pin every scallop, point, and corner, stretching the lace firmly to its final shape.
- Dry: Allow the piece to dry completely (this may take 1-2 days for a large piece) before removing the pins.
Your elegant, hand-crocheted table cover is a true heirloom piece!
Video tutorial: