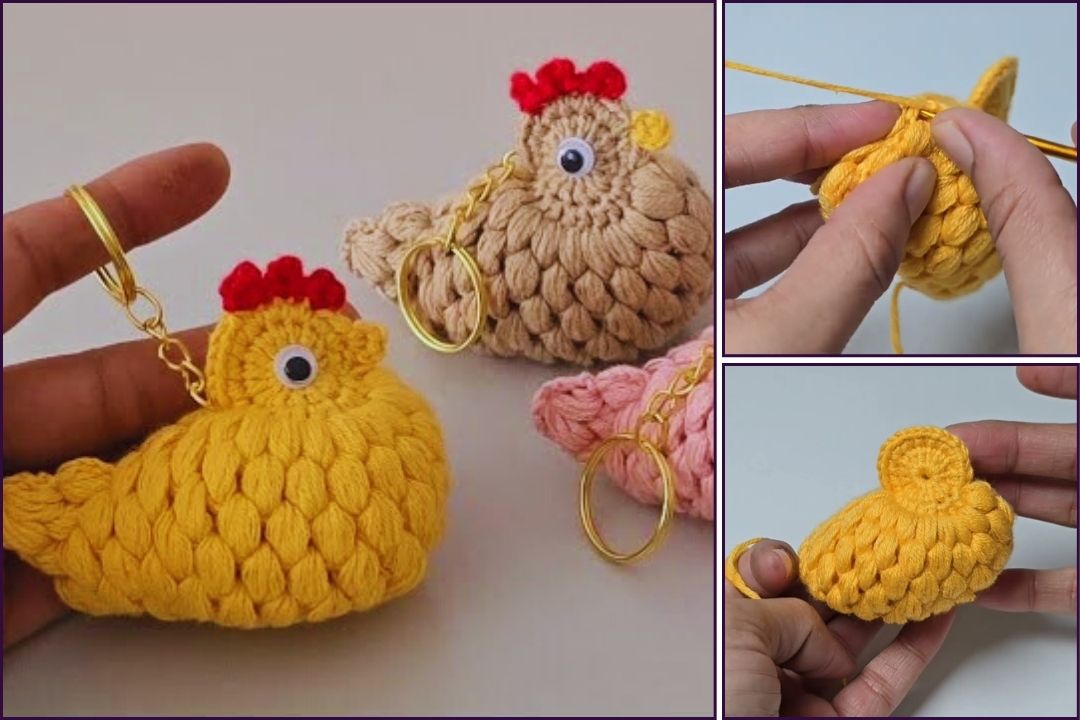
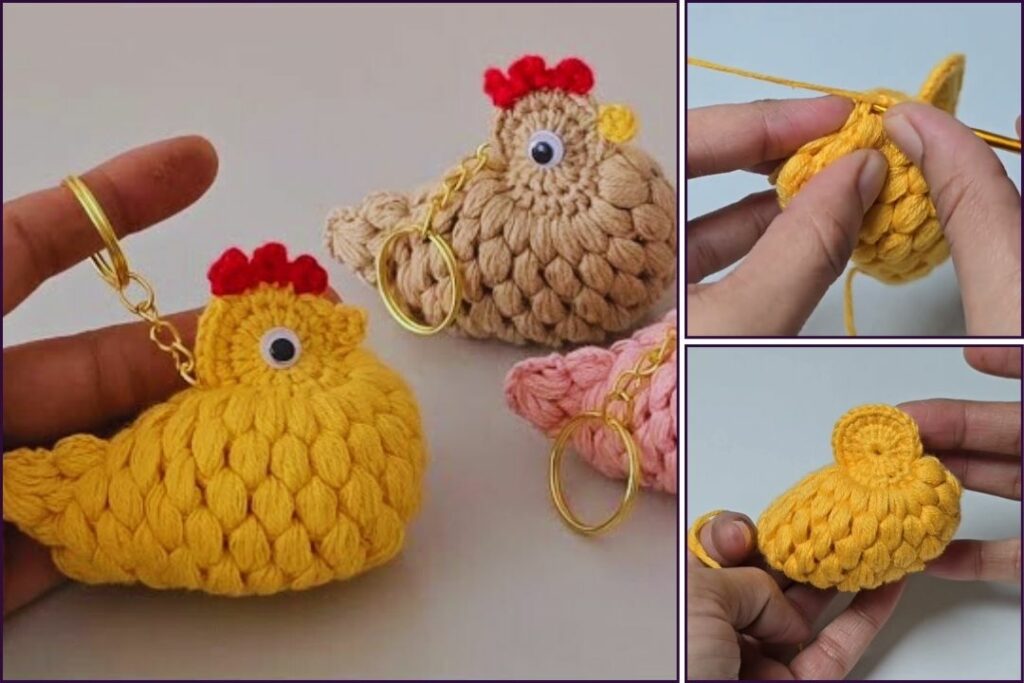
How to Crochet a Cute Chicken Keychain: A Beginner’s Pattern
Crocheting a chicken keychain is an absolutely adorable and surprisingly simple project, perfect for beginners! It’s a quick make, uses very little yarn, and results in a charming little accessory for your keys, bag, or even as a cute gift.
Given that you’re in Phnom Penh, where the weather is warm, 100% cotton yarn is an excellent choice for this project. Cotton is durable, holds its shape well (which is great for a keychain that gets a lot of use!), and its stitch definition will make your little chicken look crisp and neat.
1. Essential Materials You’ll Need
- Yarn:
- Main Color (MC): For the chicken’s body (e.g., white, cream, light brown, yellow). Worsted Weight (Aran / Medium / Category 4) 100% Cotton is highly recommended. You’ll only need a small amount, making it perfect for using up yarn scraps!
- Red Yarn: For the comb and wattle (tiny scrap).
- Orange or Yellow Yarn: For the beak (tiny scrap).
- Black Yarn or Embroidery Floss: For the eyes (tiny scrap).
- Crochet Hook:
- A 3.0mm (US C/2) or 3.5mm (US E/4) hook. For small motifs like keychains, using a hook size slightly smaller than typically recommended for your yarn creates a tighter, denser fabric. This helps the chicken hold its shape and makes it more durable for everyday use.
- Scissors: For cutting yarn.
- Yarn Needle (Tapestry Needle): Absolutely essential for weaving in ends and embroidering the facial features.
- Keychain Hardware: A standard split ring keychain or a small swivel clasp.

2. Basic Crochet Stitches You’ll Use
This pattern primarily uses fundamental crochet stitches and techniques, making it very accessible for beginners:
- Chain (ch): Used for starting and for small elements.
- Slip Stitch (sl st): For neatening and finishing.
- Single Crochet (sc): Creates a dense, sturdy fabric, perfect for the chicken’s body.
- Half Double Crochet (hdc): A medium-height stitch, used for shaping.
- Double Crochet (dc): A taller stitch, also used for shaping.
- Triple/Treble Crochet (tr): The tallest stitch used in this pattern, specifically for the tail feather.
- Working in Rows: The main part of the chicken is worked flat in rows.
- Fasten Off: Securely ending your work.
- Weaving in Ends: Hiding yarn tails for a neat and durable finish.
Crochet Chicken Keychain Pattern
This pattern creates a small, flat chicken motif that’s perfect for attaching to a keychain.
Abbreviations (US Crochet Terms):
- MC: Main Color
- ch: chain
- sl st: slip stitch
- sc: single crochet
- hdc: half double crochet
- dc: double crochet
- tr: triple crochet
- st(s): stitch(es)
(...): work stitches into the same stitch or space

Part 1: Chicken Body (Main Color – MC)
We’ll start by shaping the chicken’s body, working in rows.
- Chain 10.
- Row 1 (Body Base): Sc in the 2nd ch from hook. Sc in the next 7 ch. In the last ch, work (3 sc).
- Now, working down the opposite side of the foundation chain (into the unused loops): sc in the next 7 ch. (18 sc total)
- You should have an oval shape now. Do NOT turn your work at the end of this row.
- Row 2 (Head & Tail Shaping): Ch 1. This chain-1 counts as your turning chain. You will now be working along the top edge of your oval, essentially working along the first row you just created.
- Sc in the first 7 stitches.
- Head Section: In the next stitch, work (sl st, sc, hdc, dc) all into the same stitch. (This begins to create the curve for the head).
- Tail Section: In the next stitch, work (hdc, dc, tr, dc, hdc) all into the same stitch. (This creates the main tail feather).
- Sc in the next 7 stitches.
- Sl st into the last stitch to finish the shaping.
- Fasten off MC, leaving a medium tail (approximately 6 inches / 15 cm) for weaving in later.

Part 2: Adding Chicken Details – Comb, Wattle, Beak, Eye
Now it’s time to add the charming features that bring your little chicken to life!
- Comb (Red Yarn):
- With red yarn, Ch 5.
- Sl st into the 2nd ch from hook. Sc into the next ch. Hdc into the next ch. Dc into the last ch.
- Fasten off, leaving a tail for sewing.
- Attach: Using your yarn needle, carefully sew the comb onto the top curve of the chicken’s head (the part where you made the dc/hdc stitches in Row 2 of the body).
- Wattle (Red Yarn):
- With red yarn, Ch 3.
- Dc into the 2nd ch from hook. Sl st into the same ch.
- Fasten off, leaving a tail for sewing.
- Attach: Sew the wattle just under where the beak will be, on the “chin” area of the chicken’s head.
- Beak (Orange or Yellow Yarn):
- With orange or yellow yarn, Ch 4.
- Sl st into the 2nd ch from hook. Sc into the next ch. Sl st into the last ch.
- Fasten off, leaving a tail for sewing.
- Attach: Sew the beak onto the front of the chicken’s head, positioned over the wattle.
- Eye (Black Yarn or Embroidery Floss):
- Thread a short piece of black yarn or embroidery floss onto your yarn needle.
- Make a small ‘V’ shape or a simple straight stitch on the side of the head, slightly above the beak, where the eye would naturally be.
- Secure the ends on the back of the motif.

Part 3: Finishing and Attaching to Keychain
- Weave in All Ends NEATLY: This is absolutely crucial for a polished and durable keychain. Use your yarn needle to carefully weave in every single yarn tail securely into the stitches on the back of your chicken motif. Take your time to hide them well; you don’t want them unraveling from daily use!
- Attach Keychain Hardware:
- Locate the top back of the chicken’s body, near the base of the tail or directly above the main body where you want it to hang.
- With a new piece of Main Color yarn (or a sturdy sewing thread if you prefer), create a small, strong loop. You can do this by chaining 5-7 stitches and then slip stitching back into the same point on the chicken to form a loop. Reinforce this loop by going over the stitches again with your yarn needle to make it very sturdy.
- Alternatively, simply use your yarn needle to make a very sturdy knot and a few secure stitches directly into the motif where you want the loop to be, then slide the split ring of the keychain through those reinforced stitches.
- Thread your keychain split ring or swivel clasp onto this loop or directly through the reinforced stitches. Ensure it’s extremely secure, as keychains undergo a lot of wear and tear.
- Blocking (Optional): For a flatter, more refined look, a gentle steam block or wet block can help your chicken motif lay perfectly flat.
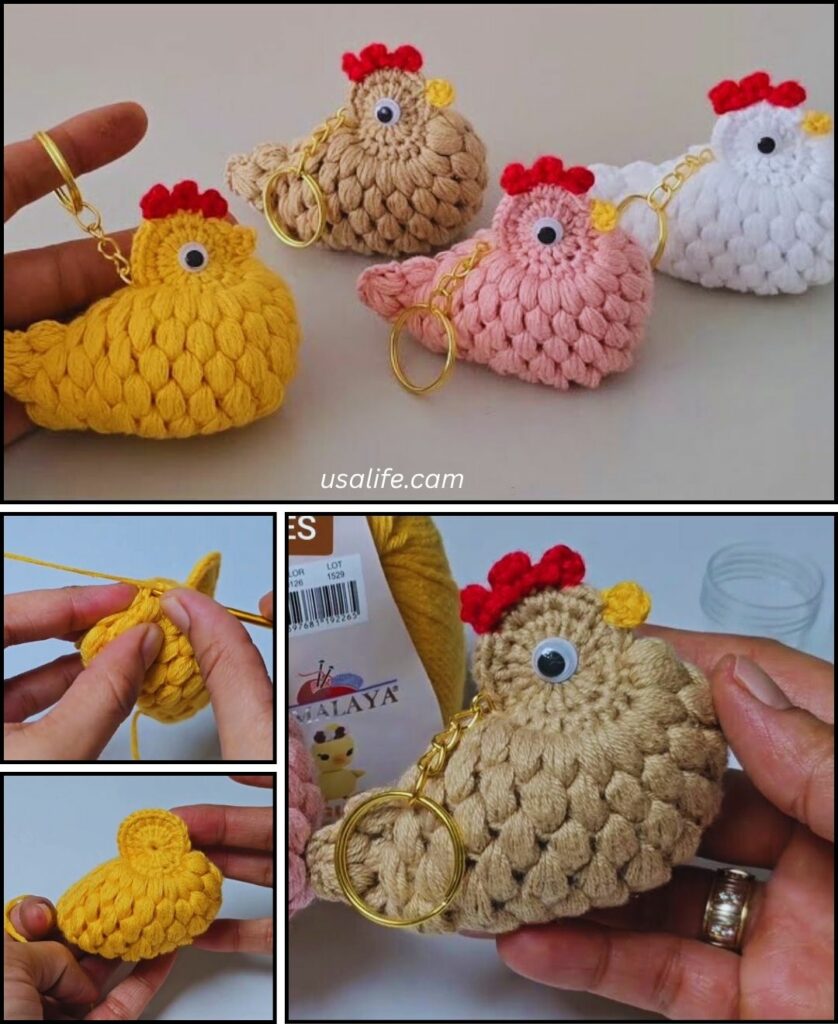
4. Tips for a Charming & Durable Chicken Keychain
- Yarn & Hook Choice: As mentioned, using a slightly smaller hook than the yarn label suggests for your chosen yarn (e.g., a 3.5mm hook for worsted weight cotton) creates a denser fabric. This is key for amigurumi and small motifs, as it prevents stuffing from showing (if you decide to lightly stuff it) and helps the item hold its shape better, making it more durable.
- Consistent Tension: Try to maintain even tension throughout your crocheting. This ensures a uniform look and a well-shaped chicken.
- Personalize It: Don’t limit yourself to classic chicken colors! A bright yellow chick, a speckled brown hen, or even a whimsical rainbow chicken would be adorable.
- Details Make a Difference: Even simple embroidered lines for the eyes can give your chicken personality. You can experiment with different eye shapes or even tiny beads (though be cautious with beads if it’s for a very young child).
- Double Layer (for extra firmness): For an even sturdier keychain, you can crochet a second identical chicken body (without the features yet). Then, place the two pieces together and single crochet (or whip stitch) around the edges, inserting a tiny bit of fiberfill stuffing before completely closing it, for a slightly plump, more dimensional chicken.
You now have a detailed pattern and all the tips you need to crochet an adorable and practical chicken keychain motif! Enjoy making these sweet little companions.
