 by
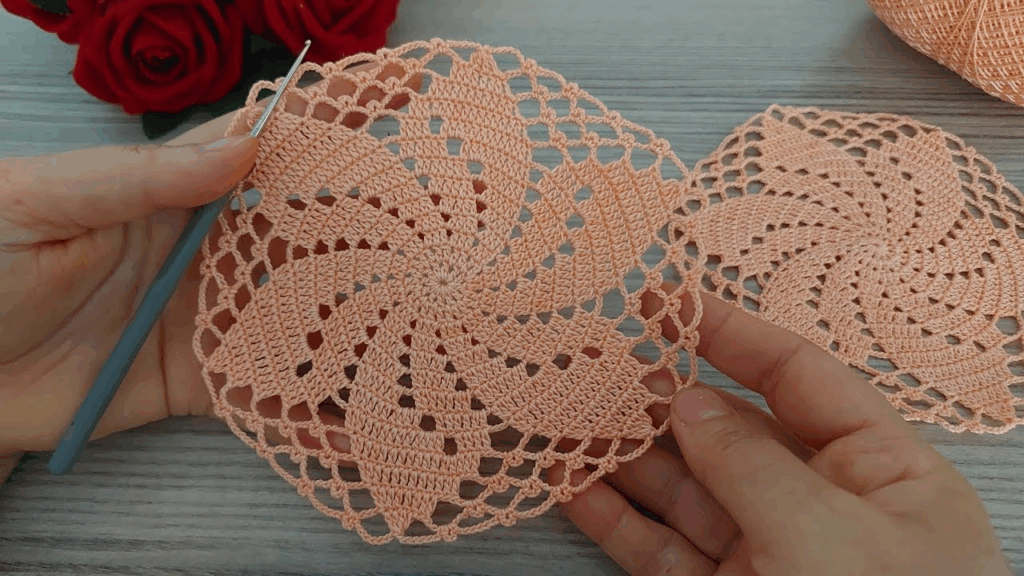
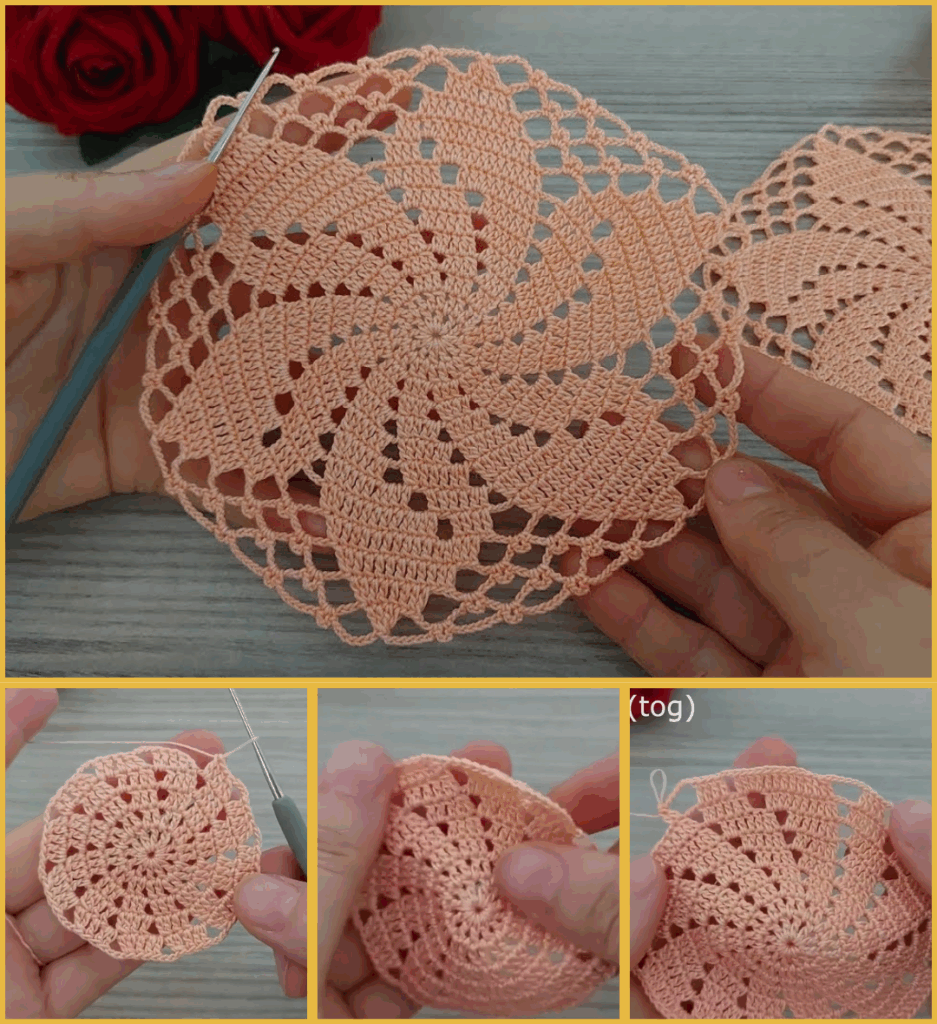
by Crocheting a stunning flower pattern is a fun and creative project that’s great for beginners and experienced crocheters alike. Here’s a step-by-step guide for a beautiful, layered crochet flower that you can use as an applique, brooch, or embellishment for hats, bags, or scarves.
🌸 Materials Needed:
- Worsted weight yarn (choose multiple colors for a layered effect)
- Crochet hook (typically 4.0 mm / G hook)
- Scissors
- Yarn needle
🌼 Basic Flower Pattern (with 2 layers)

Abbreviations (US Terms):
- ch = chain
- sl st = slip stitch
- sc = single crochet
- dc = double crochet
- tr = treble crochet
🧶 Instructions:
Center of the Flower:
- Make a magic ring, or ch 4 and sl st into the first ch to form a ring.
- Ch 1, work 10 sc into the ring.
- Sl st into the first sc to join. (10 stitches total)

First Layer of Petals:
- Ch 2, dc in same stitch, ch 2, sl st in next stitch – this forms one petal.
- Repeat the pattern around (you should have 5 petals).
- Fasten off and change color if desired.
Second Layer (Behind First Layer):
- Attach new yarn to back loops of the round of sc.
- Ch 3, tr in same stitch, ch 3, sl st in next back loop – for larger back petals.
- Repeat around – this gives you 5 larger petals behind the first layer.

🌺 Optional Third Layer:
You can add a third, even larger layer by repeating the petal pattern with longer chains and trebles (e.g., ch 4, double treble, ch 4).
✨ Finishing:
- Weave in all ends using the yarn needle.
- Block the flower if needed to shape it.
Would you like a printable diagram or video tutorial for this pattern?