 by
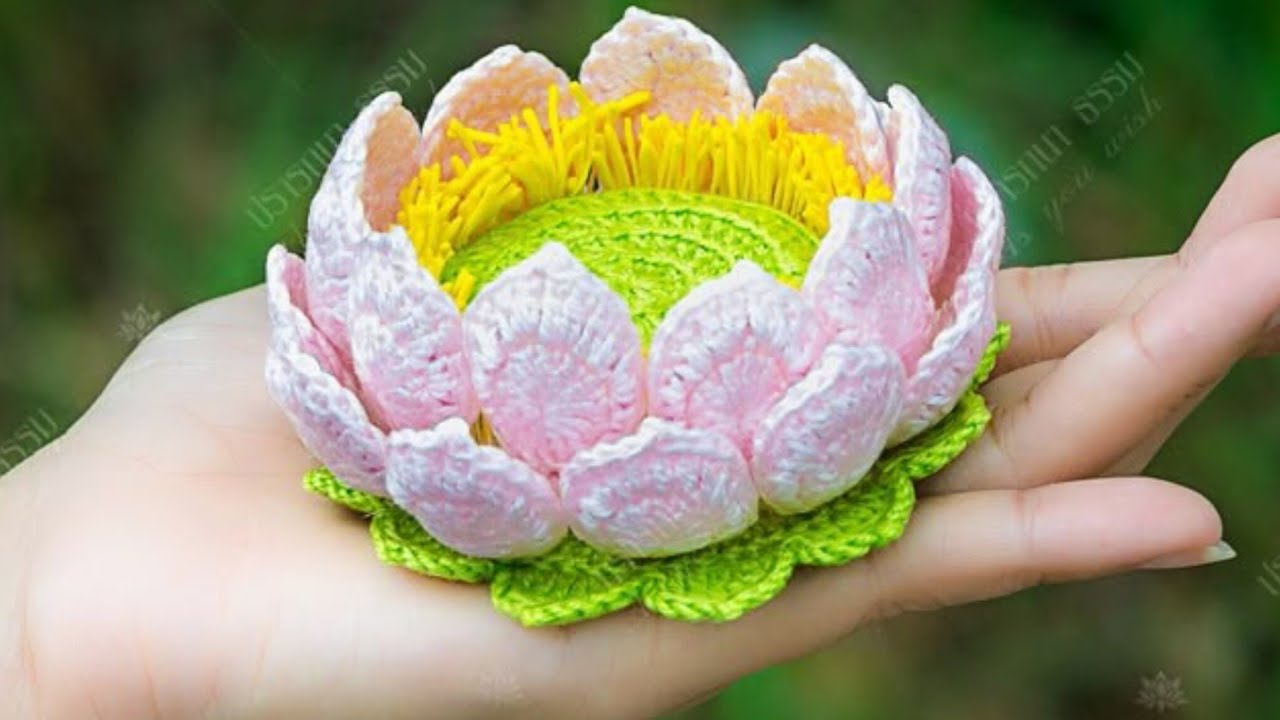
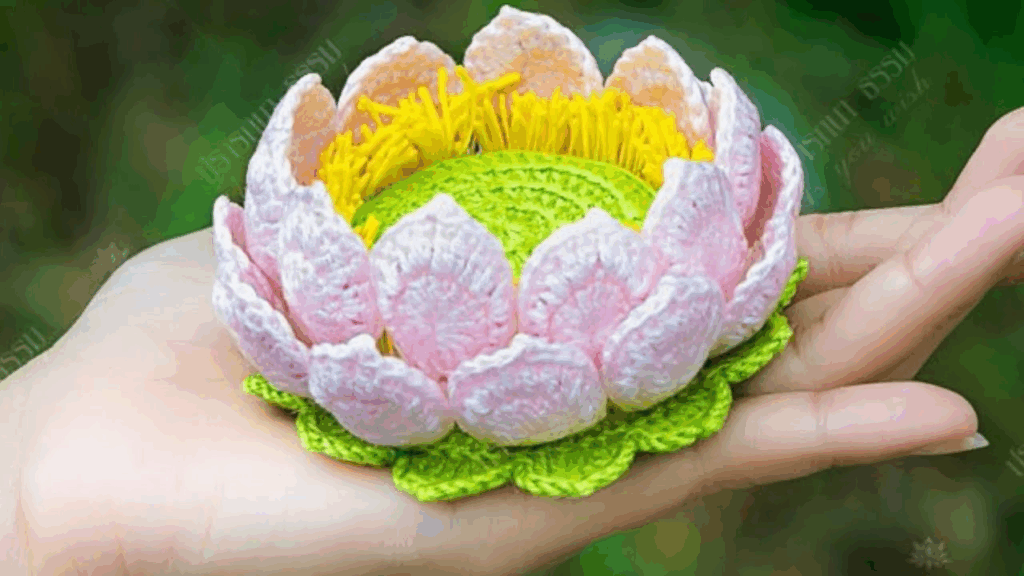
by Crocheting a lotus candle holder is a beautiful and meditative project that results in a striking piece of decor. The lotus design involves creating multiple layers of petals that stand upright to cradle the candle, often using different stitches to give the petals texture and shape.
Here is a detailed guide on how to make a lotus candle holder, focusing on creating distinct, upright petals.
Materials Needed
- Yarn: Medium-weight yarn (worsted/size 4). Cotton or a cotton blend is highly recommended because it handles heat better and holds its shape well. Choose a color that resembles a lotus (pink, white, cream, or a soft green).
- Crochet Hook: The size recommended for your yarn.
- Tealight Candle: A standard metal or plastic cup tealight. (Safety Note: Use only a battery-operated LED tealight or a candle in a metal/glass cup for safety. Never leave a burning candle unattended.)
- Scissors
- Tapestry Needle: For weaving in ends.
Abbreviations
- ch: chain
- sl st: slip stitch
- sc: single crochet
- hdc: half double crochet
- dc: double crochet
- tr: treble crochet (or triple crochet)
- st(s): stitch(es)
- inc: increase (2 sc in one stitch)
- BLO: back loop only
Part 1: The Base and Center Cup
The base provides a sturdy foundation for the candle.
- Round 1 (Bottom): Start with a Magic Ring. Work 6 sc into the ring. (6 sts)
- Round 2: inc in each stitch around. (12 sts)
- Round 3: [sc in the next st, inc] 6 times. (18 sts)
- Round 4 (Creating Side Wall): Working in the BLO, sc in each stitch around. (This creates a crisp edge for the cup side to stand up.) (18 sts)
- Rounds 5-6 (Cup Height):sc in each stitch around. (This forms the side wall of the tealight cup.) (18 sts)
- Check Fit: Place your tealight inside. The height should be just below the top edge of the tealight cup.
- Join with a sl st to the first sc. Do not fasten off.
Part 2: Inner Petal Layer
The petals are worked directly onto the top edge of the cup. The key is to use tall stitches for a pointed petal shape.
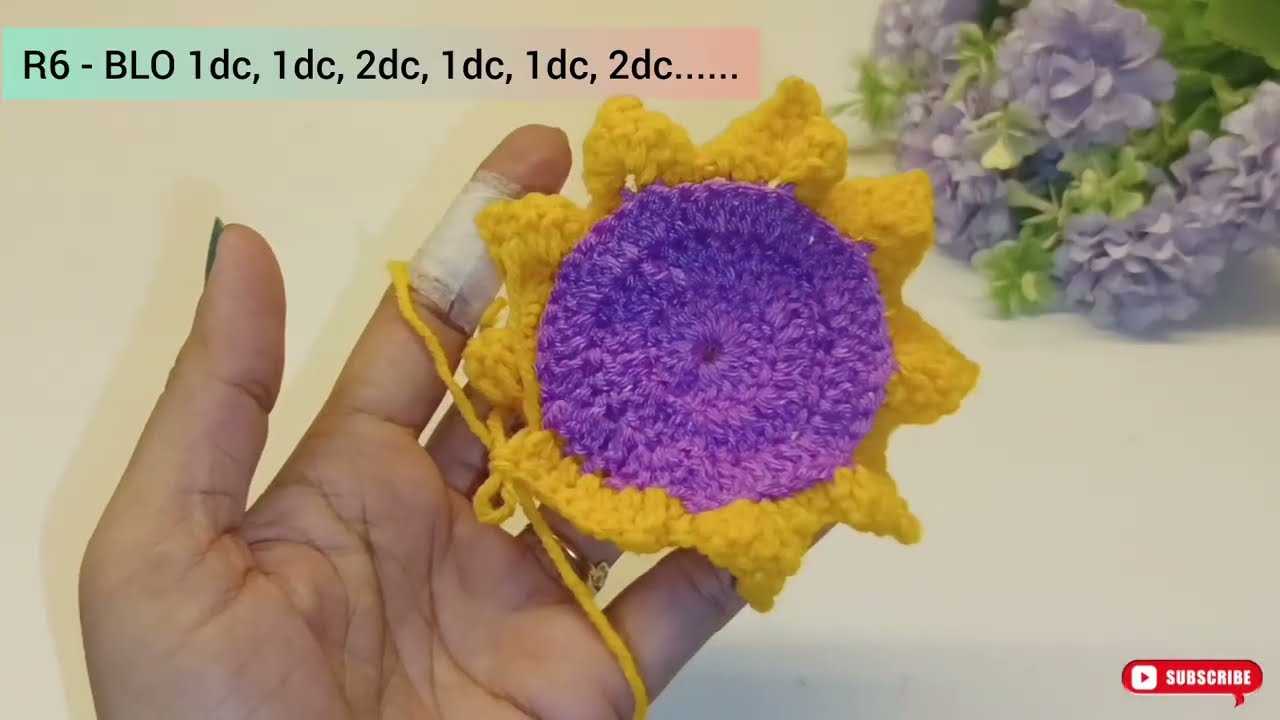
- Round 7 (Petal Foundation): ch 1 and work sc in the first stitch. ch 2. Skip the next stitch. Repeat [sc in next st, ch 2, sk 1] around the top rim. You should have 9 small loops/spaces. Join with a sl st to the first sc.
- Round 8 (Petal Shaping):sl st into the first ch-2 space.
- First Petal: Work [ch 3 (counts as dc), 1 dc, 1 tr, ch 1, 1 tr, 2 dc] into the same ch-2 space.
- Anchor: sl st into the next sc anchor point.
- Repeat: Work the full petal sequence [2 dc, 1 tr, ch 1, 1 tr, 2 dc] into the next ch-2 space. sl st into the next sc anchor point.
- Continue this sequence for all 9 petals. Join with a sl st to the first sl st of the round. Do not fasten off.
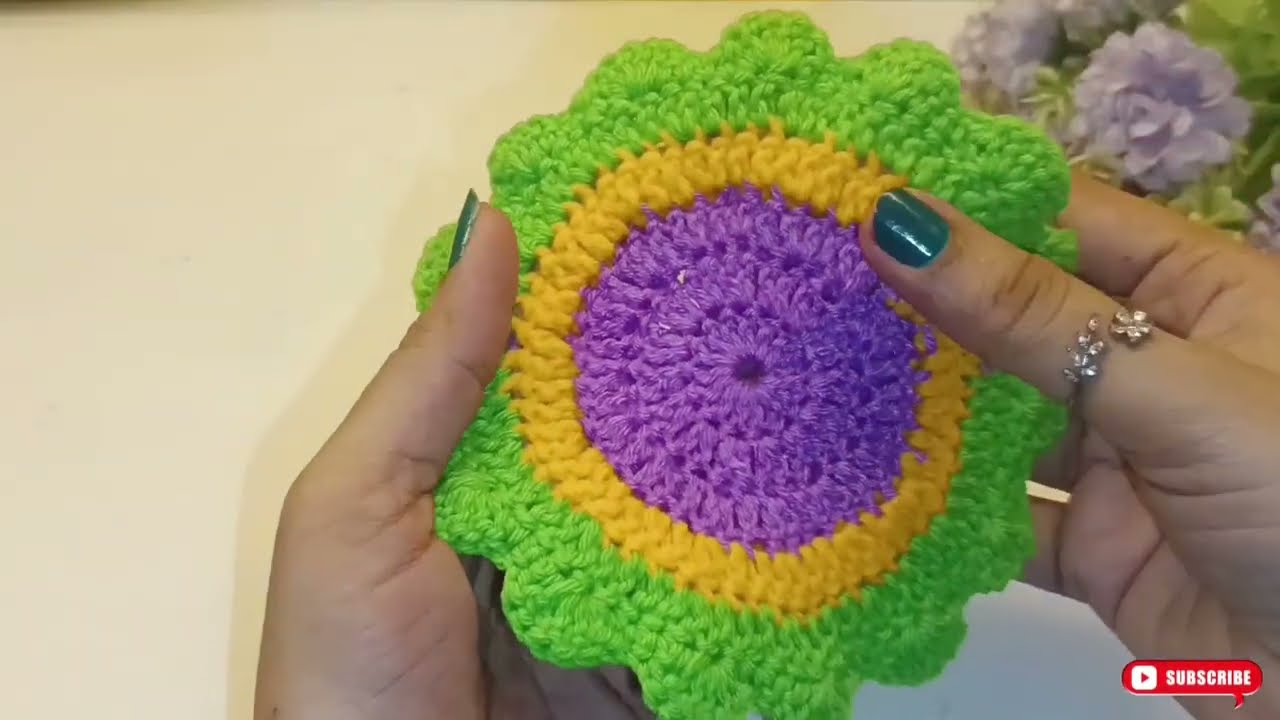
Part 3: Outer Petal Layer (Optional)
This layer adds fullness and a more dramatic, decorative look. We will work the new petals behind the first layer.
- Round 9 (Foundation for Outer Layer): Turn your work to the back. Work sl st into the base of the petals until you find a large space between the petal clusters (the space where the petals are anchored).
- Work sc into this space.
- ch 4 (this chain will span the width of the inner petal).
- sc into the next anchor space between petals.
- Repeat [ch 4, sc into the next anchor space] around. You will have 9 larger loops. Join with a sl st to the first sc.
- Round 10 (Outer Petal Shaping):sl st into the first ch-4 space.
- Outer Petal: Work [ch 3 (counts as dc), 2 dc, 2 tr, ch 1, 2 tr, 3 dc] into the same ch-4 space.
- Anchor: sl st into the next sc anchor point.
- Repeat: Continue the sequence [3 dc, 2 tr, ch 1, 2 tr, 3 dc] into the next ch-4 space, and sl st into the next anchor point.
- Join with a sl st to the first sl st of the round.

Part 4: Finishing and Safety
- Weave in Ends: Fasten off and use your tapestry needle to securely weave in all yarn tails on the underside and back of the holder.
- Shaping: Gently bend and shape the petals outward. Blocking (wetting and pinning the petals open) is highly recommended for cotton yarn to ensure the petals stand straight and hold their shape beautifully.
- Safety Check: Place your tealight candle inside the cup. Ensure that even the tallest part of the flame is far away from the crocheted petals. If using a real flame, only use a tall glass or metal candle holder inside the crochet cup. For ultimate safety, use an LED tealight.
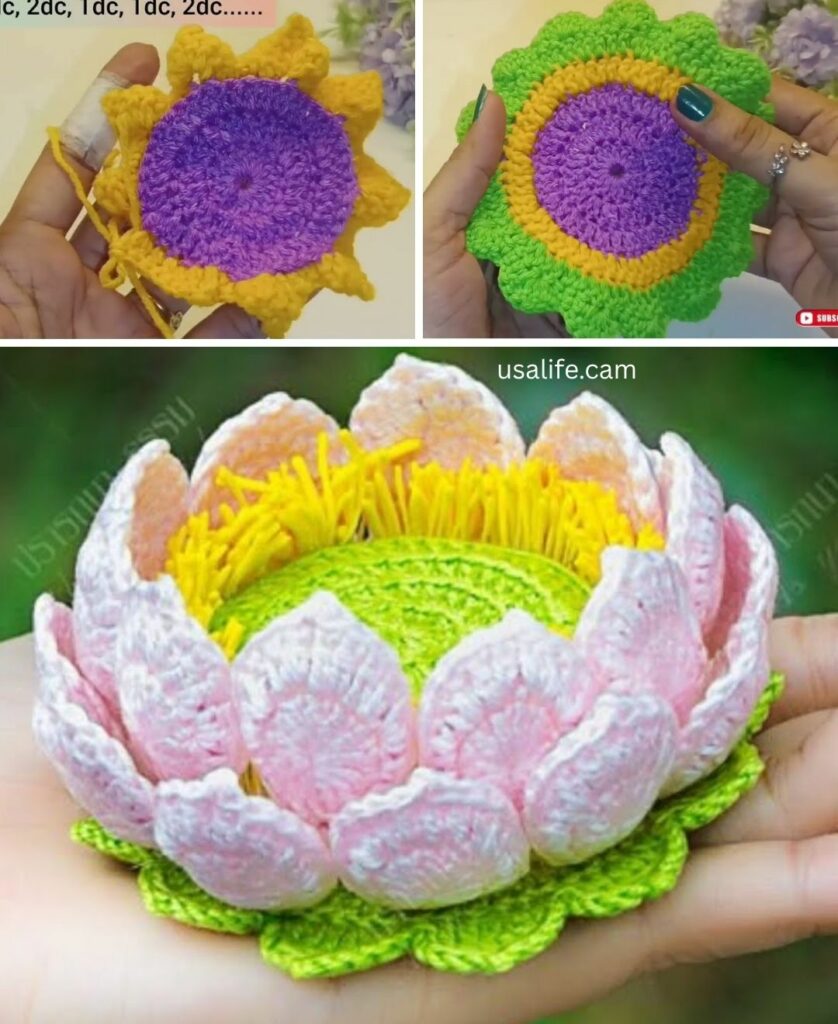
Your beautiful crocheted lotus candle holder is complete!
Video tutorial: