 by
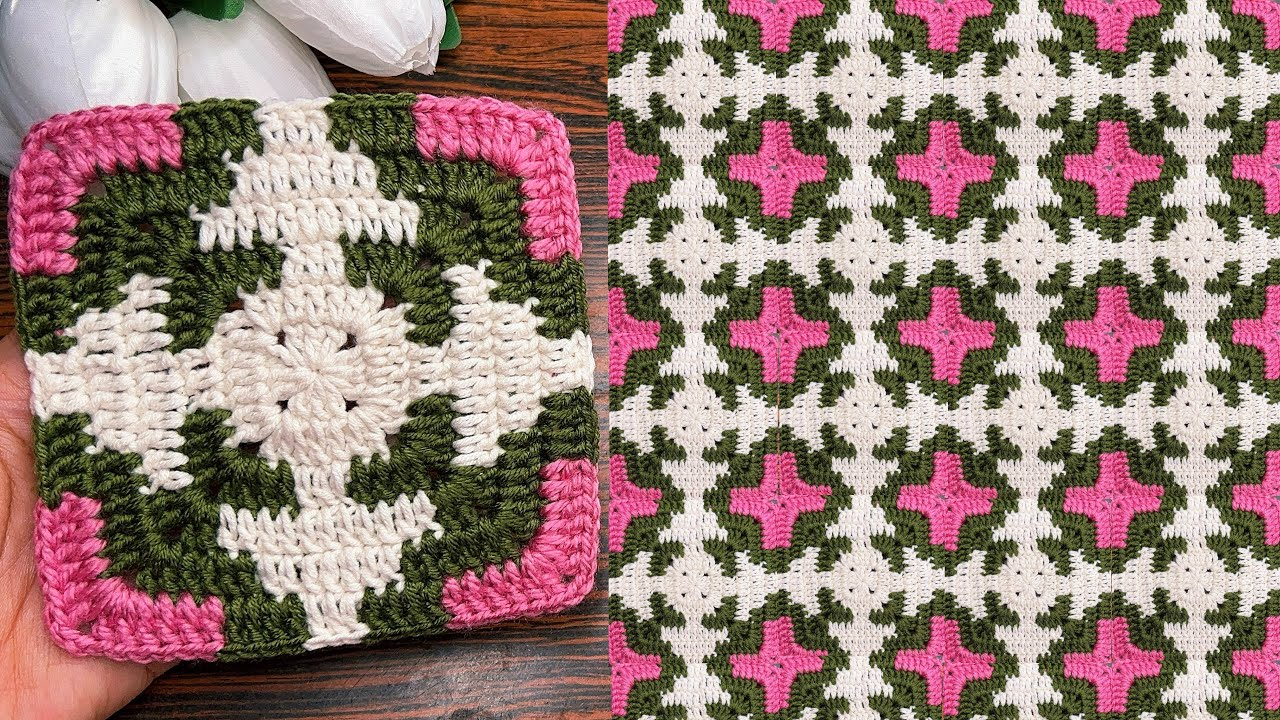
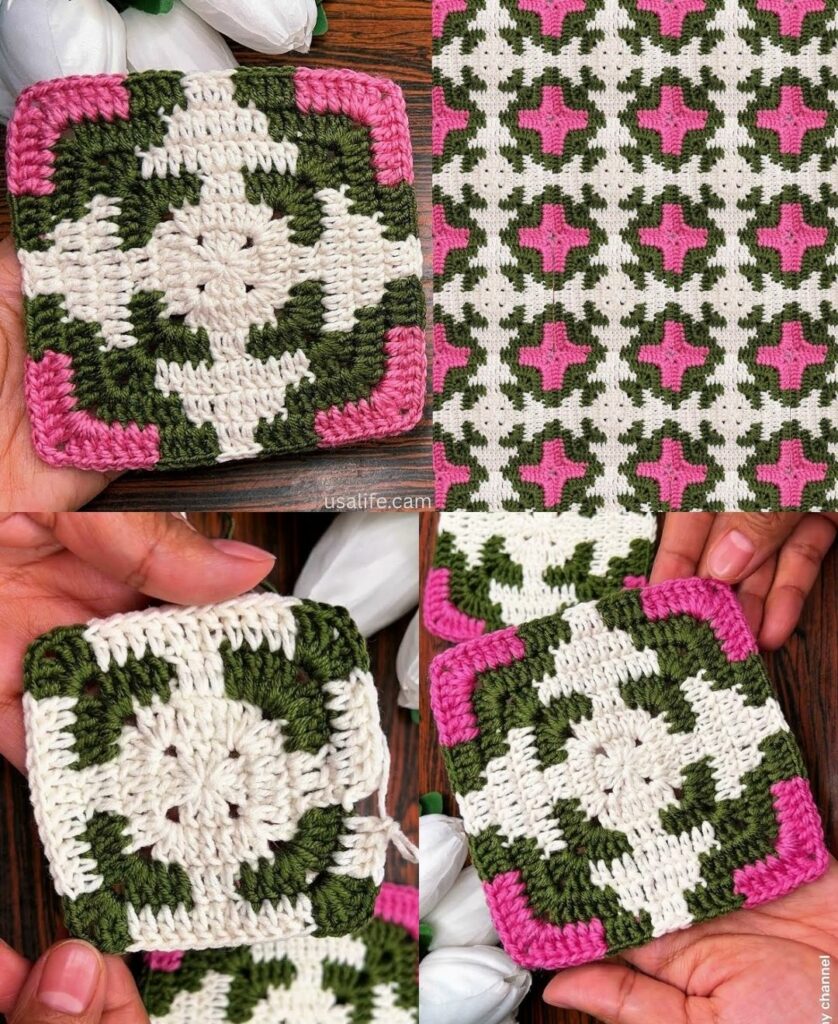
by The Granny Square is the undisputed “Lego brick” of the crochet world. It is the ultimate rite of passage for beginners and a go-to for experts. Once you master this one motif, you can create blankets, sweaters, bags, or even a full-sized coat.
The classic design is built using “clusters” (groups of 3 double crochets) and “spaces” (the holes created by chains).

🧶 The Essential Toolkit
To make your first square, go for a “smooth” yarn. Fuzzy or dark yarns make it nearly impossible to see where your hook needs to go.
| Item | Recommended | Why? |
| Yarn | Medium-weight (Worsted/Size 4) | Sturdy and easy to grip. |
| Hook | 5.0 mm (H/8) | The perfect size for standard yarn. |
| Colors | Light or Bright (Yellow, Cream, Pink) | You can see the “holes” clearly. |
Stitch Key (US Terms)
- ch: Chain
- sl st: Slip Stitch
- dc: Double Crochet
- Cluster: A group of 3 dc stitches worked into the same space.
- sp: Space (the hole created by your chains).
🛠 Step-by-Step Guide: The Classic Granny Square
Step 1: The Foundation
- Start: Make a slip knot on your hook.
- ch 4. 3. The Ring: Insert your hook into the first chain you made and work a sl st.
Result: You now have a tiny, tiny circle. You will be crocheting into the center hole of this circle, not into the individual chains.

Step 2: Round 1 (The Core)
- ch 3 (this counts as your first dc).
- Work 2 dc into the center of the ring. (This is your first Cluster).
- ch 2 (this creates your first corner).
- Work 3 dc into the ring, then ch 2.
- Repeat Step 4 two more times.
- Join: sl st into the top of your starting ch 3.
Check: You should see a tiny square with 4 clusters and 4 corner holes.
Step 3: Round 2 (The First Expansion)
- Move to Corner: sl st into the next 2 stitches, then sl st into the corner hole. (This gets your hook into the starting position).
- First Corner: ch 3 (counts as dc). In the same corner hole, work (2 dc, ch 2, 3 dc).
- ch 1 (this is your side space).
- Next Corners: In each of the remaining 3 corner holes, work: (3 dc, ch 2, 3 dc) followed by a ch 1.
- Join: sl st into the top of the starting ch 3.
Check: Every corner now has two clusters in it.

Step 4: Round 3 (Building the Sides)
- Move to Corner: sl st over to the first corner hole.
- Corner: ch 3. Work (2 dc, ch 2, 3 dc) in the corner. ch 1.
- The Side: Look at the hole on the side between corners. Work 3 dc into that hole. ch 1.
- Repeat: Follow the pattern around: Corners get (3 dc, ch 2, 3 dc); Side holes get (3 dc). Always put a ch 1 between every group.
- Join: sl st to the top of the ch 3 and fasten off.

💡 Troubleshooting Like a Pro
- The “Jellyfish” Effect: If your square is curling up like a bowl, your tension is too tight. Take a breath, relax your grip, or move up to a 5.5 mm hook.
- The “Hidden Stitch”: After you finish a corner, the first stitch of the next cluster is often hidden by the corner you just made. Pull your stitches back slightly to make sure you find that first hole.
- Counting: Always remember: Corners get two clusters. Sides get one. If you put two clusters on a side, your square will turn into a pentagon (which is cool, but not a square).
✨ Finishing Touches
- Fasten Off: Cut the yarn, leaving a 6-inch tail. Pull the loop through.
- Weave Ends: Use a tapestry needle to weave the tail back and forth through the stitches. If you just knot it and cut it, the square will eventually commit suicide and unravel.
- Blocking: If your square looks a bit wonky, pin it to a foam board in a perfect square shape and spray it lightly with water. Let it dry for 24 hours. It’s like sending your crochet to finishing school—it comes out perfect.
Would you like me to explain how to join these squares together to make a tote bag or a baby blanket?