 by
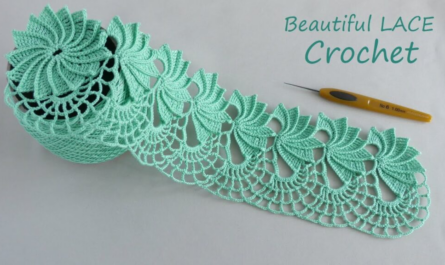
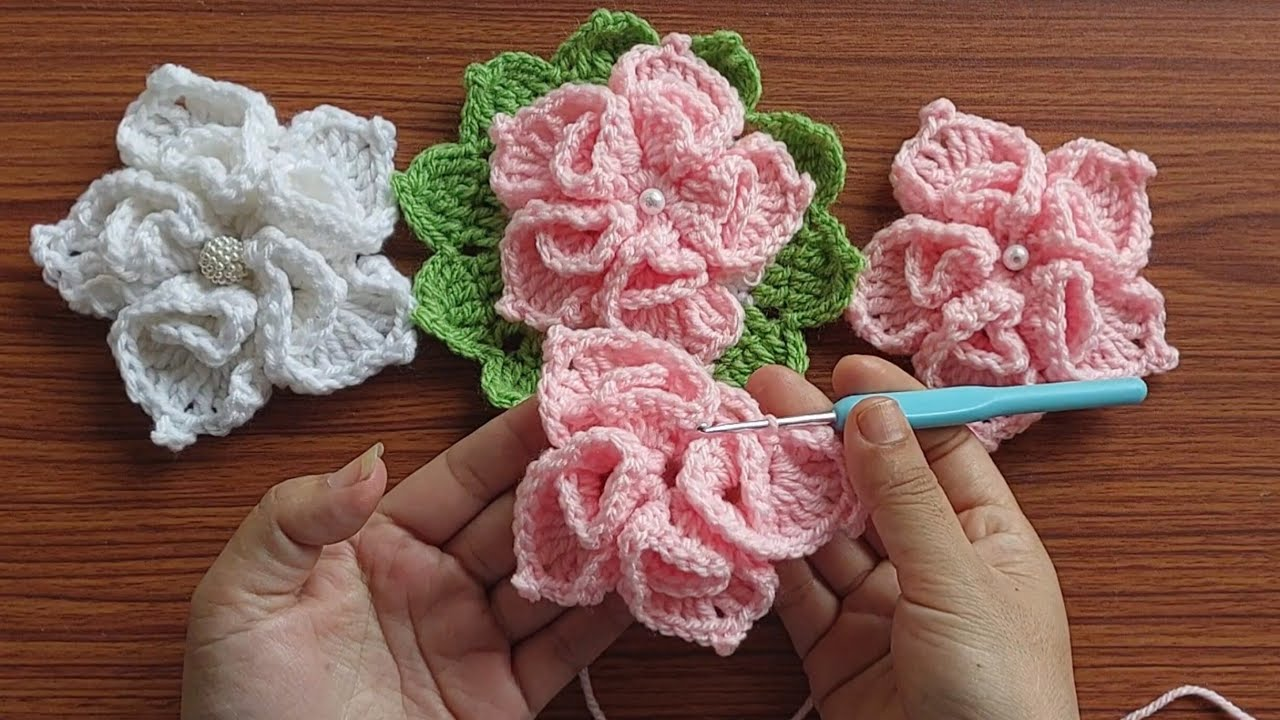
by Crochet flowers are the “gateway drug” to the fiber arts. They are small, provide instant gratification, and—unlike a massive blanket—you can finish one in the time it takes to brew a cup of coffee.
For a beginner, the “Classic Five-Petal Bloom” is the gold standard. It teaches you how to work in a circle, how to manage “stitch heights” to create curves, and how to finish a project without it unraveling.

🛠 The Beginner’s Toolbox
Before you dive in, let’s talk gear. If you use yarn that is too dark or too “fuzzy,” you won’t be able to see your stitches, and that is the fastest way to lose your mind.
| Material | Recommendation | Why? |
| Yarn | 100% Cotton or “Anti-Pilling” Acrylic | Stitches are crisp and easy to count. |
| Hook | 5.0 mm (H/8) | Large enough to hold comfortably without cramping. |
| Color | Yellow, Pink, or Mint | Light colors make the “holes” (where you insert the hook) obvious. |
Essential Stitch Key (US Terms)
- ch (Chain): The start of everything.
- sl st (Slip Stitch): Used to join the petals.
- sc (Single Crochet): A short, sturdy stitch.
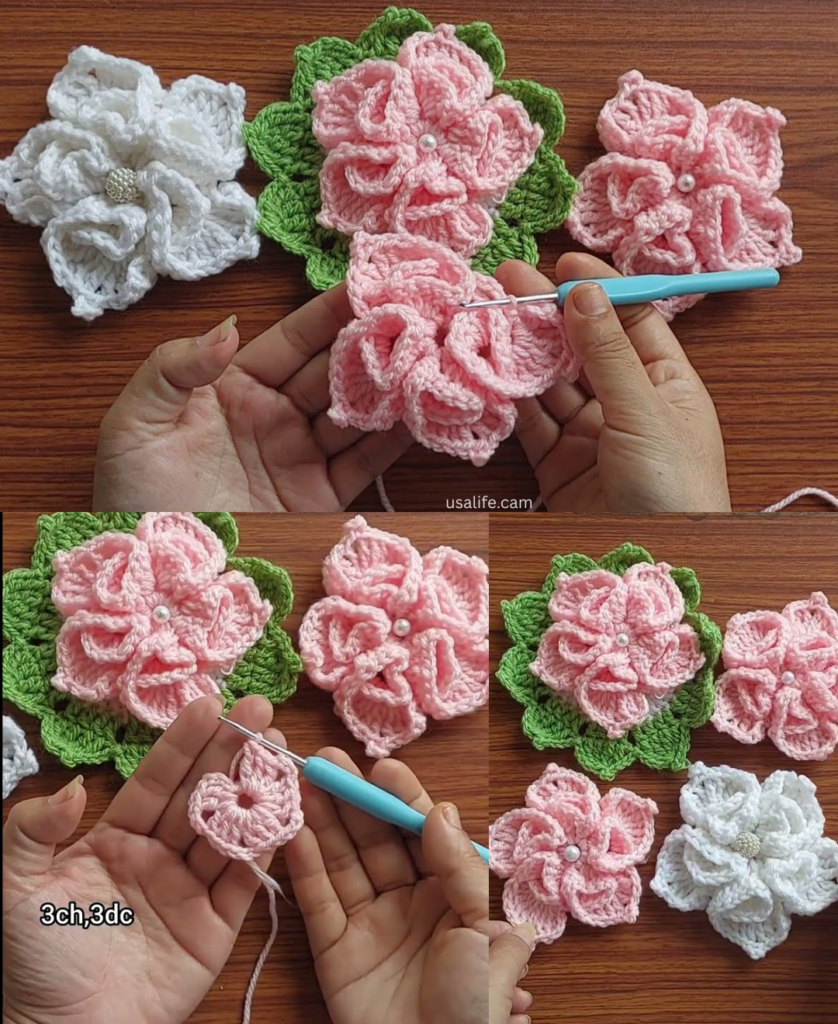
- dc (Double Crochet): A tall stitch that gives the petals their “rounded” look.
🧶 Step-by-Step: The Classic Five-Petal Bloom
Step 1: The Foundation (The Center)
- Make a Slip Knot and put it on your hook.
- ch 4.
- Insert your hook into the first chain you made and work a sl st.
- You now have a tiny, tiny circle. This is the “eye” of your flower.
Step 2: Round 1 (Setting the Petal Bases)
We are going to crochet into the center of the circle, not into the individual chains.
- ch 1 (this is just to get your hook to the right height).
- Work 10 sc into the center of the circle.
- sl st into the first sc you made to close the circle.

Note: You should now have a little “doughnut” with 10 stitches around the edge.
Step 3: Round 2 (Growing the Petals)
Each petal is worked over 2 stitches of the circle.
- Petal 1:
- ch 2 (counts as first part of petal).
- In the same stitch, work 2 dc.
- In the next stitch, work 2 dc and ch 2.
- sl st into that same second stitch. (Petal 1 finished!)
- Petal 2-5:
- sl st into the next “empty” stitch on the circle.
- Repeat the petal sequence: [ch 2, 2 dc in same stitch], [2 dc in next stitch, ch 2, sl st in same stitch].
- Keep going until you have 5 beautiful petals.

💡 Pro-Tips for “Magnificent” Flowers
- Mind Your Tension: Beginners often pull the yarn like they’re trying to win a tug-of-war. If your hook is hard to push through the loops, loosen up. Your flower should feel soft, not like a piece of cardboard.
- The “Magic Ring” Cheat: If you hate the little hole in the middle of your flower, look up the “Magic Ring” technique. It allows you to pull the center tight until the hole completely disappears.
- Yarn Chicken: Always make sure you have at least 3 times the diameter of your flower in yarn left before starting the final petal, or you’ll lose the game of “yarn chicken.”
🎨 How to Use Your Flowers
Once you’ve made ten of these, you have options:
- Hair Accessories: Hot glue them to a bobby pin or an elastic band.
- Home Decor: String them together with a long chain to make a Flower Garland for a nursery or window.
- Appliqué: Sew them onto a plain denim jacket or a beanie to give it a custom, boutique feel.

Would you like me to show you how to add a second color to the center of the flower for a “Daisy” look?