 by
by 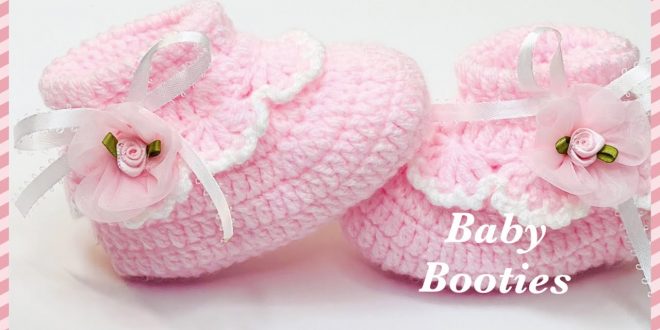
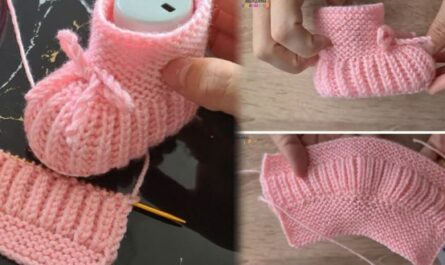
Tiny toes deserve tiny shoes, and what’s sweeter than crocheting a pair of adorable booties for your little one (or as a thoughtful gift)? This beginner-friendly pattern guides you through the process, stitch by stitch, to create cozy and comfortable booties that are both practical and oh-so-cute!
Materials:
- Sport weight yarn (approx. 50g) in your preferred color(s)
- Crochet hook size appropriate for your yarn (typically 3.5mm – 4mm)
- Yarn needle
- Tapestry needle (optional, for embroidery details)
- Stitch marker (optional)
- Scissors
Gauge:
18 stitches x 24 rows in double crochet = 10cm x 10cm (adjust hook size if needed to achieve gauge)
Finished Size:
Approximately 0-3 months old (easily adjustable for different sizes)

Instructions:
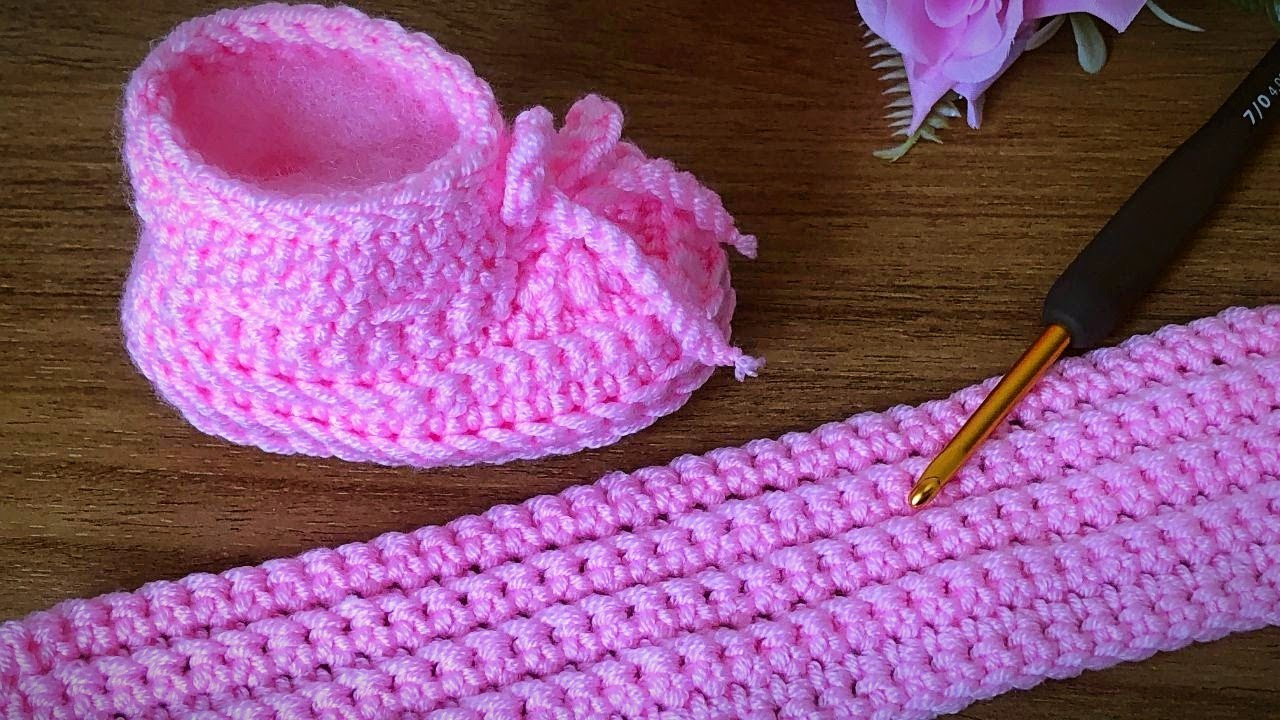
Sole:
- Chain 18.
- Row 1: Double crochet (dc) in each stitch across, turn (18 dc).
- Row 2: Chain 2 (counts as first dc), dc in each stitch across, turn (18 dc).
- Repeat rows 2 and 3 for a total of 20 rows.
Heel:
- Row 21: Dc in the first 8 stitches, turn (8 dc).
- Row 22: Chain 2, dc in each stitch across, turn (9 dc).
- Rows 23-26: Repeat row 22, increasing 1 dc at the end of each row (10, 11, 12, 13 dc).
- Row 27: Dc in the first 13 stitches, turn (13 dc).
- Row 28: Chain 2, dc in each stitch across, turn (14 dc).
- Rows 29-32: Repeat row 28, decreasing 1 dc at the end of each row (13, 12, 11, 10 dc).
Sides:
- Work 18 dc evenly spaced along the open edge of the heel flap (9 on each side).
- Continue working dc around the sides and sole of the bootie, joining each round with a slip stitch to the first dc (36 dc).
- Work 3 rounds of dc in the same way, increasing 1 dc at each corner (40, 44, 48 dc).
Toe:
- Row 51: Dc in the first 12 stitches, 2 dc in the next stitch, dc in the next 20 stitches, 2 dc in the next stitch, dc in the last 12 stitches (52 dc).
- Row 52: Chain 2, dc in each stitch across, turn (52 dc).
- Row 53: Dc in the first 11 stitches, 2 dc together, dc in the next 18 stitches, 2 dc together, dc in the last 11 stitches (48 dc).
- Row 54: Chain 2, dc in each stitch across, turn (48 dc).
- Repeat rows 53 and 54, decreasing by 2 dc at the toe until 8 dc remain.
- Fasten off, leaving a long tail for sewing.
Finishing Touches:
- Sew the sides of the bootie together using the yarn needle and mattress stitch.
- Fold the heel flap down and sew it in place.
- (Optional) You can embellish your booties with embroidery details like flowers, hearts, or initials.
- Weave in all loose ends.
Customization Tips:
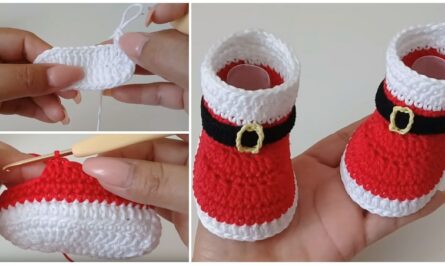
- Change yarn colors for a fun and personalized look.
- Add a simple ribbing stitch around the top edge for a more finished look.
- Make larger booties by using a bigger hook and yarn weight, and increasing the number of stitches accordingly.
- Add a ribbon or button closure for adjustability.
Remember: This pattern is a basic guide, feel free to adjust it to your preferences and creativity! Enjoy the process of crocheting these adorable booties, and don’t forget to share your creations online with the hashtag #CrochetedBabyBooties!
Additional Resources:
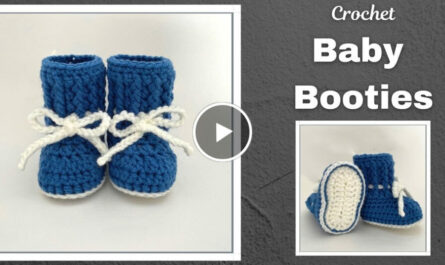
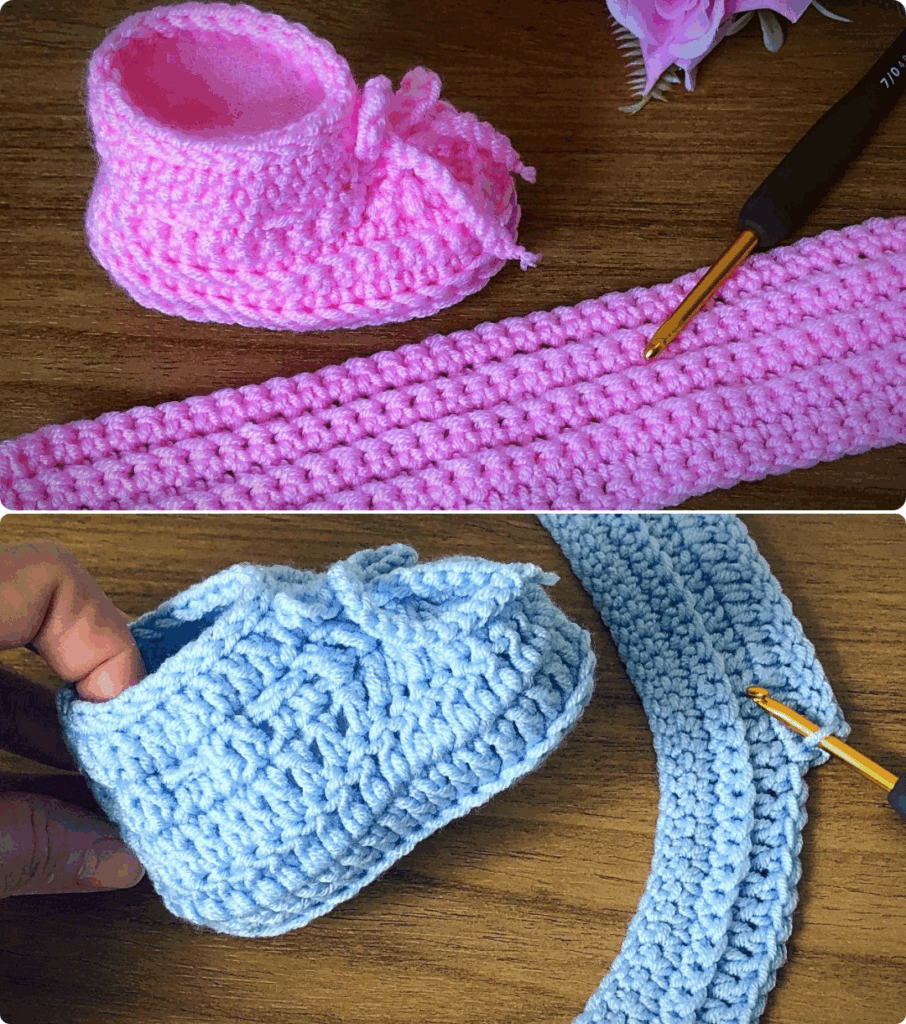
- For visual learners, check out these video tutorials on crocheting baby booties:
Video tutorial