That’s a fantastic idea! A striped crochet baby blanket is a timeless and versatile project. It’s perfect for showcasing different colors, practicing color changes, and creating a visually appealing design. Plus, it’s a wonderfully practical and heartfelt gift for any baby.
Given that it’s currently warm in Phnom Penh, choosing the right yarn is important. You’ll want something soft, gentle on delicate skin, and easy to care for, while also considering breathability.
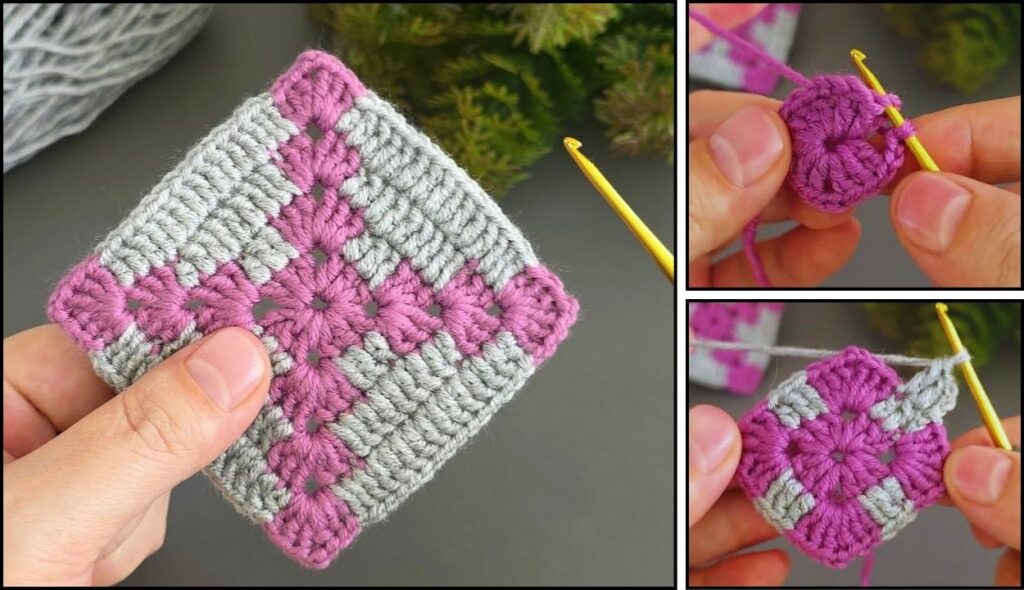
Choosing the Right Yarn for Your Striped Baby Blanket
- 100% Cotton: An excellent choice for warmer climates like Phnom Penh. Cotton is breathable, soft, absorbent, and very easy to wash. It provides good stitch definition, which will make your stripes look crisp, and has a lovely drape.
- Baby-Specific Acrylics: Many yarn brands offer acrylic yarns specifically designed for babies. These are usually incredibly soft, often anti-pilling (meaning they won’t get little fuzzy balls after washing), and hypoallergenic. Acrylic is very durable, machine washable and dryable, and comes in a huge range of colors, making it perfect for stripes.
- Cotton Blends (e.g., Cotton/Acrylic): These can offer a great balance, combining the softness and breathability of cotton with the durability and wide color range of acrylic.
- Avoid: Wool (unless it’s superwash and guaranteed non-itchy), very textured or “hairy” yarns (which can be irritating or shed), or very thin, delicate yarns (which might make the blanket too flimsy).
Yarn Weight: For a baby blanket, DK (Double Knitting) weight / Light Worsted (Category 3) or Worsted Weight (Aran / Medium / Category 4) are the most common and versatile choices. DK will result in a lighter, drapier blanket, while worsted will create a slightly thicker, cozier one.
How to Crochet a Striped Baby Blanket: Simple Half Double Crochet (HDC) Pattern
This tutorial will guide you through making a soft, textured striped baby blanket using the half double crochet (hdc) stitch. This stitch is ideal for blankets because it works up faster than single crochet but creates a denser, cozier fabric than double crochet. The pattern creates a standard rectangular baby blanket size, and it’s easily adjustable.
1. Essential Materials You’ll Need
- Yarn:
- Worsted Weight Cotton or Baby-Specific Acrylic Yarn: You’ll need multiple colors for your stripes. For a blanket approximately 30 x 36 inches, you’ll need about 800-1200 yards total (around 400-600 grams, or 4-6 standard skeins). Divide this among your chosen colors. For example, if you choose 4 colors, you’d need 200-300 yards of each.
- Crochet Hook:
- A 5.0mm (US H/8) or 5.5mm (US I/9) hook. This size is typically recommended for worsted weight yarn and creates a comfortable, slightly relaxed fabric that drapes well without being too loose.
- Scissors: For cutting yarn.
- Yarn Needle (Tapestry Needle): Absolutely essential for weaving in all those yarn tails from color changes!

2. Basic Crochet Stitches You’ll Use
You’ll only need to master a couple of basic stitches for this project:
- Chain (ch): The very first step, forming your foundation row.
- Half Double Crochet (hdc): Your primary stitch for the body of the blanket.
- Fasten Off: To securely end your work.
- Weaving in Ends: Hiding yarn tails for a neat and professional look.
- Color Changes: This is the key technique for stripes!
Crochet Striped Baby Blanket Pattern (Approx. 30 x 36 inches / 76 x 91 cm)
This size is great for a newborn or stroller blanket. You can easily adjust the size by changing your starting chain and the number of rows.
Abbreviations (US Crochet Terms):
- ch: chain
- hdc: half double crochet
- st(s): stitch(es)
- FO: Fasten off
Understanding Color Changes
For clean, crisp stripes, you’ll change colors at the end of a row. There are two main ways to do this:
- Cut Yarn at Each Change: This creates very clean stripes but results in many more ends to weave in.
- Carry Yarn Up the Side: For stripes that repeat frequently, you can drop the old color, work with the new, and then pick up the old color again without cutting. This creates fewer ends but can make a slightly visible edge if not done carefully. For a beginner, cutting yarn at each change is often easier to manage for a truly neat stripe. This pattern assumes you will cut yarn.

How to Change Colors at the End of a Row:
- Work the last hdc stitch of the row up to the last yarn over. You should have 3 loops on your hook.
- Drop the current color yarn. Pick up your new color yarn.
- Yarn over with the new color and pull through all 3 loops on your hook to complete the hdc stitch.
- Now, with the new color, ch 2 (your turning chain for the next row).
- Turn your work.
- Cut the old color yarn, leaving a tail about 6-8 inches long to weave in later.
Step 1: Create the Foundation Chain (Determines Blanket Width)
The number of chains you make here will determine the width of your blanket.
- Make a slip knot with your first color (Color A) on your hook.
- Ch 112. (This will create a blanket that’s approximately 30 inches wide. If you want a wider blanket, chain more stitches; for a narrower one, chain fewer. For this pattern, aiming for an even number of starting chains generally works best).
Step 2: Work the First Row (Color A)
This row establishes your first line of half double crochet stitches.
- Hdc in the 3rd ch from your hook. (The first 2 chains you skipped count as the turning chain for your first hdc stitch, creating a neat edge).
- Hdc in each remaining chain across the row.
- You should have 110 hdc stitches in this first row. (Your hdc count will be 2 less than your starting chain).
- Change color to Color B as you complete the last hdc stitch of this row.
- Ch 2 (with Color B).
- Turn your work.
- Cut Color A yarn, leaving a tail for weaving in.

Step 3: Work Subsequent Rows (Building the Blanket Length & Stripes)
You’ll repeat this simple step, alternating colors, until your blanket reaches the desired length.
- Row 2 (Color B): Hdc in the first hdc stitch of the previous row.
- Hdc in each hdc stitch across the row.
- You should always have 110 hdc stitches in each row.
- Change color to Color A as you complete the last hdc stitch of this row.
- Ch 2 (with Color A).
- Turn your work.
- Cut Color B yarn, leaving a tail for weaving in.
Continue this pattern:
- Work 1 or 2 rows per color before changing. For bold, defined stripes, 2 rows of each color work well. For thinner stripes, do 1 row.
- Keep alternating between Color A and Color B (or introduce more colors if you wish!).
- Repeat until your blanket is as long as you want it to be. For a standard baby blanket, aiming for about 36 inches (91 cm) in length is a good starting point. This will typically take about 80-90 rows total, depending on your tension and yarn.
Step 4: Fasten Off
Once your blanket has reached its desired length:
- After completing your last hdc stitch in the final row, cut your yarn, leaving a tail about 6-8 inches (15-20 cm) long.
- Yarn over your hook, and then pull the cut tail completely through the loop on your hook.
- Pull the tail firmly to create a knot and secure your work.
Step 5: Weave in All Ends NEATLY!
This is the most crucial (and often the most time-consuming) step for a striped blanket, but it makes all the difference for a professional finish.
- Thread your yarn needle with each yarn tail individually.
- Carefully weave each tail into the corresponding color’s stitches along the edge of the blanket. Go back and forth through several stitches (about 2-3 inches) in different directions to ensure it’s secure and won’t unravel with use or washing. Avoid pulling too tightly, which can distort the fabric.
- Take your time on this step – well-woven ends prevent unraveling and create a truly beautiful finish.

Step 6: Optional: Add a Border
A simple border can give your striped blanket a more finished and polished look.
- Rejoin yarn (can be one of your stripe colors or a new coordinating color) with a sl st into any corner stitch of your blanket.
- Round 1 (Single Crochet Border): Ch 1 (does not count as a st).
- Work sc evenly all the way around the entire blanket.
- Along the sides (raw edges of rows): Work 1 sc for each hdc row (or 2 sc for every 3 hdc rows, adjusting to keep the edge flat and prevent puckering).
- For the corners: Work (sc, ch 2, sc) into each corner stitch (this helps the border turn neatly without pulling).
- Join with a sl st to the first sc.
- Round 2 (Optional – Another Row of SC or HDC): Ch 1 (or ch 2 for hdc). Work sc (or hdc) in each st around, working (sc, ch 2, sc) (or (hdc, ch 2, hdc)) in each ch-2 corner space. Join with a sl st to the first st.
- Fasten Off, weave in ends.
Step 7: Blocking (Highly Recommended)
Blocking makes a significant difference for crochet blankets. It helps:
- Even out your stitches and tension.
- Flatten the blanket so it lies perfectly flat.
- Define the stripes and stitch pattern.
- Method:
- Gently wet your finished blanket (you can submerge it in cool water with a tiny bit of mild soap, then gently squeeze out excess water without twisting, or simply mist it thoroughly with a spray bottle).
- Lay it flat on a blocking mat, a clean towel, or any flat, even surface where it can dry undisturbed.
- Gently stretch and shape the blanket to your desired dimensions (a perfect rectangle). You can use rust-proof pins to hold it in place along the edges if you have them.
- Allow it to air dry completely. This might take several hours or even overnight. Do not use heat (like a hairdryer) as it can distort the yarn and ruin your work.
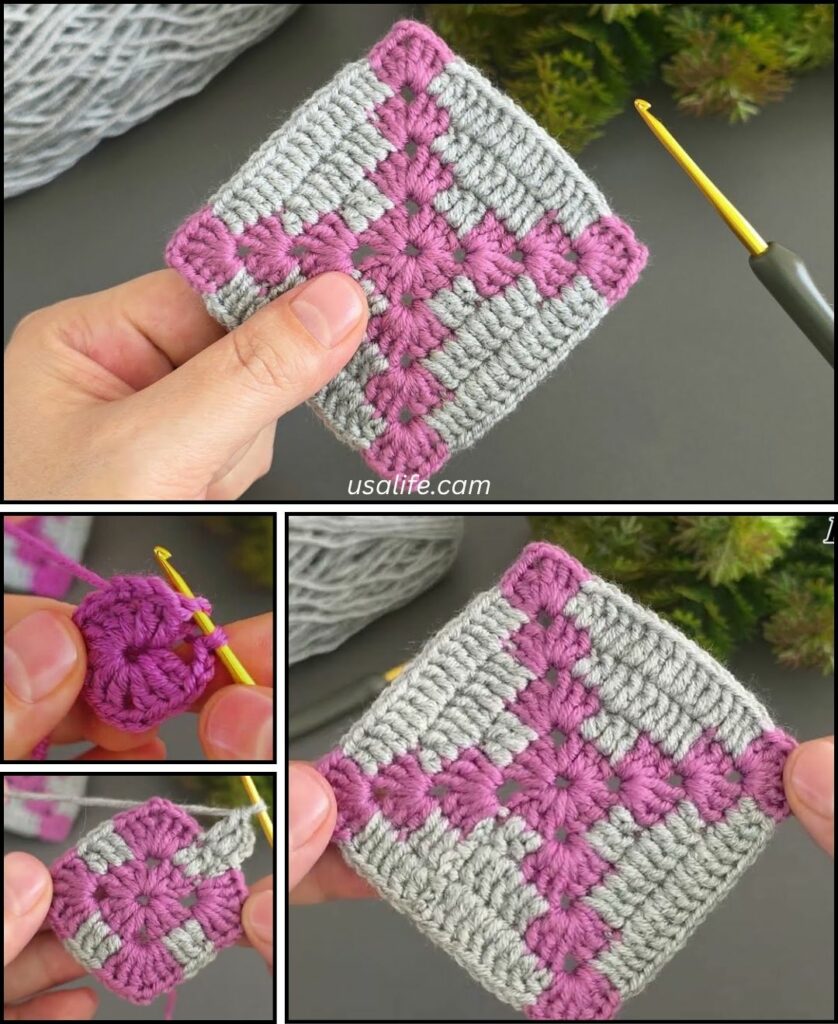
Tips for a Successful Striped Baby Blanket
- Consistent Tension: This is the most important factor for a flat, even blanket with straight stripes. Practice makes perfect!
- Counting Stitches: Always count your stitches at the end of each row to ensure you’re not accidentally adding or dropping stitches, which would make your blanket uneven.
- Neat Color Changes: Mastering the technique of changing colors at the last yarn over is key for crisp stripes.
- Yarn Quality: For baby items, prioritize softness and washability. Always check your yarn label for specific washing instructions.
- Planning Stripes: Decide on your stripe sequence beforehand. Will they be even, or will you have thinner accent stripes? Experiment with different color combinations!
- Enjoy the Process: Crocheting should be relaxing and enjoyable. Don’t stress too much about minor imperfections; they are part of the charm of handmade items.
You’re now ready to crochet a beautiful striped baby blanket! It’s a truly special and cherished item to create with your own hands.
