 by
by That’s a fantastic idea! Crocheting a tablecloth and cushion cover is a wonderful way to personalize your home decor, adding handmade warmth, unique texture, and vibrant color to your living space. These projects can seem ambitious, but they are essentially a repetition of simpler stitches and motifs.
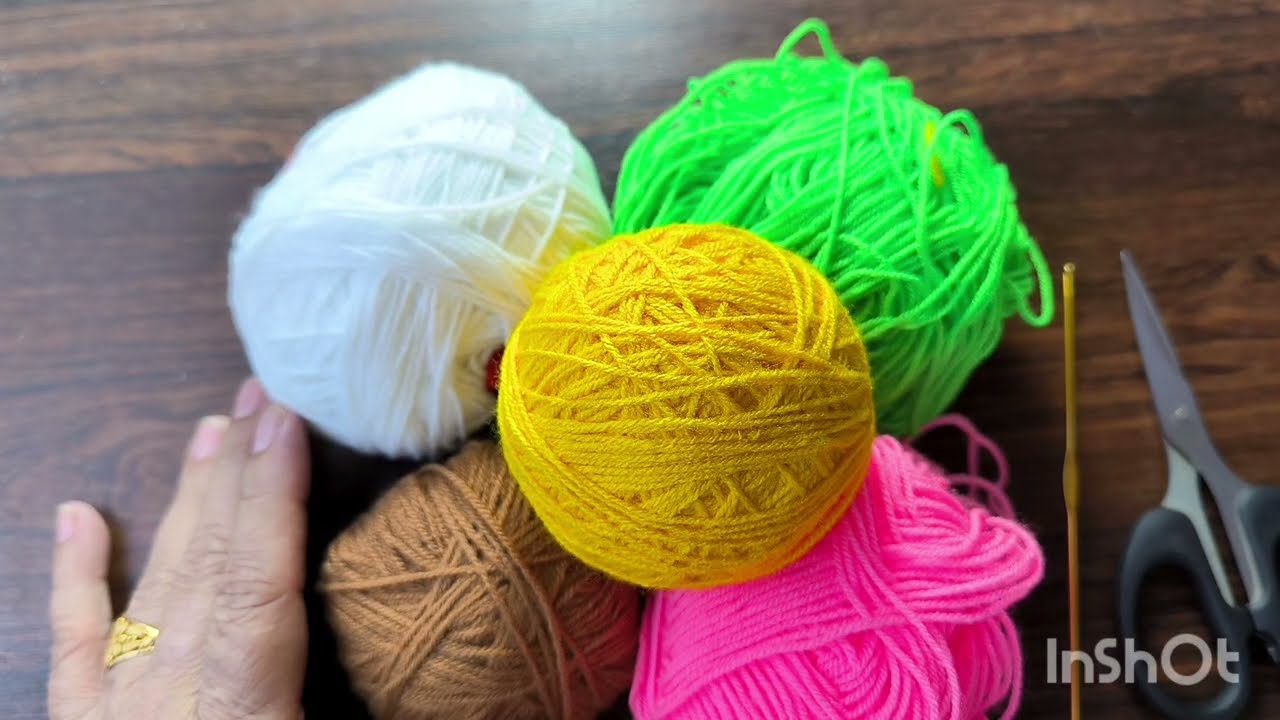
Given that it’s warm in Phnom Penh, choosing the right yarn is crucial for comfort and durability. 100% cotton yarn is highly recommended for both tablecloths and cushion covers. Cotton is:
- Breathable: Ideal for warmer climates.
- Durable: Stands up well to frequent use and washing.
- Absorbent: Great for spills on a tablecloth.
- Soft: Comfortable for cushion covers.
- Easy to Wash: Essential for home decor items.
- Holds Shape Well: Maintains the integrity of your design.
- Excellent Stitch Definition: Your patterns will look crisp and clear.

How to Crochet a Tablecloth
Crocheting a tablecloth can range from a simple, solid fabric to an intricate lace design. For a beginner-friendly yet beautiful approach, we’ll focus on a repeating motif joined together, like a granny square, or a simple stitch worked in rows that allows for easy sizing.
1. Essential Materials You’ll Need
- Yarn: 100% Cotton Yarn (Worsted Weight / Aran / Medium / Category 4) is a versatile choice. The amount needed will vary significantly based on your table size and stitch pattern. For a medium-sized table (e.g., 60×80 inches / 150×200 cm), you could need anywhere from 2000-4000 grams (approx. 3500-7000 yards or more). It’s always better to overestimate!
- Crochet Hook: A 5.0mm (US H/8) or 5.5mm (US I/9) hook is a good starting point for worsted weight cotton. For a more open, lacy look (if using thinner yarn), you might go up a hook size.
- Scissors: For cutting yarn.
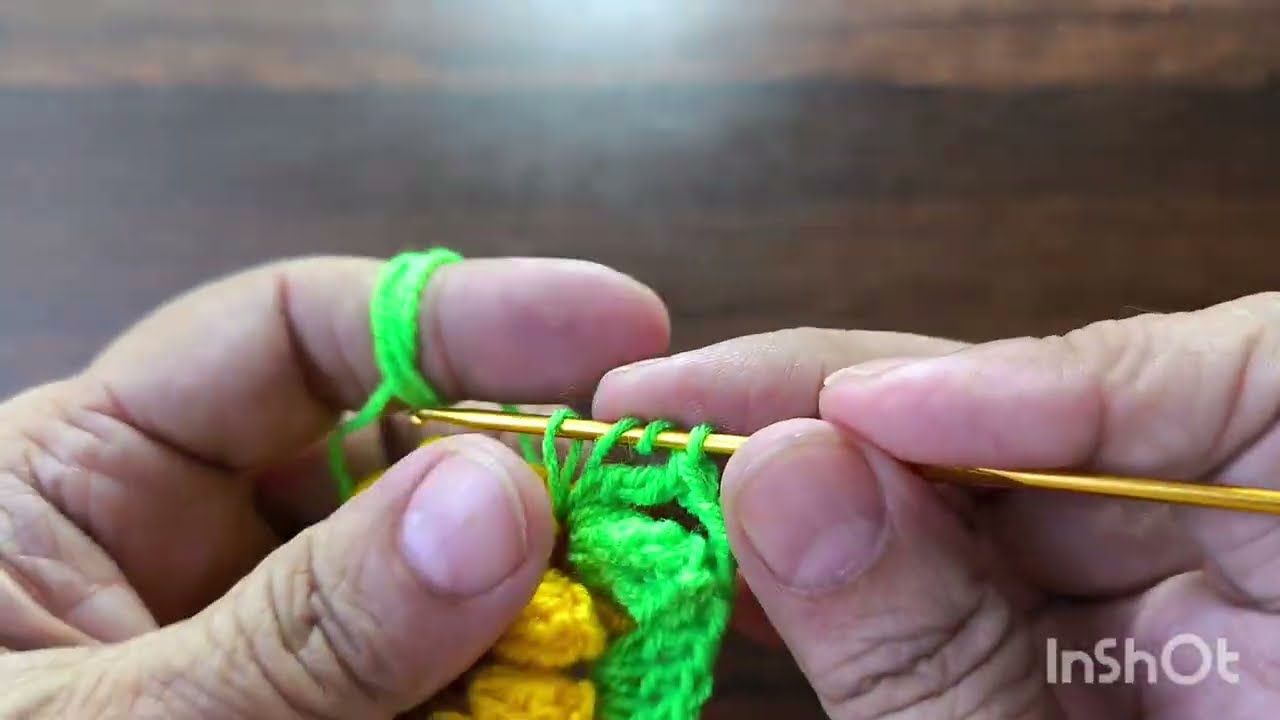
- Yarn Needle (Tapestry Needle): Essential for weaving in ends and joining motifs.
- Stitch Markers (Optional): Helpful for marking repeats or the beginning of rows/rounds.
- Measuring Tape: To regularly check your progress against your desired dimensions.
2. Choosing a Pattern & Stitch for Your Tablecloth
- Option A: Joined Motifs (e.g., Granny Squares)
- Concept: Crochet many individual squares (or other shapes like hexagons or circles) and then stitch them together to form the tablecloth. This is excellent for beginners as you work in small, manageable pieces.
- Pros: Portable, great for learning, endless color possibilities, hides tension inconsistencies well.
- Cons: Lots of ends to weave in, requires joining many pieces.
- How-to:
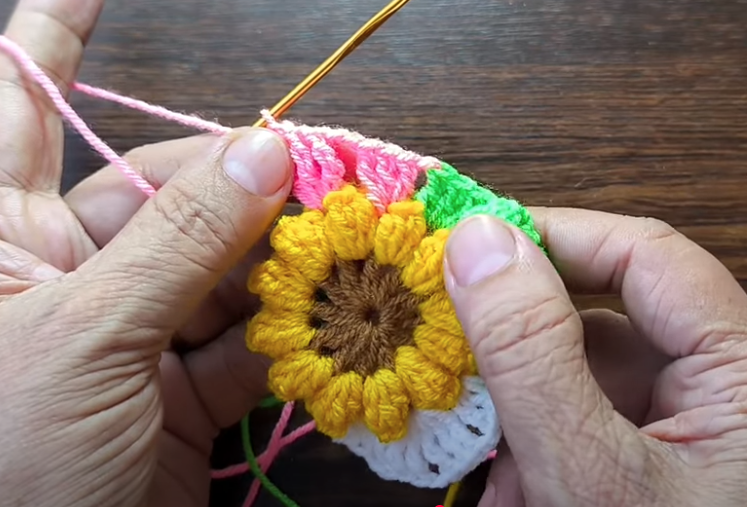
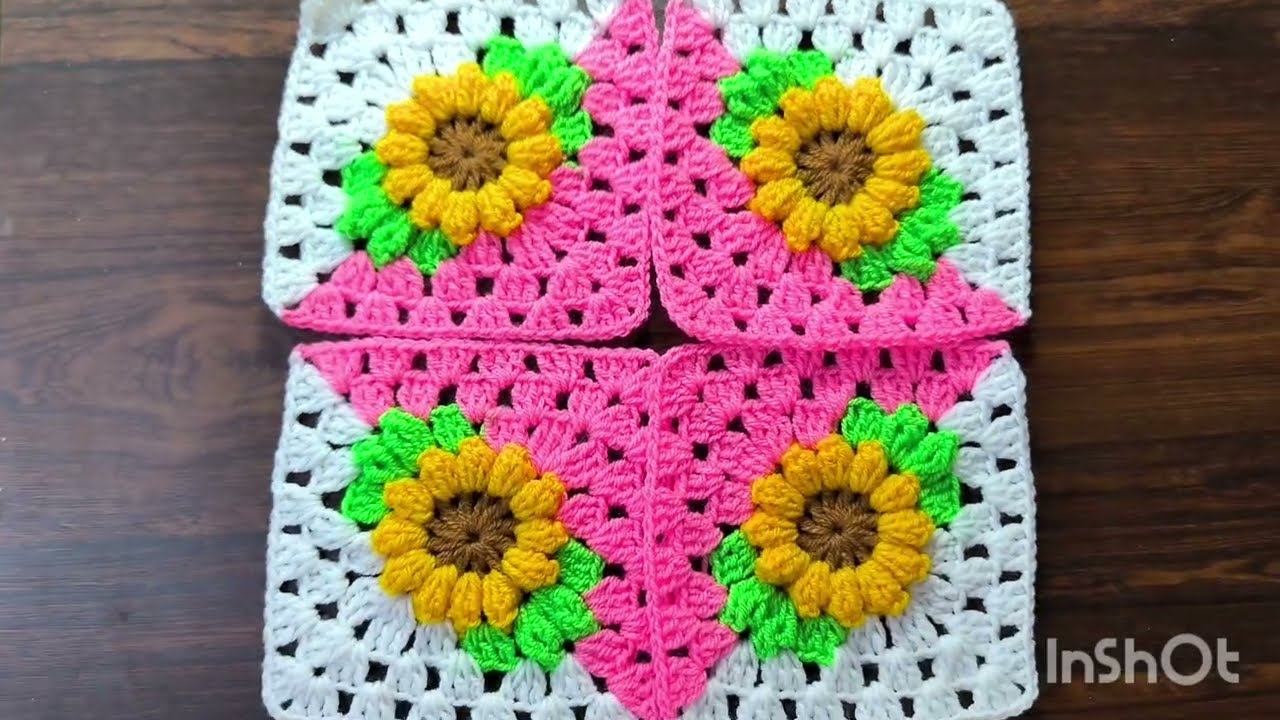
- Choose your motif: The classic granny square (as discussed previously) is perfect. You can also use solid squares, floral squares, or other geometric shapes.
- Determine motif size: Decide how large each individual motif will be.
- Calculate motifs needed: Measure your table. Divide the total length and width by your motif’s size to get an approximate number of motifs for each dimension. Multiply to get the total. Always make a few extra!
- Crochet motifs: Make all your squares according to your chosen pattern.
- Join motifs: Use a seamless joining method like slip stitch joining, single crochet joining, or the “join-as-you-go” method. Join all your motifs into a large rectangle.
- Add a border (optional): Once all motifs are joined, you can work a uniform border around the entire tablecloth (e.g., a few rounds of single crochet, double crochet, or a decorative lace border).
- Weave in ends: This is the biggest task for motif-based blankets.
- Block: Block the finished tablecloth to ensure it lies flat and dimensions are accurate.
- Option B: Simple Stitch in Rows
- Concept: Work the entire tablecloth as one large piece, back and forth in rows.
- Pros: Fewer ends to weave in, continuous fabric, can be meditative once you get a rhythm.
- Cons: Can be cumbersome to handle as it grows, requires consistent tension over a long piece.
- How-to (using Half Double Crochet – HDC):
- Measure your table: Decide on the exact length and width you want your tablecloth to be. Add a few inches for drape if desired.
- Make a gauge swatch: Chain about 20-30 stitches. Work 10 rows in HDC. Measure your swatch. This tells you how many stitches per inch you make.
- Calculate starting chain: Multiply your desired width by your stitches per inch from the swatch. Round to the nearest whole number. Make a starting chain of that many stitches (plus 2 for the turning chain).
- Example: If you want 60 inches wide and your swatch is 4 stitches/inch, you need 60 * 4 = 240 stitches. Chain 242.
- Row 1: Hdc in 3rd ch from hook, hdc in each ch across. Ch 2, turn.
- Subsequent Rows: Hdc in first hdc, hdc in each hdc across. Ch 2, turn.
- Continue: Repeat until your tablecloth reaches the desired length.
- Fasten off: Leave a long tail for weaving.
- Add a border (optional): Work a simple border (sc, hdc, or dc) evenly around all four sides. Work (stitch, ch 2, stitch) in each corner to keep it flat.
- Weave in ends: Secure all yarn tails.
- Block: Lay flat, wet, shape, and let dry completely.
3. General Tips for Tablecloths
- Consistent Tension: Absolutely vital for a flat, even tablecloth.
- Yarn Management: Keep your yarn balls organized, especially if using multiple colors.
- Regular Measuring: Periodically measure your work to ensure it’s growing to the correct size and not becoming skewed.
- Patience: Tablecloths are large projects. Break it down into smaller goals!
How to Crochet a Cushion Cover
Crocheting a cushion cover is a fantastic way to match your decor, add texture, and use up yarn. You can make it as a simple square/rectangle, or incorporate more complex stitch patterns. For a beginner, a basic front and back panel joined together is simplest.
1. Essential Materials You’ll Need
- Yarn:100% Cotton Yarn (Worsted Weight / Aran / Medium / Category 4) is highly recommended for durability and comfort.
- Amount needed depends on the cushion size: A standard 18×18 inch (45×45 cm) cover might need 500-800 grams (approx. 800-1400 yards).
- Crochet Hook: A 5.0mm (US H/8) or 5.5mm (US I/9) hook.
- Scissors: For cutting yarn.
- Yarn Needle (Tapestry Needle): For weaving in ends and sewing seams.
- Stitch Markers (Optional): Helpful for marking turning chains or specific stitches.
- Cushion Insert: Essential for measuring! Have your cushion insert on hand.
- Sewing Needle & Thread (Optional): If you prefer to sew the opening rather than crochet it shut.
- Buttons, Zipper, or Velcro (Optional): For a closure.
2. Choosing a Pattern & Stitch for Your Cushion Cover
- Option A: Two Flat Panels (Simplest for Beginners)
- Concept: Crochet two identical square or rectangular panels that are slightly smaller than your cushion insert. Join them around three sides, insert the cushion, then close the fourth side.
- How-to (using Half Double Crochet – HDC or Single Crochet – SC):
- Measure your cushion insert: Get its exact width and height. You want your crocheted panels to be slightly smaller than the insert (e.g., 0.5-1 inch / 1-2.5 cm smaller on each side). This ensures a snug fit and prevents gapping.
- Make a gauge swatch: Chain about 20-30 stitches. Work 10 rows in your chosen stitch (HDC or SC). Measure your swatch to determine stitches per inch.
- Calculate starting chain: Multiply your desired panel width by your stitches per inch. Add 1 chain for SC or 2 for HDC turning chain.
- Example (for 18-inch cushion, aiming for 17-inch panel, 4 stitches/inch): 17 * 4 = 68 stitches. Chain 69 (for SC) or 70 (for HDC).
- Work Panel 1:
- Row 1 (SC): Sc in 2nd ch from hook, sc in each ch across. Ch 1, turn.
- Row 1 (HDC): Hdc in 3rd ch from hook, hdc in each ch across. Ch 2, turn.
- Subsequent Rows: Continue in your chosen stitch, working back and forth in rows until your panel reaches the desired height.
- Fasten Off, leaving a long tail (2-3 feet / 60-90 cm) for sewing, or a shorter tail if joining with crochet.
- Work Panel 2: Repeat all steps for Panel 1.
- Join Panels:
- Crochet Seam: Hold the two panels together, wrong sides facing. Use a
sl storscseam. Rejoin yarn through both loops of the corresponding stitches on both panels. Worksl storscall around three sides. - Sewn Seam: Use your yarn needle and a mattress stitch or whip stitch to sew the two panels together along three sides.
- Crochet Seam: Hold the two panels together, wrong sides facing. Use a
- Closure:
- Sewing: Insert the cushion. Use your yarn needle to sew the fourth side shut. This is a permanent closure.
- Buttons/Zipper: Plan for an opening. You might make one panel longer and fold it over, adding buttonholes or sewing a zipper/Velcro strip to the inside edges. This is more advanced.
- Weave in ends: Secure all remaining yarn tails.
- Block: Block the finished cushion cover to ensure it fits well and lies flat.
- Option B: Granny Square Cushion Cover
- Concept: Make one very large granny square the size of your cushion, or several smaller granny squares joined together (similar to the tablecloth method).
- Pros: Iconic look, versatile for color, works up fairly quickly.
- Cons: Can have gaps, requires careful blocking.
- How-to: Follow the Granny Square pattern (as discussed previously), making a square large enough to cover your cushion. Make two identical squares. Join them and add a closure as in Option A.

3. General Tips for Cushion Covers
- Gauge Swatch: Don’t skip this! It prevents your cover from being too big/small.
- Snug Fit: Aim for your crocheted panels to be slightly smaller than the insert for a plump, neat cushion.
- Closure: For beginners, simply sewing the cushion in after insertion is easiest. As you advance, explore buttons, zippers, or envelope-style closures.
- Seams: Practice neat seams. Slip stitch seams are flat, while single crochet seams create a raised ridge.
- Weave in Ends: Crucial for a polished finish, especially if you’re joining many pieces or doing color changes.
These projects offer a wonderful opportunity to develop your crochet skills and create beautiful, functional items for your home! Which project are you most excited to start with?