by
by 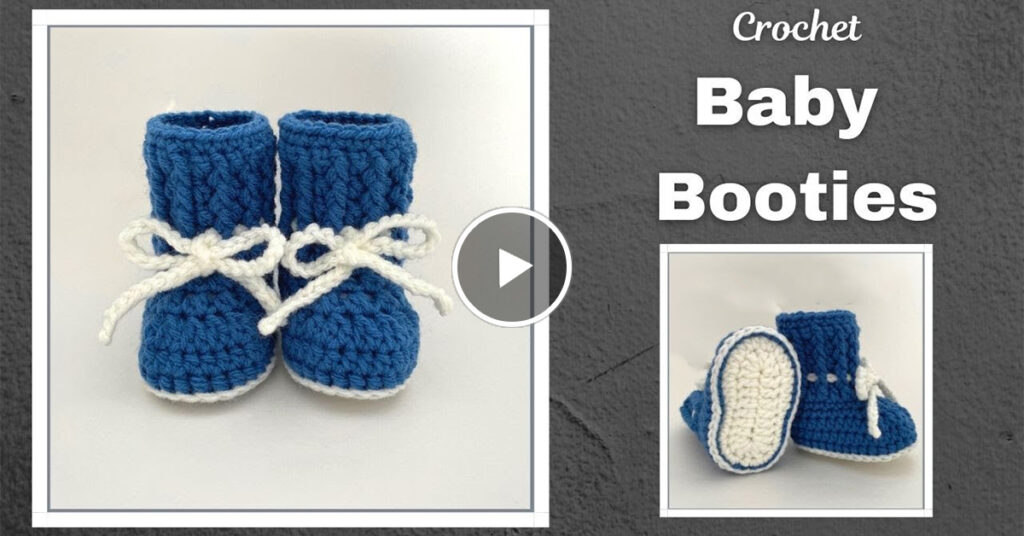
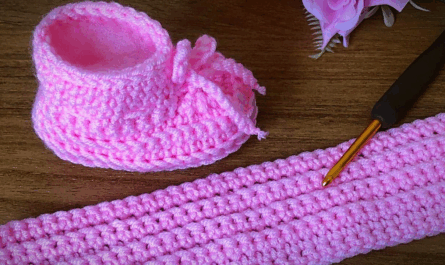
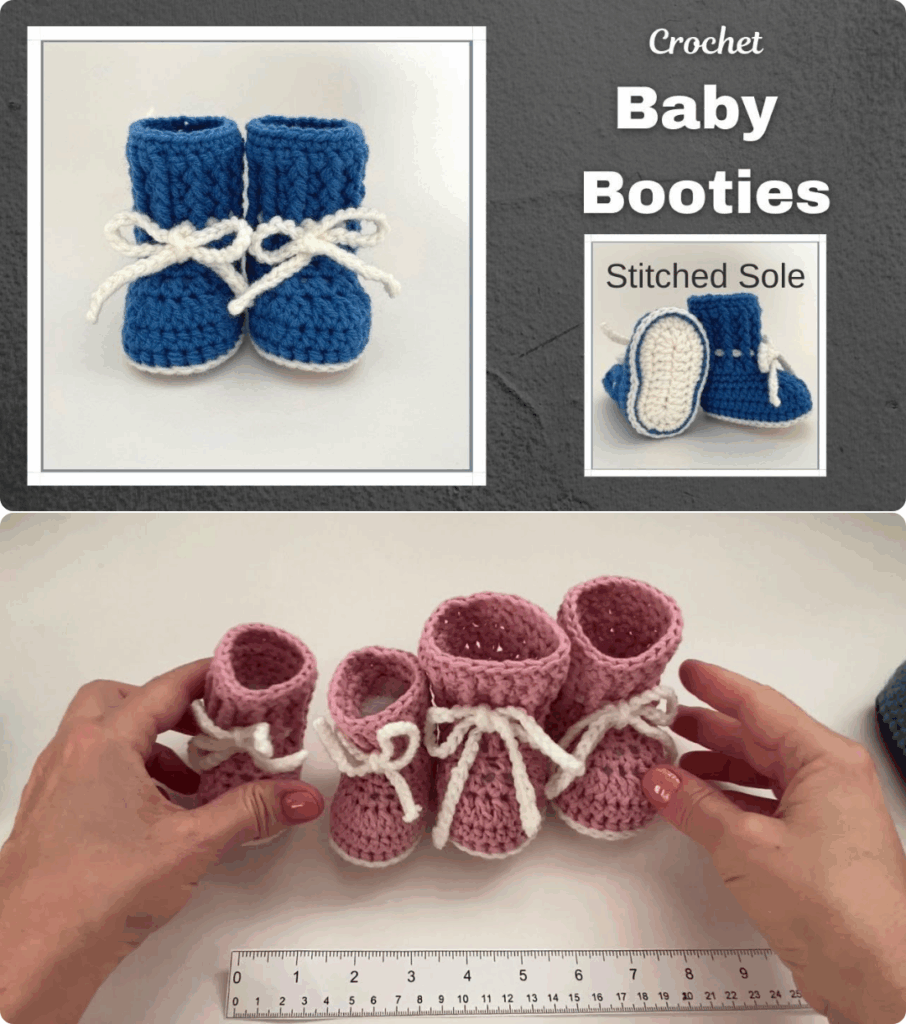
Tiny toes deserve tiny treasures, and what could be sweeter than crafting a pair of adorable crochet booties for your little one (or a special gift-giving occasion)? This beginner-friendly pattern guides you through the process, stitch by stitch, to create cozy and comfortable booties that are sure to melt hearts.
Materials:
- Sport weight yarn in two colors (main color and contrast color) – approximately 50 yards of each
- Crochet hook size 4mm (G)
- Tapestry needle
- Scissors
- Optional: Stitch marker, ribbon or embellishments
Gauge:
18 double crochets (dc) x 20 rows in dc = 4 inches x 4 inches
Finished Size:
Approximately 3.5 inches long and 2 inches wide (suitable for 0-3 months old baby)
Instructions:
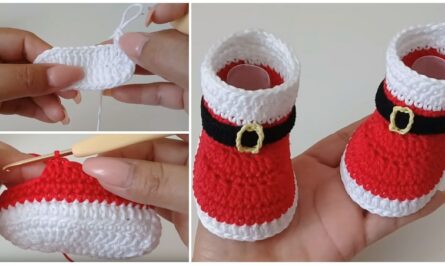
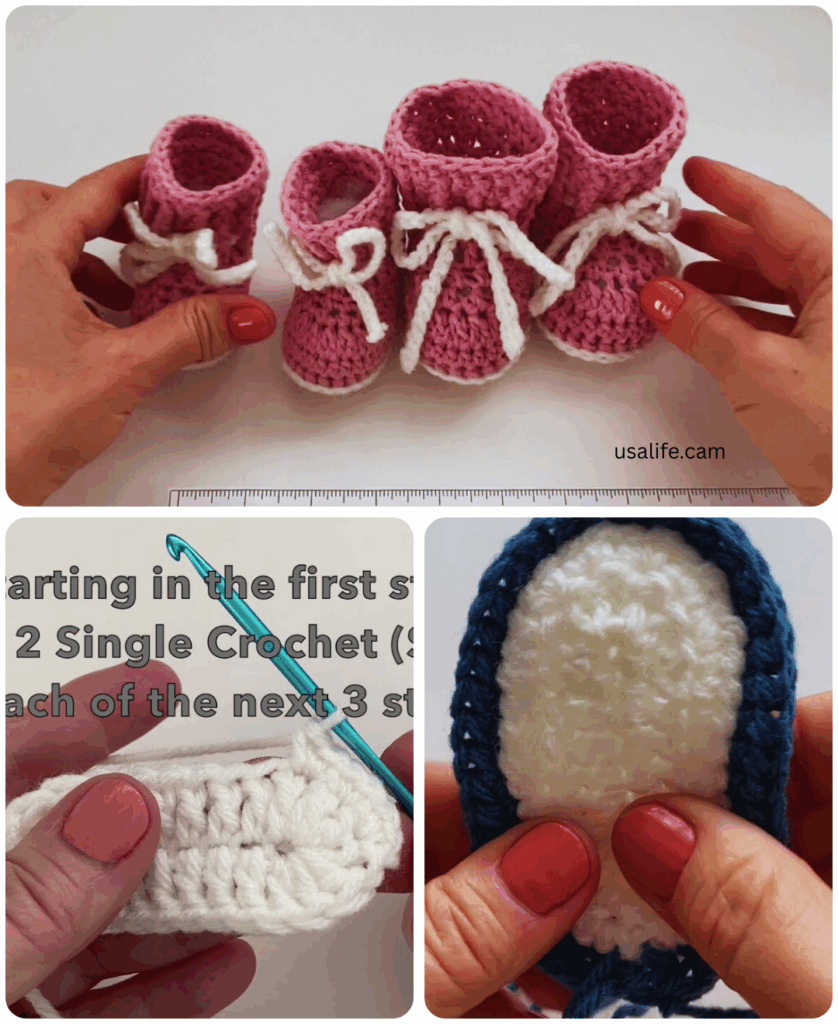
Sole (make 2)
- Main Color: Chain 16. Turn. Dc in each ch, working 2 dc in the last ch (17 dc). Ch 2, turn.
- Work 16 dc across, inc 1 dc in each end stitch (19 dc). Ch 2, turn.
- Continue increasing 1 dc at each end in every row until you have 31 dc. Ch 2, turn.
- Work even in dc for 7 rows (31 dc). Ch 2, turn.
- Contrast Color: Work 1 row in dc, changing color at the beginning of the row (31 dc). Ch 2, turn.
- Main Color: Work even in dc for 4 rows (31 dc). Ch 2, turn.
- Decrease Round: Dc in first 13 stitches, 2 dc in next stitch, dc in next 13 stitches, 2 dc in next stitch (29 dc). Ch 2, turn.
- Decrease Round: Dc in first 12 stitches, 2 dc in next stitch, dc in next 12 stitches, 2 dc in next stitch (27 dc). Ch 2, turn.
- Repeat Row 8 until you have 15 dc remaining. Fasten off and weave in ends.
Heel flap (make 1)
- Main Color: With right side facing you, chain 18. Turn. Dc in each ch, working 2 dc in the last ch (19 dc). Ch 2, turn.
- Work 19 dc across, turning at the end of each row for 8 rows. Fasten off and weave in ends.
Foot sides (make 2)
- Main Color: With right side facing you, attach yarn to the corner of the heel flap and sole, working a slip stitch. Chain 1. Dc in each stitch along the sole edge, stopping at the corner opposite the heel flap (15 dc). Continue dc up the side of the heel flap, working 1 dc in each row (19 dc). Ch 2, turn.
- Work even in dc across the top of the foot and down the other side of the heel flap, picking up stitches along the sole edge (15 dc). Fasten off and weave in ends.
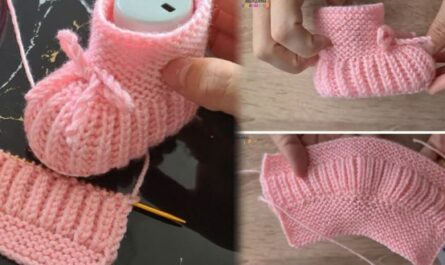
Assembly:
- Sew the heel flap seam together using a whip stitch.
- Sew the sides of the booties together, starting at the sole and working up to the top.
Finishing touches:
- Optional: You can crochet a simple chain and slip stitch edging around the top of the booties for a decorative touch.
- Optional: Add a cute ribbon or other embellishment to the front of the booties.
Tips:
- Adjust the hook size and yarn weight to create booties in different sizes.
- Use a stitch marker to mark the beginning of each round if needed.
- Be sure to weave in all your ends securely to prevent unraveling.
- Most importantly, have fun and get creative!
With a little love and some simple stitches, you can create a pair of adorable baby booties that will cherish for years to come. Remember, practice makes perfect, so don’t be discouraged if your first pair isn’t quite perfect. Just keep at it, and you’ll be whipping up these delightful booties in no time!
Additional Resources:
- For visual learners, check out these helpful video tutorials:
- Explore a variety of baby booties patterns online for different styles and difficulty levels.
- Share your creations and connect with other crafters in online communities dedicated to crochet.
Happy crocheting
Video Tutorial