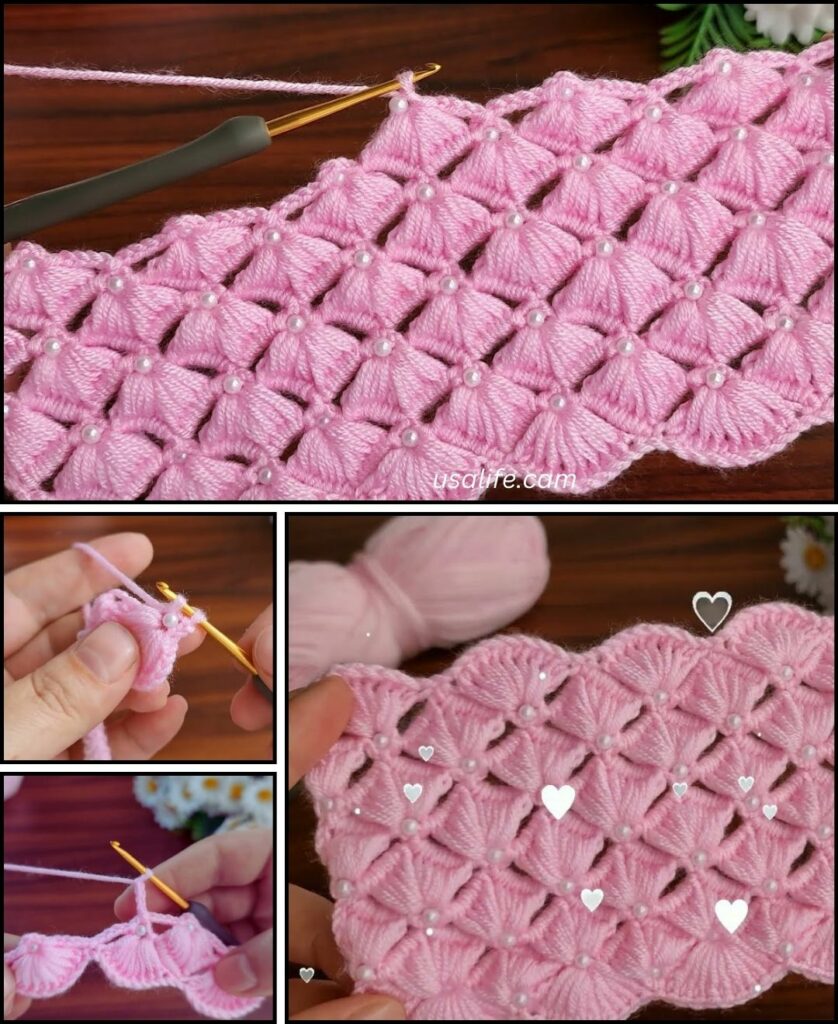
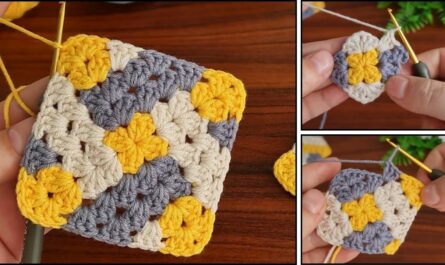
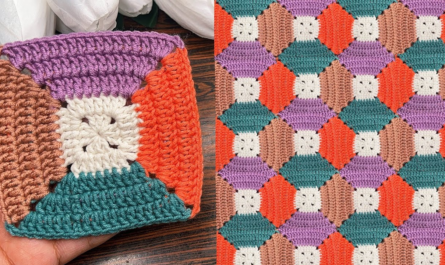
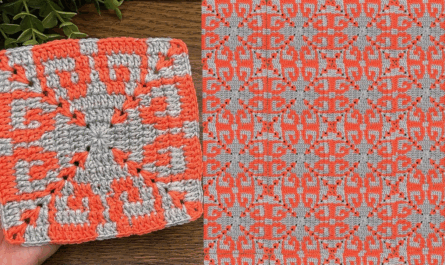
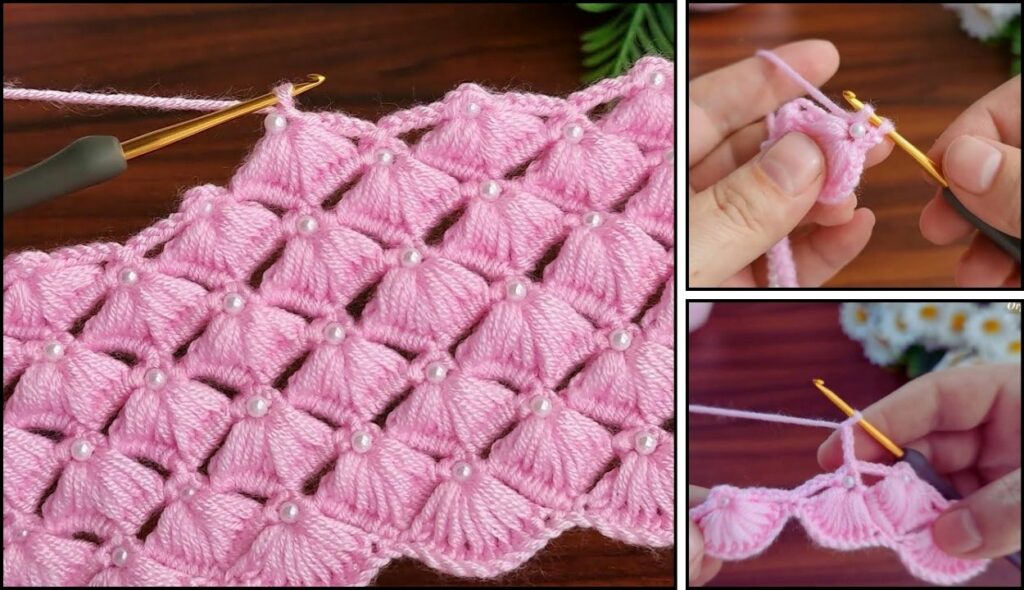
Unfortunately, the “Mussel knitting pattern with a magnificent pearl design” is not a standard crochet stitch. It sounds more like a description of a specific knitting pattern that uses knit and purl stitches to create a shell-like texture (mussel) and bobbles or small beads (pearls) for the design.
However, it is absolutely possible to create a similar look using crochet stitches. The key is to combine a “shell stitch” (which looks like a fan or a shell) with “bobble stitches” or “bead stitches” to get that magnificent pearl-like effect.
Here is a detailed guide on how to create a crochet baby blanket using a stitch that mimics the “mussel and pearl” look.
Materials Needed
- Yarn: Choose a soft, machine-washable yarn. A light worsted or DK weight yarn works well. Pick a main color and a contrasting color for the “pearls.”
- Crochet Hook: Match the hook size to your yarn.
- Scissors
- Tapestry Needle
Understanding the Stitches
- Shell Stitch: This stitch is created by working multiple double crochets (
dc) into the same stitch or space. It creates a fan-like shape. - Bobble Stitch: This stitch creates a raised, rounded “pearl” on your fabric. It is made by working several partial double crochets into the same stitch and then joining them all together.
- Single Crochet (sc): This will be used to create the base rows and provide structure between the shell and bobble rows.
How to Crochet a Baby Blanket with a “Mussel and Pearl” Design
This pattern works by alternating rows of shell stitches and single crochet stitches with bobble stitches for the “pearls.”
Abbreviations
- ch: chain
- sc: single crochet
- dc: double crochet
- sk: skip
- st: stitch
- bobble: bobble stitch (explained below)
The Bobble Stitch (5-dc Bobble)
- Yarn over, insert hook into the indicated stitch.
- Yarn over, pull up a loop (3 loops on hook).
- Yarn over, pull through two loops (2 loops on hook).
- Repeat steps 1-3 four more times in the same stitch (6 loops on hook).
- Yarn over, pull through all 6 loops on the hook to complete the bobble.
The Pattern
Foundation Row: Using your main color, ch an even number of stitches for your desired blanket width. For a baby blanket, a starting chain of 100-120 stitches is a good size.
Row 1 (Right Side):
ch 1(does not count as a stitch) and turn.scin the secondchfrom the hook and in eachchacross. You will now have a row ofsc.

Row 2 (Wrong Side – “Pearl” Row):
ch 1and turn.scin the first stitch.*bobblein the next stitch,scin the following stitch.*Repeat from*to*across the row. You will end with asc.- Cut yarn and tie off, or if you prefer to carry the yarn, you can simply drop it for now.
Row 3 (Right Side – “Mussel” Row):
- Join your main color yarn to the first stitch of the previous row.
ch 3(counts as firstdc) and turn.dcin the first stitch.*sk2 stitches, work5 dcinto the next stitch.*Repeat from*to*across the row.skthe last stitch, work2 dcinto the final stitch.

Row 4 (Wrong Side):
ch 1and turn.scin the first stitch.*scin each of the5 dcfrom the shell below.scin thech-1space between the shells.*Repeat from*to*across the row. End with ascin the last stitch.

Repeating the Pattern: Repeat Rows 2-4 for the length of your blanket.
Important Notes for the Pattern:
- You will change colors at the beginning of every “Pearl” row.
- The “Mussel” or shell row is worked into the
scstitches from the “Pearl” row. - You can adjust the size of the shells by using
3 dcor7 dcinstead of5 dc, but you’ll need to adjust the skipped stitches accordingly to keep the pattern balanced. - The bobbles will pop out on the front (right side) of the blanket, creating the magnificent “pearl” design.

Finishing Touches
- Border: Once your blanket is the desired size, you can add a simple border. A few rounds of single crochet or half double crochet will give it a clean edge. You could also do a repeat of the “pearl” row for the border.
- Weave in Ends: Use a tapestry needle to neatly weave in all your loose yarn ends. This is especially important for baby items to prevent unraveling.
- Blocking: Gently block your blanket to help the stitches lay flat and to make the design more prominent.
This pattern offers a beautiful and unique way to create a textured, special baby blanket that looks similar to the one you described.
