 by
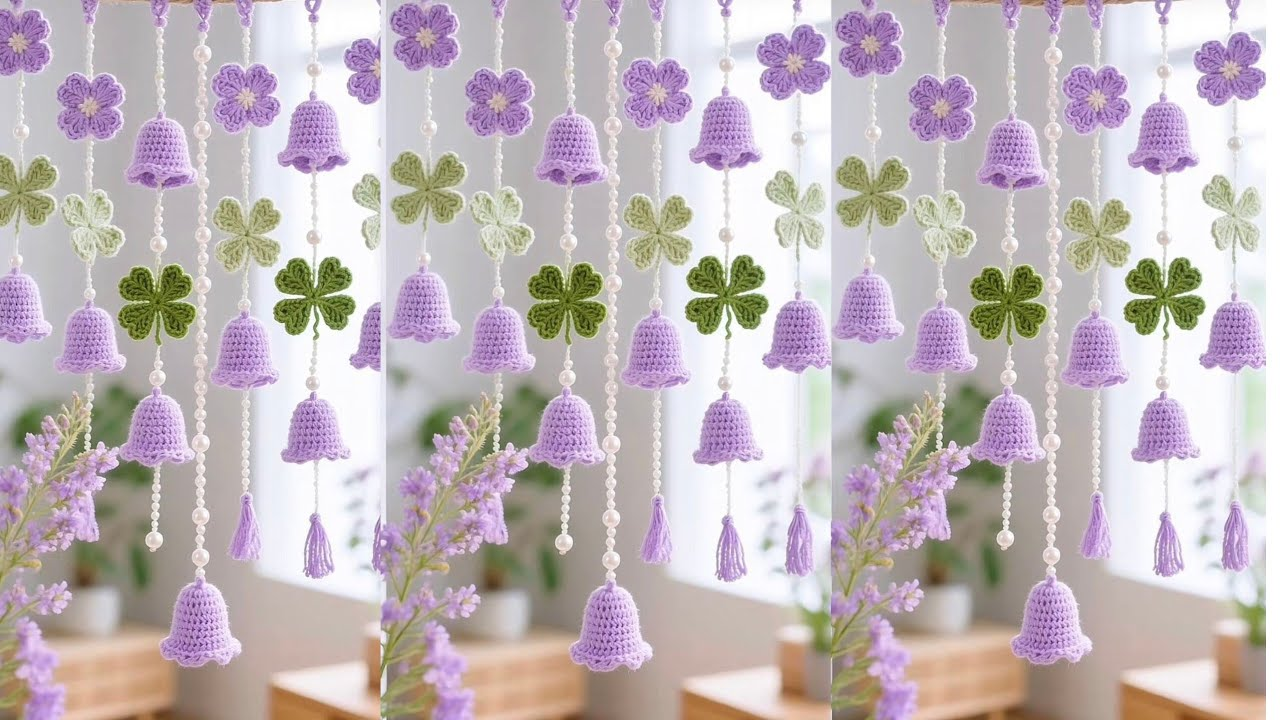
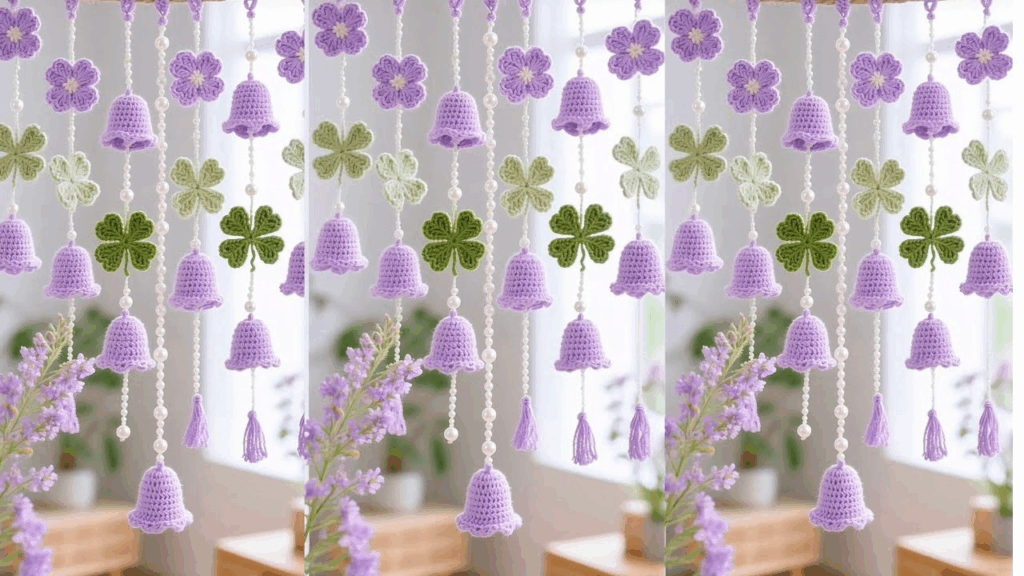
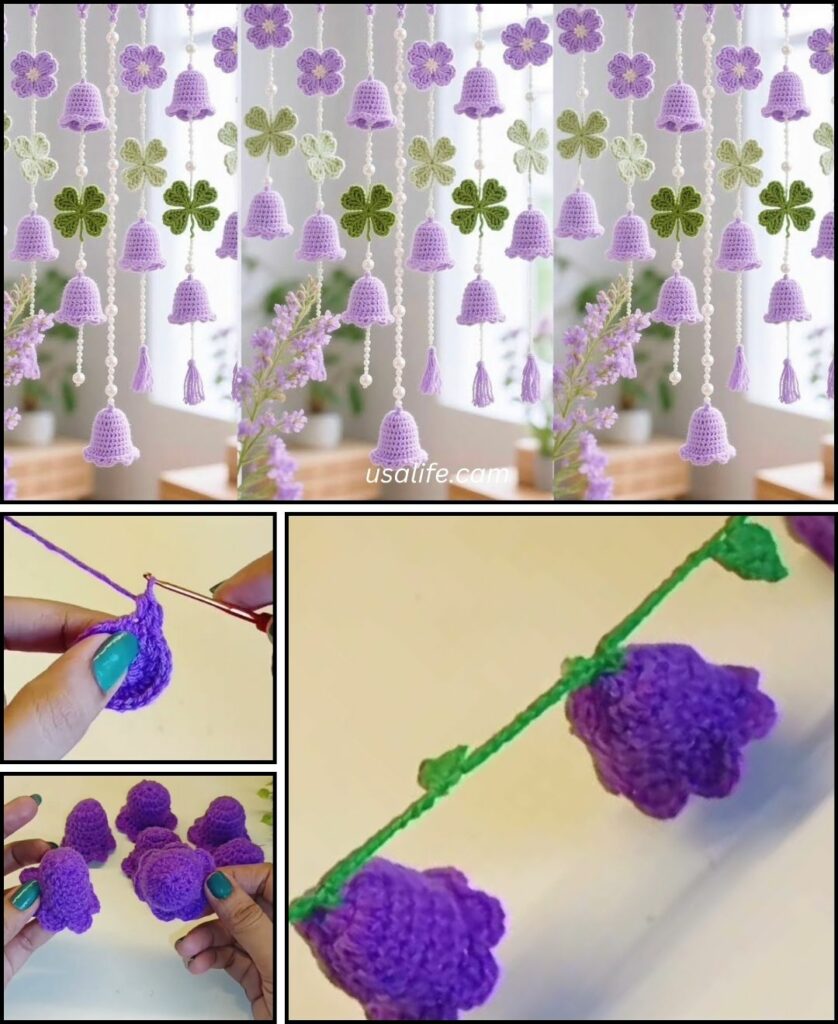
by Crocheting a bell flower garland is a beautiful way to bring a delicate, handmade touch to your home decor. These small, cup-shaped flowers, often associated with bluebells or lily of the valley, are charming and relatively simple to make.
This guide will walk you through crocheting the bell flowers, the stem/garland chain, and assembly.
Materials Needed
- Yarn:
- Color A (Flowers): Light blue, purple, white, or pink. Use a finer yarn (like DK or sport weight) for a delicate look.
- Color B (Garland/Stem): Green yarn.
- Crochet Hook: A size that matches your yarn (typically 3.0mm to 4.0mm).
- Scissors
- Tapestry Needle: For weaving in ends and securing the flowers.
Abbreviations
- ch: chain
- sl st: slip stitch
- sc: single crochet
- dc: double crochet
- inc: increase (work two single crochet stitches in the same stitch)
- dec: decrease (work a single crochet two together, or sc2tog)
- st(s): stitch(es)

Part 1: The Bell Flower (Make several)
The bell flower is worked in continuous rounds, starting from the opening and decreasing to form the top point.
- Round 1 (Opening): With Color A, start with a magic ring. Work 6 sc into the ring. (6 sts)
- Round 2: inc in each stitch around. (12 sts)
- Round 3: sc in each stitch around. (12 sts)
- Round 4 (Shaping the Bell): [sc in the next 4 sts, dec] 2 times. (10 sts)
- Round 5: sc in each stitch around. (10 sts)
- Round 6 (Closing the Bell): [sc in the next 3 sts, dec] 2 times. (8 sts)
- Round 7 (The Point): sc in each stitch around. (8 sts)
- Change Color: On the last pull-through of the final sc in Round 7, drop Color A and switch to Color B (Green).
- Finishing the Flower: With Color B, sl st into the next stitch. Fasten off Color A yarns. Leave a short tail on Color B for sewing the flower to the garland later. Do not stuff the bell.
Repeat this process to create as many bell flowers as you need for your desired garland length (e.g., 10-15 flowers).

Part 2: The Garland Chain
The garland uses a simple chain stitch to form a delicate and flexible string.
- Start the Chain: With Color B (Green), leave a long tail (about 12 inches) for hanging later.
- ch until the chain is about 24-30 inches long. This will be the base of your garland where you’ll attach the first few flowers.
- Establish Flower Anchor Points:
- ch 25 (This is the space between flowers).
- sl st in the 5th ch from the hook. This creates a tiny loop that the flower will attach to, making the garland appear like a branch.
- ch 20.
- Repeat the pattern [ch 25, sl st in the 5th ch from the hook, ch 20] until your garland reaches the total desired length.
- Finish: Fasten off, leaving a 12-inch tail for hanging.

Part 3: Assembly and Finishing
- Prepare the Flowers: Thread the green yarn tail from the top of one bell flower onto your tapestry needle.
- Attach the First Flower: Securely sew the green top of the bell flower to the base of the tiny loop you created on the garland chain. Stitch through the base of the flower several times to ensure it won’t wobble or fall off.
- Continue Attaching: Repeat the sewing process for all your crocheted bell flowers, attaching one to the base of each loop you created along the garland chain.
- Weave in Ends: Use the tapestry needle to weave in any remaining loose ends on the garland and the backs of the flowers.
- Shaping: Gently pull the bell flower mouths open if they curled in too much. You can use a small dab of stiffening spray or liquid starch on the rim if you want them to hold a wide-open shape more rigidly.
Your beautiful bell flower garland is now ready to hang across a window, mantel, or bookshelf!
Video tutorial: