 by
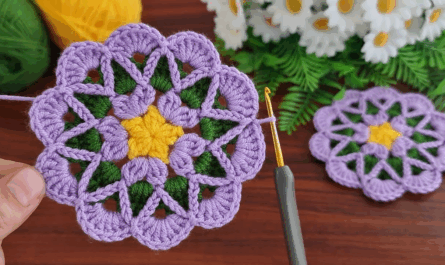
by Crocheting a granny square is a great beginner-friendly project and a classic crochet motif. Here’s a step-by-step guide to make a basic granny square:

🧶 What You Need:
- Yarn (worsted weight is common for beginners)
- Crochet hook (usually size H/5.0mm for worsted weight)
- Scissors
- Yarn needle
🪡 Basic Granny Square Instructions:
Step 1: Start with a Slip Knot and Chain
- Make a slip knot on your hook.
- Chain 4, then join with a slip stitch into the first chain to form a ring.

Step 2: Round 1
- Chain 3 (this counts as your first double crochet).
- Work 2 double crochets into the ring.
- Chain 2, then 3 double crochets into the ring — repeat this 3 more times total (you’ll have 4 clusters of 3 dc).
- Chain 2 and join with a slip stitch to the top of the beginning chain-3.
You now have a small square!

Step 3: Round 2
- Slip stitch to the first corner space (the chain-2 space).
- Chain 3 (counts as 1 dc), 2 dc, chain 2, 3 dc in the same space.
- In each of the next 3 corner spaces, work: 3 dc, chain 2, 3 dc.
- Join with a slip stitch to the beginning ch-3.

Step 4: Round 3 and Beyond
- Continue as in Round 2, but now you will have side spaces as well as corners:
- In each corner space, do: 3 dc, ch 2, 3 dc
- In each side space (between corner clusters), do: 3 dc
Repeat this for as many rounds as you like.
✅ Tips:
- Keep your tension even.
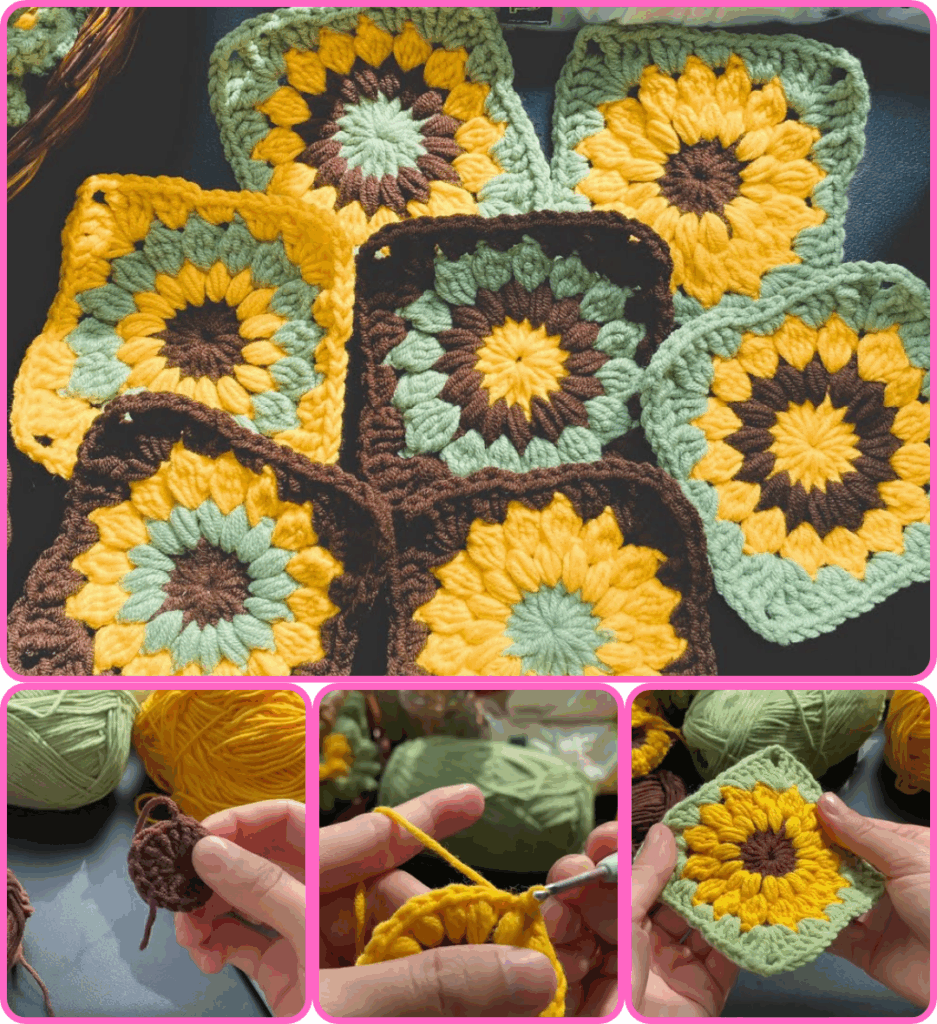
- Change colors at the end of any round for a classic multicolor look.
- Weave in ends with a yarn needle.
Would you like a visual diagram or video tutorial to go with these instructions?