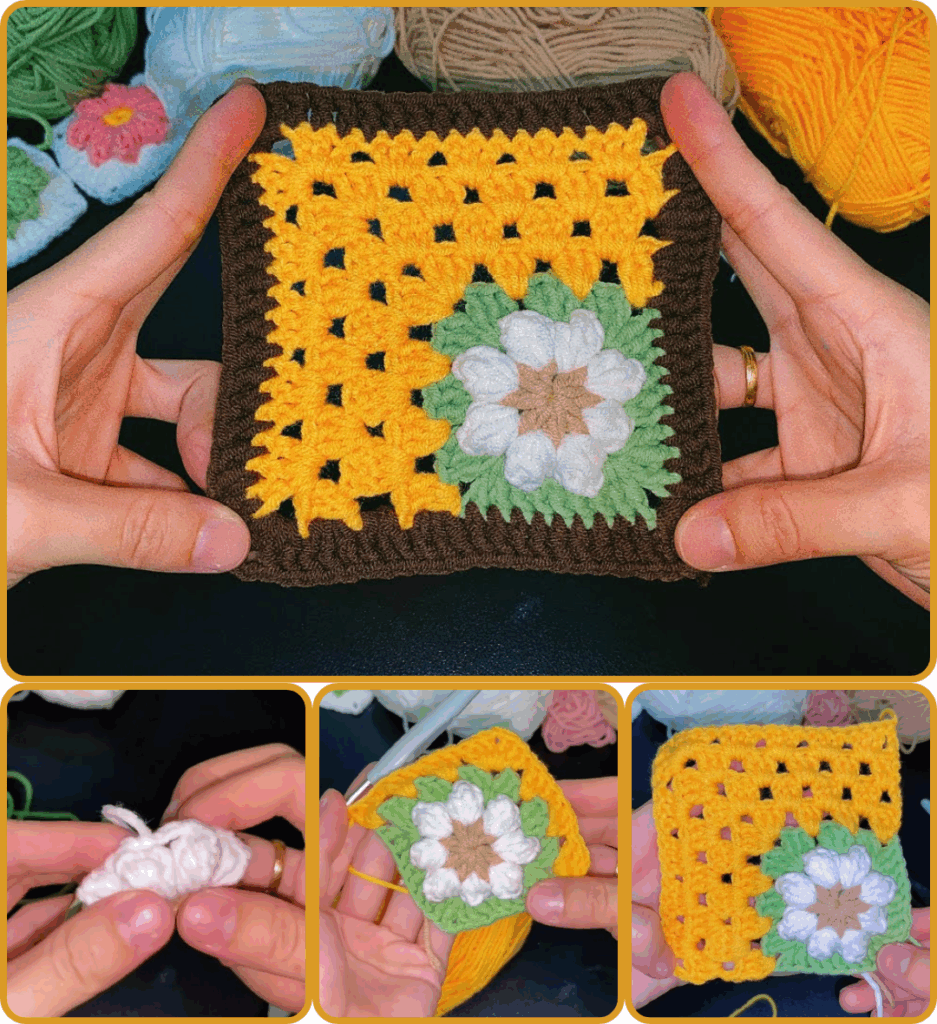
Crocheting a granny square is a great beginner-friendly project. Here’s a step-by-step guide to help you make a classic granny square:

🧶 Materials Needed:
- Yarn (worsted weight is common)
- Crochet hook (usually size H/5.0 mm for worsted yarn)
- Scissors
- Yarn needle (for weaving in ends)
🧵 Basic Granny Square Instructions:
Step 1: Make a Slip Knot and Chain
- Make a slip knot and place it on your hook.
- Chain 4.
- Slip stitch into the first chain to form a ring.

Step 2: Round 1
- Chain 3 (this counts as your first double crochet).
- Work 2 double crochets into the ring.
- Chain 2 (this makes a corner).
- Repeat this pattern three more times:
- 3 double crochets, chain 2.
- Join with a slip stitch to the top of the beginning chain-3.
You now have a small square with 4 clusters of 3 double crochets and 4 corners.

Step 3: Round 2
- Slip stitch into the next 2 stitches to reach the chain-2 corner space.
- Chain 3 (counts as 1st dc), then work:
- 2 double crochets, chain 2, 3 double crochets — all into the same corner space.
- Chain 1 (for space between corners).
- In the next corner space, repeat:
- 3 double crochets, chain 2, 3 double crochets.
- Continue around in the same pattern.
- Join with a slip stitch to the top of the beginning chain-3.

Step 4: Round 3 (and Beyond)
- For each round:
- Work 3 dc, ch 2, 3 dc into each corner space.
- Chain 1 between corner clusters and work 3 dc into each side space (these appear from Round 3 onward).
- Always join with a slip stitch at the end of the round.
🧼 Finishing
- Cut the yarn, leaving a few inches.
- Pull through and tighten.
- Use a yarn needle to weave in ends.

Would you like a visual diagram or a video tutorial link for extra clarity?
Video tutorial:


