 by
by It’s great that you’re interested in making a charming crochet strawberry motif! Just to clarify, there might be a slight mix-up in terminology. Crochet uses a single hook to create stitches, while knitting uses two needles. This guide will focus entirely on how to crochet a strawberry motif.
Crocheted strawberry motifs are incredibly adorable and perfect for adding a sweet, summery touch to various projects. They’re excellent for beginners because they are small, quick to make, and involve basic shaping. You can use them to embellish baby blankets, hats, headbands, bags, keychains, or even create garlands!
Given that you’re in Phnom Penh, where it’s warm, 100% cotton yarn is an ideal choice for these motifs. Cotton yarn offers superb stitch definition, is durable, holds its shape well, and is easy to wash, which is practical for decorative items. Plus, it’s perfect for using up small amounts of leftover yarn.

How to Crochet a Strawberry Motif for Beginners
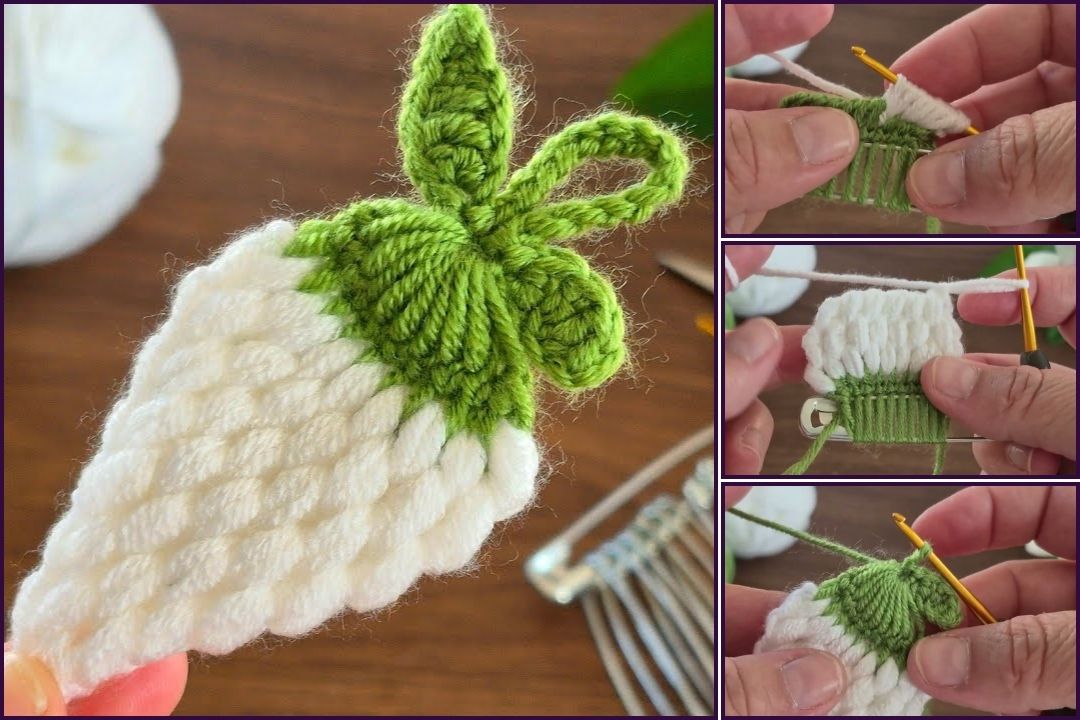
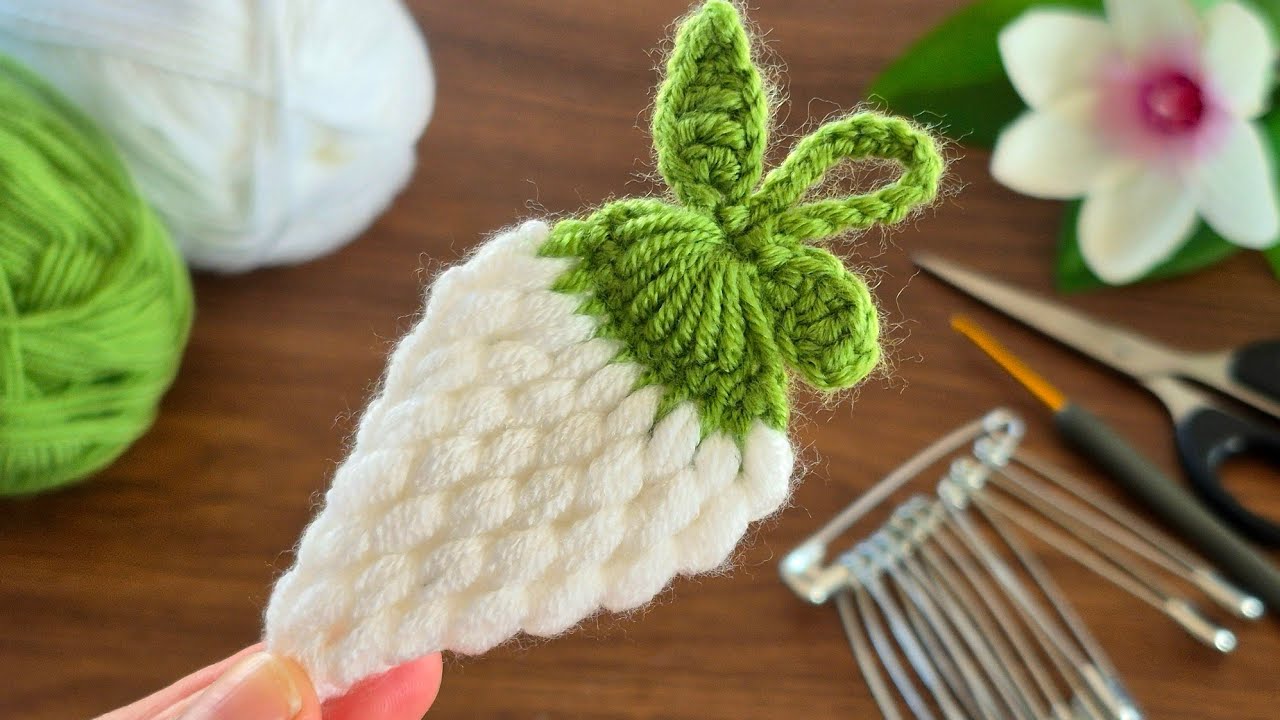
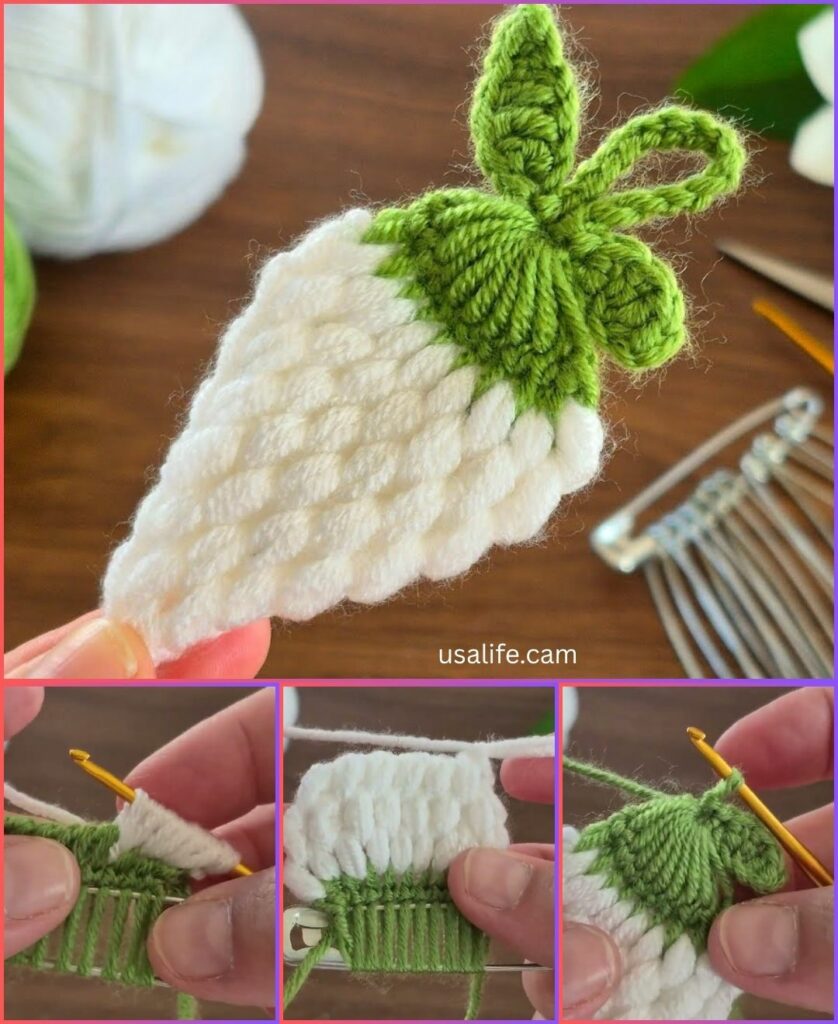
This guide will walk you through creating a classic, plump strawberry motif, complete with its little green cap (calyx).
1. Essential Materials You’ll Need
- Yarn:
- Fiber: 100% Cotton Yarn is highly recommended for its crisp stitch definition and ability to hold shape. A soft, high-quality acrylic yarn can also work well.
- Weight: Worsted Weight (Aran / Medium / Category 4) is perfect for beginners, as it’s easy to see your stitches, and the motifs work up quickly. DK (Double Knitting / Category 3) can be used for smaller, more delicate strawberries.
- Colors: You’ll need at least two colors:
- Red (or Pink): For the berry itself.
- Green: For the leafy cap (calyx).
- Optional – Yellow/Cream: For embroidered “seeds.”
- Quantity: Very small amounts of each color are needed.
- Crochet Hook:
- For Worsted Weight yarn, a 3.5mm (US E/4) or 4.0mm (US G/6) hook.
- For DK Weight yarn, a 3.0mm (US C/2) or 3.5mm (US E/4) hook.
- Choose a hook size that is appropriate for your yarn weight. You want your stitches to be fairly tight so the strawberry holds its plump shape, so a slightly smaller hook than you might use for a blanket can be beneficial.
- Scissors: For cutting your yarn.
- Yarn Needle (Tapestry Needle): Absolutely essential for neatly weaving in all your yarn ends, and for embroidering seeds (if desired).
- Optional: Stitch marker (helpful for working in rounds), polyfill or small yarn scraps (if you want a slightly stuffed strawberry).
2. Basic Crochet Stitches You’ll Use
This strawberry motif pattern uses several fundamental crochet stitches, making it an excellent way to practice and build your skills:
- Chain (ch): Used to begin your work.
- Slip Stitch (sl st): For joining rounds and neatening.
- Single Crochet (sc): Creates a dense fabric, used for the cap.
- Half Double Crochet (hdc): A medium-height stitch.
- Double Crochet (dc): A taller stitch, used for the berry body.
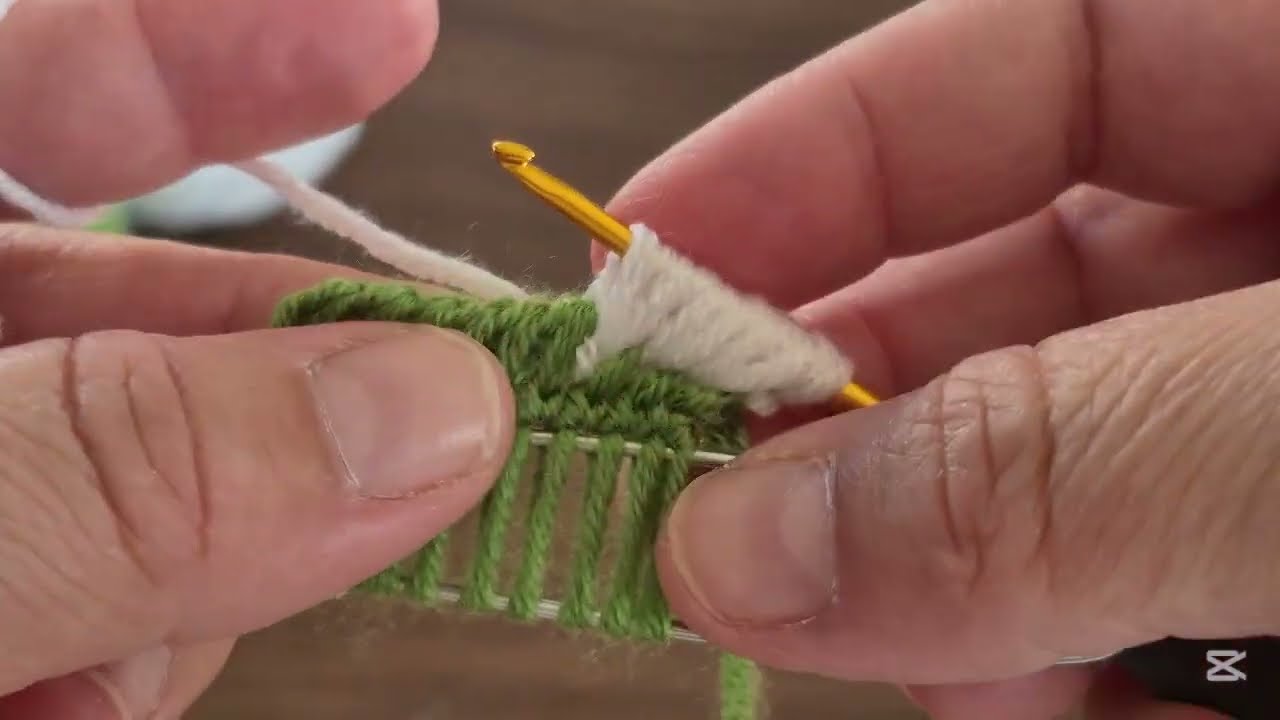
- Magic Ring (MR): (Also known as Magic Circle or Adjustable Ring). This is the best way to start the strawberry body and cap for a perfectly tight, hole-free beginning. An alternative chain method is also provided.
The Crocheted Strawberry Motif Pattern
This pattern creates a plump, rounded strawberry shape and a separate green leaf cap that’s sewn on top.
Abbreviations (US Crochet Terms):
- ch: chain
- sl st: slip stitch
- sc: single crochet
- hdc: half double crochet
- dc: double crochet
- MR: magic ring
- st(s): stitch(es)
- inc: increase (work 2 stitches in the same stitch)
- dec: decrease (work 2 stitches together as one – e.g., sc2tog, dc2tog)
- dc2tog: Double Crochet 2 Together (a common decrease for dc stitches)
- To dc2tog: YO, insert hook into first st, YO, pull up loop (3 loops on hook). YO, pull through 2 loops (2 loops on hook). YO, insert hook into next st, YO, pull up loop (4 loops on hook). YO, pull through 2 loops (3 loops on hook). YO, pull through all 3 loops on hook.

Part 1: The Strawberry Body (Color: Red/Pink)
This part is worked in continuous rounds (no joining with sl st at the end of each round) for a seamless look, or you can join and chain if you prefer. Using a stitch marker in the first stitch of each round is highly recommended for beginners if not joining.
- Round 1:
- Method A: Magic Ring (Recommended)
- Create a Magic Ring (MR).
- Work 6 sc into the Magic Ring. Pull tail to close tightly. (6 sc)
- Method B: Chain Method
- Ch 2.
- Work 6 sc into the 2nd chain from your hook. (6 sc)
- Place a stitch marker in the first sc to mark the beginning of the round if working in continuous spirals.
- Method A: Magic Ring (Recommended)
- Round 2 (Increase Round): Work 2 sc (inc) in each sc around. (12 sc)
- Round 3 (Increase Round): *Work 1 sc in the next st, 2 sc (inc) in the next st.* Repeat from * to * 6 times around. (18 sc)
- Round 4 (Dc Round): Work 1 dc in each sc around. (18 dc)
- Round 5 (Dc Round): Work 1 dc in each dc around. (18 dc)
- Round 6 (Decrease Round): *Work 1 dc in the next st, dc2tog (decrease over next 2 sts).* Repeat from * to * 6 times around. (12 dc)
- Optional Stuffing: If you want a plump strawberry, now is a good time to gently stuff the berry with polyfill or small yarn scraps. Don’t overstuff; you want it firm but not bulging.
- Round 7 (Decrease Round): Work dc2tog (decrease over next 2 sts) 6 times around. (6 dc)
- Finishing the Berry:
- Fasten off, leaving a long tail (about 8-10 inches / 20-25 cm).
- Using your yarn needle, thread the tail through the front loop only of each of the remaining 6 stitches. Pull gently to cinch the opening closed. Knot securely on the inside/bottom of the strawberry.
- Weave in any remaining yarn tail from closing and the starting tail from Round 1.

Part 2: The Strawberry Cap (Color: Green)
This part is worked in rounds.
- Start (Magic Ring recommended):
- Create a Magic Ring (MR).
- Work 8 sc into the Magic Ring. Pull tail to close.
- Join with a sl st to the first sc. (8 sc)
- Petal Points:
- Ch 2.
- *Sl st into the next st. Ch 3. Sl st into the next st.* Repeat from * to * 4 more times. (You will form little chain loops that will become your points).
- Sl st into the very first sl st of the round.
- Fasten off, leaving a long tail (about 8-10 inches / 20-25 cm) for sewing.
- Weave in the starting tail from Round 1.
Part 3: Assembling & Finishing the Strawberry Motif
- Attach the Cap:
- Position the green cap onto the top of the red strawberry body. The cap should sit flat.
- Using the long tail from the green cap and your yarn needle, sew the cap securely to the top of the strawberry. Make small, neat stitches around the base of the green cap, going through the stitches of the red berry. Try to make the stitches as invisible as possible.
- Embroider Seeds (Optional but highly recommended for realism):
- Using a separate strand of yellow or cream yarn (or even black embroidery floss if you want bold seeds) and your yarn needle, embroider small “V” shapes or tiny straight stitches randomly over the surface of the red berry to represent the seeds.
- Secure the ends of the embroidery yarn on the inside/back of the berry.
- Weave in All Remaining Ends NEATLY: This is crucial for a polished, professional-looking motif. Take your time to hide all tails securely within the stitches.
- Shape: Gently squeeze and shape your strawberry to make it plump and round.
4. Tips for Making Your Crocheted Strawberry Motifs Gorgeous
- Yarn Choice: Cotton yarn truly shines for this motif, offering the best definition for the stitches and holding the shape well.
- Tension: Aim for a consistent, somewhat tight tension, especially for the berry body. This will help it keep its plump, round shape without stuffing showing through.
- Invisible Decreases: While
dc2togis simple, you can look up “invisible decrease crochet” techniques (likeinv decfor sc, or specific dc invisible decreases) for even smoother transitions, though for a motif, the standard decrease is usually fine. - Seed Placement: Scatter the seeds randomly for a more natural look. Don’t make them too uniform.
- Size Variation: You can easily make smaller or larger strawberries by adjusting your starting chain count (for the cap) and initial stitch count/increase rounds for the berry. For instance, start the berry with 5 sc instead of 6 for a tiny one.
- Uses for Your Strawberry Motifs:
- Sew them onto hats, headbands, or baby clothes.
- Attach them to keychains or bag charms.
- String them together to make a delightful garland for a child’s room or kitchen.
- Embellish kitchen towels, placemats, or table runners.
- Use them as festive decorations for summer parties.
With these detailed instructions and tips, you’ll be able to crochet charming and gorgeous strawberry motifs! Enjoy creating these sweet little gems.