 by
by 
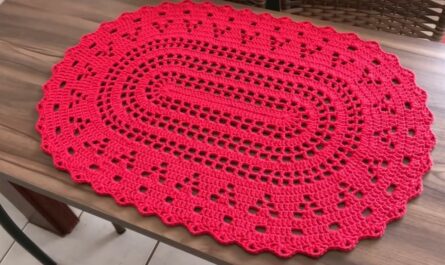
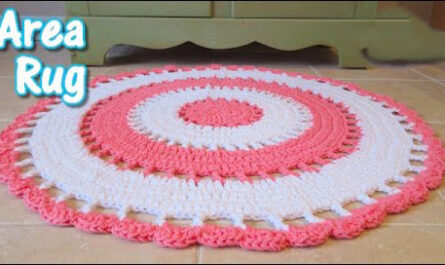
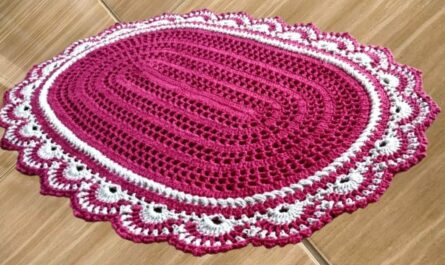
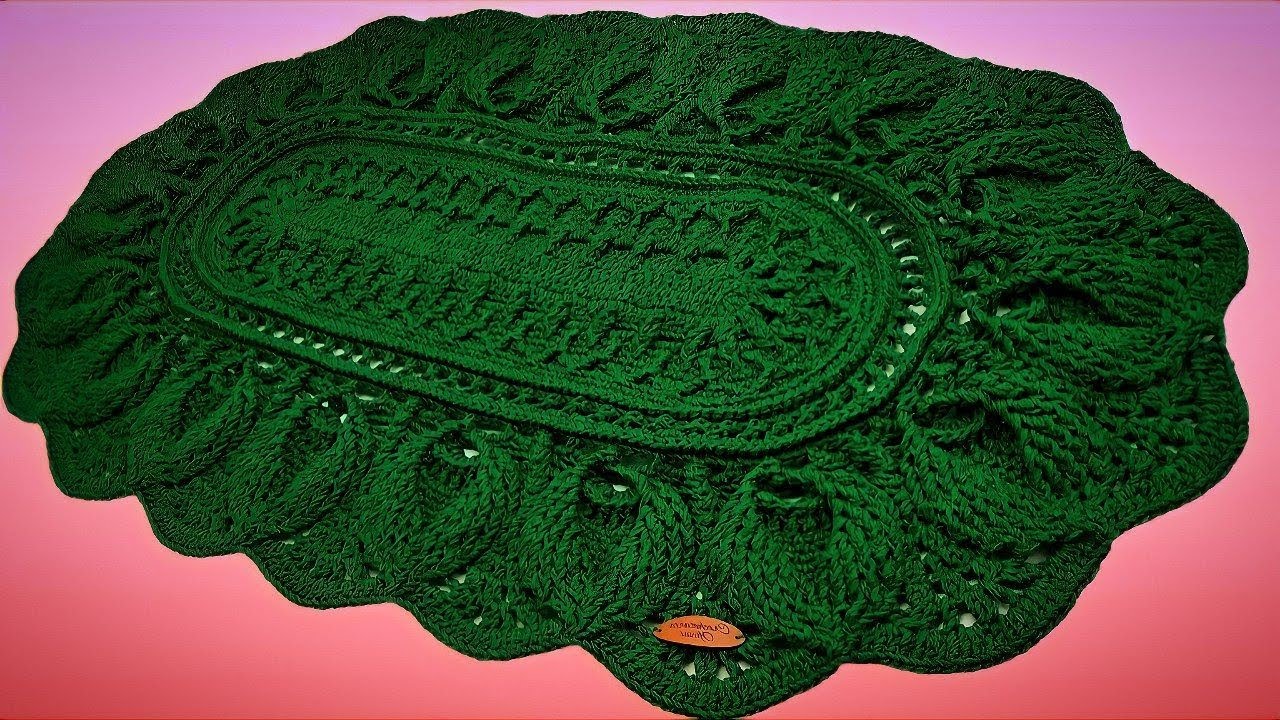
The Russian Rug, with its mesmerizing spiral and charming texture, has captivated crocheters for decades. This unique rug, also known as the Sputnik Rug or Ribbon Rug, adds a touch of vintage elegance to any space.
Whether you’re a seasoned stitcher or just starting your crocheting journey, this detailed guide will equip you with all the knowledge and techniques to craft your own heirloom-worthy Russian Rug.
Materials:
- Yarn: Worsted weight yarn in various colors is recommended. You can use a single color for a classic look or play with contrasting hues for a vibrant masterpiece. Choose yarn with good stitch definition for a crisp look.
- Crochet hook: Size H-8 (5mm) crochet hook is a good starting point. Adjust the hook size based on your yarn weight and desired gauge.
- Scissors: A sharp pair of scissors is essential for trimming yarn ends neatly.
- Tapestry needle: This needle will be used to weave in yarn ends securely.
Basic Stitches:
- Chain stitch (ch): The foundation stitch for most crochet projects.
- Double crochet (dc): The main stitch used in the Russian Rug pattern.
- Slip stitch (sl st): Used to join and secure sections of the rug.
The Enchanting Spiral:
The Russian Rug’s magic lies in its continuous spiral construction. There’s no need for awkward shaping or joining rounds!
- Start with a magic ring: This creates a seamless center for your rug.
- Chain a few stitches: The number of chains determines the starting width of your rug.
- Work double crochets around the ring, increasing as you go: Typically, you’ll increase in every stitch or every other stitch to create the spiral effect.
- Change colors: As you reach the desired height for each color section, simply tie a new yarn to the working yarn and continue crocheting. Weave in the ends later using the tapestry needle.
- Repeat steps 2-4 until you reach your desired rug size.
Tips & Tricks:
- Tension is key: Maintaining even tension throughout your project will ensure a neat and professional look. Practice crocheting swatches before starting the rug to get a feel for the yarn and hook size.
- Mark your increases: Placing stitch markers in your starting points for increases can help prevent accidental skips or additions.
- Don’t pull the yarn too tight: This can cause the edges of your rug to curl. Allow the yarn to flow naturally through your fingers.
- Block your finished rug: Blocking helps to even out the stitches and give your rug a polished finish. Lay the rug flat on a blocking board or mat and gently pin it into shape. Allow it to dry completely before using.
Inspiration and Variations:
The beauty of the Russian Rug lies in its versatility. Experiment with different color combinations, yarn weights, and even add embellishments like beads or ribbons for a personalized touch.
- Classic monochrome: Opt for a timeless look with a single color in various shades.
- Rainbow burst: Embrace the vibrancy of a multicolor rug.
- Nautical vibes: Create a rug reminiscent of the ocean with blues, greens, and whites.
- Rustic charm: Use natural tones like browns, beiges, and creams for a cozy feel.
With a little practice and creativity, you can crochet a Russian Rug that will add warmth and charm to your home for years to come. So grab your hook, pick your colors, and let the spiral magic begin!
Video tutorial
Additional Resources:
- Video tutorial: https://www.youtube.com/watch?v=4YRvxqUDcqw
- Written pattern: https://www.pinterest.com/pin/8-free-crochet-oval-rug-pattern–657736720593608638/
- Crochet community: There are many online crochet communities where you can find inspiration, ask questions, and share your progress.
I hope this detailed guide helps you crochet your own stunning Russian Rug! Feel free to share your creations and ask any questions you may have in the comments below. Happy crocheting!