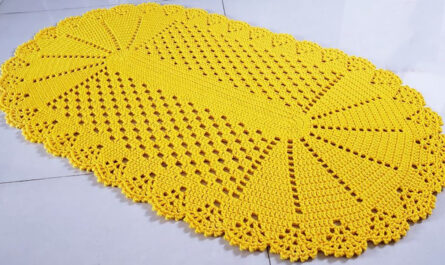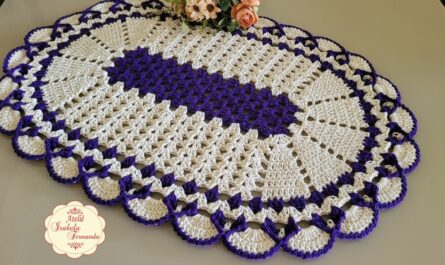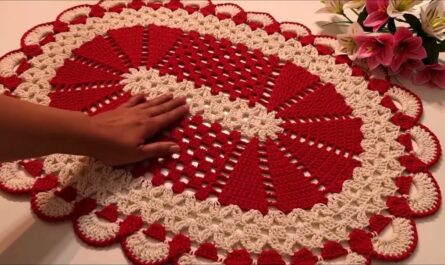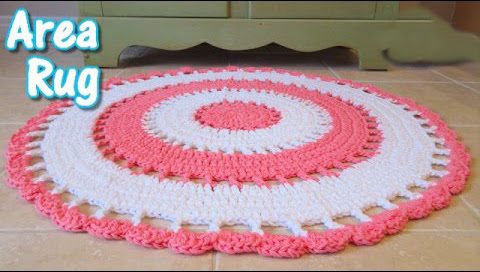
Crocheting a Beautiful Area Rug
Crafting a crocheted area rug can add a touch of handmade charm and coziness to any room. But with so many possibilities, it’s tough to know where to start. This detailed guide will walk you through the process of crocheting a beautiful area rug, from choosing materials to adding finishing touches.
Materials:
- Yarn: Choose a yarn weight and type suitable for rugs. Bulky weight yarn in cotton, wool, or acrylic blends is a popular choice for its durability and ease of working with.Opens in a new windowsarahmaker.comBulky weight yarn
- Crochet hook: Select a hook size appropriate for your yarn weight.
- Pattern: You can use a free or paid pattern online or in a crochet book, or design your own.Opens in a new windowamazon.comCrochet hook
- Yarn needle: This will be used to weave in ends and attach any decorative elements.
- Scissors:Opens in a new windowchevron_rightamazon.comYarn needle
- Optional: Rug gripper to prevent the rug from slipping.
Steps:
- Choose your pattern:
- Beginner-friendly: Ripple stitch, granny squares, or simple moss stitch rugs are all great options.
- Intermediate: Experiment with textured stitches, colorwork, or mandala patterns.
- Advanced: Try cable stitches, mosaic crochet, or intricate geometric designs.
- Determine the size of your rug: Consider the space where you’ll use the rug and measure the area.
- Purchase yarn: Calculate the amount of yarn needed based on your pattern and chosen yarn weight. Buy 10% extra to account for any mistakes or adjustments.
- Start crocheting! Follow your chosen pattern carefully, paying attention to stitch counts and row changes.
- Join motifs (if applicable): If your rug uses multiple motifs, like granny squares, learn how to join them securely.
- Finishing touches:
- Weave in ends: Use the yarn needle to weave in any loose ends neatly.
- Block the rug (optional): This helps even out the stitches and give the rug a more polished look. Lay the rug flat on a damp towel, pin it to the desired shape, and let it dry completely.
- Add a border (optional): A simple border can add definition and prevent the edges from curling.
- Attach a rug gripper (optional): This will prevent the rug from slipping on smooth floors.
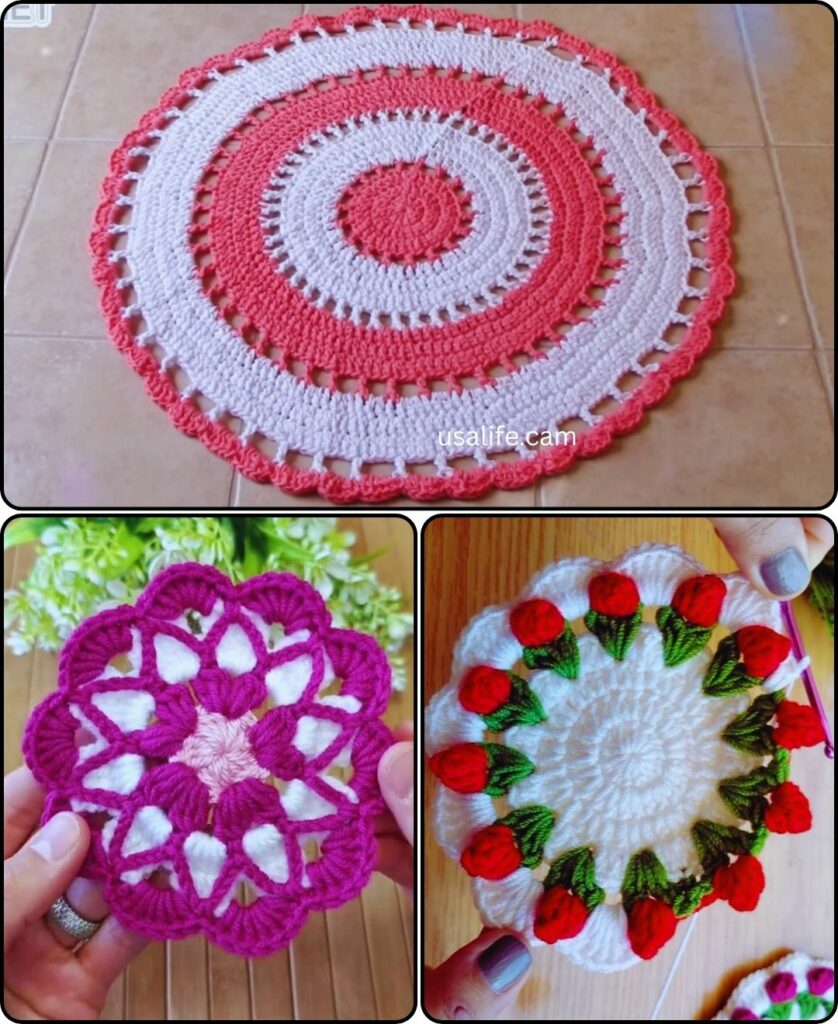
Tips:
- Choose comfortable colors and textures: You’ll be walking on this rug, so pick yarn that feels soft and pleasant underfoot.
- Work in sections: If the rug is large, consider working on it in smaller sections to make it more manageable.
- Take breaks: Crocheting a rug can take time, so pace yourself and avoid hand fatigue.
- Get creative! Don’t be afraid to personalize your rug with unique yarn colors, stitch patterns, or embellishments.
Here are some resources to get you started:
- Free crochet rug patterns:
- YouTube tutorials:
- Crochet books:
- “Crochet Rugs the Modern Way” by Linda Permann
- “The Big Book of Beautiful Crochet Rugs” by Susan Pandorf
With a little planning and effort, you can crochet a beautiful area rug that will be a cherished addition to your home. So grab your hook, choose your yarn, and get stitching!
I hope this detailed pattern helps you create a stunning crocheted area rug that reflects your personal style and brings warmth and beauty to your space. Please let me know if you have any questions or need further assistance. Happy crocheting!
Crochet Tutorial
