 by
by Creating a crocheted baby blanket square is a wonderful project, perfect for beginners and experienced crocheters alike. Here’s a detailed guide on how to make one, covering everything from materials to techniques:

How to Make a Baby Blanket Crochet Square
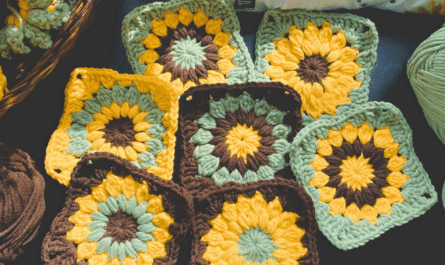
A baby blanket square can be a standalone item, a part of a larger blanket made of multiple squares, or even used for other projects like granny square bags or cushions. We’ll focus on a basic solid square, which is versatile and easy to master.
1. Materials You’ll Need
- Yarn: This is crucial for baby items.
- Fiber Content: Look for soft, hypoallergenic, and washable yarns. Acrylic, cotton, or a blend of the two are excellent choices. Avoid wool if you’re unsure about potential allergies, or choose superwash merino if you prefer natural fibers that are easy to care for.
- Weight: Light worsted (DK), worsted (Aran), or even chunky yarn can work, depending on the desired drape and warmth. For a standard baby blanket, DK or worsted weight are most common.
- Color: Pastels are popular for babies, but don’t shy away from brighter colors or gender-neutral shades.
- Quantity: For a single square, you won’t need much. If you’re making a full blanket, estimate based on the size of your squares and the desired blanket dimensions.
- Crochet Hook: The hook size will depend on your yarn weight.
- Yarn Label: Your yarn label will usually recommend a hook size.
- Common Sizes: For DK yarn, a 4.0mm (G/6) or 4.5mm (7) hook is common. For worsted weight, a 5.0mm (H/8) or 5.5mm (I/9) hook is often used.
- Gauge: It’s important to check your gauge (see below) to ensure your square is the correct size and has the desired fabric density.
- Scissors: For cutting yarn.
- Yarn Needle (Tapestry Needle): For weaving in ends.
- Measuring Tape or Ruler: To check your square’s size.

2. Basic Crochet Stitches You’ll Use
This guide will focus on using double crochet (dc), a fundamental stitch that creates a nice, dense fabric suitable for blankets. You’ll also need to know:
- Chain (ch): The foundation of your work.
- Slip Stitch (sl st): Used to join stitches.
3. Understanding Gauge
Gauge refers to the number of stitches and rows per inch (or centimeter) of your crocheted fabric. While not as critical as in garments, checking your gauge for a blanket square ensures that your squares are consistent in size if you’re making multiple, and that your finished blanket will be the intended dimensions.
- To check gauge: Crochet a small swatch (e.g., a 4×4 inch square) using the recommended hook and yarn. Measure how many stitches and rows are in a specific measurement (e.g., 4 inches). Adjust your hook size accordingly:
- If your swatch is too small (too many stitches/rows), go up a hook size.
- If your swatch is too big (too few stitches/rows), go down a hook size.

4. Let’s Make a Solid Double Crochet Square (Pattern)
This pattern will create a basic solid square. You can adjust the starting chain to make a larger or smaller square.
Abbreviations:
- ch: chain
- dc: double crochet
- st(s): stitch(es)
- sk: skip
- sp: space
- sl st: slip stitch
Instructions:
Starting the Square (Magic Ring or Chain Method):
You can start your square in one of two ways:
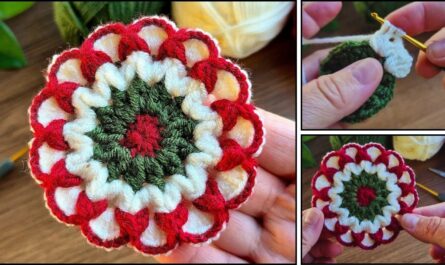
- Method 1: Magic Ring (Recommended for a tighter center)
- Make a magic ring. (If you’re unsure how to do this, search for “crochet magic ring tutorial” on YouTube.)
- Ch 2 (counts as first dc).
- Work 11 dc into the magic ring. (Total 12 dc including the starting ch-2).
- Pull the tail to close the ring tightly.
- Join with a sl st to the top of the initial ch-2.
- Method 2: Chain Method (Easier for beginners)
- Ch 4.
- Join with a sl st to the first ch to form a ring.
- Ch 2 (counts as first dc).
- Work 11 dc into the ring. (Total 12 dc including the starting ch-2).
- Join with a sl st to the top of the initial ch-2.

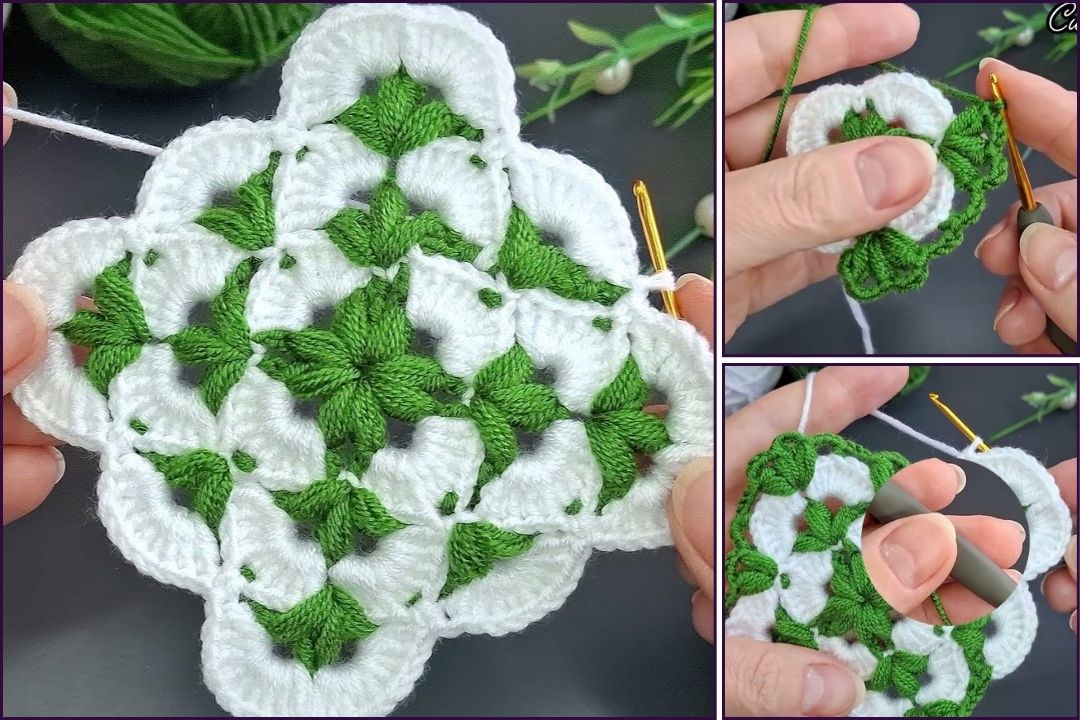
Creating the Corners and Sides:
From now on, you will work in rounds, creating corners to shape your square. Each corner will typically have (dc, ch 2, dc) or (2 dc, ch 2, 2 dc) to create the defined corner space. For a solid square, we’ll use a simpler corner construction.
Round 1:
- Ch 2 (counts as first dc).
- 2 dc in the next st, ch 2, 2 dc in the next st (this forms a corner). Repeat from * to * 3 more times. You will have 4 corners formed.
- Join with a sl st to the top of the initial ch-2.
- (You should have 12 dc and 4 ch-2 spaces total in this round. The stitches will be tighter than the next rounds.)
Round 2:
- Ch 2 (counts as first dc).
- Dc in each of the next 2 dc.
- In the next ch-2 corner space: (2 dc, ch 2, 2 dc)
- Dc in each of the next 4 dc. In the next ch-2 corner space: (2 dc, ch 2, 2 dc). Repeat from * to * 2 more times.
- Dc in each of the remaining 2 dc (to complete the first side).
- Join with a sl st to the top of the initial ch-2.
Round 3 and Beyond (Increasing Your Square Size):
From Round 3 onwards, the pattern repeats, with an increasing number of stitches along each side between the corner spaces.
- Ch 2 (counts as first dc).
- Dc in each dc across the side until you reach the next ch-2 corner space.
- In the ch-2 corner space: (2 dc, ch 2, 2 dc).
- Repeat the “dc across the side” and “corner” sequence around until you reach your starting point.
- Join with a sl st to the top of the initial ch-2.
Important Notes for Subsequent Rounds:
- Counting: As you go around, you will be increasing the number of double crochet stitches on each side of the square between the corners.
- Consistency: Always make sure your corners are worked into the previous round’s corner chain-2 space.
- Stitch Placement: Work your double crochets into the tops of the double crochets from the previous round.
Continue crocheting rounds until your square reaches your desired size. For a baby blanket, common square sizes range from 6×6 inches to 12×12 inches.
5. Finishing Your Square
- Fasten Off: Once your square is the desired size, cut your yarn, leaving a tail of about 6-8 inches. Yarn over your hook, pull the tail completely through the loop on your hook, and pull tight to secure.
- Weave in Ends: Thread your yarn needle with the tail. Carefully weave the tail through the stitches on the wrong side of your work, making sure it’s secure and won’t unravel. Trim any excess yarn. Repeat for the starting tail if you used the chain method, or the magic ring tail.
6. Tips for Success
- Tension: Try to maintain consistent tension throughout your work. This will ensure your stitches are even and your square lies flat.
- Counting Stitches: Especially in the beginning, it’s helpful to count your stitches in each round to ensure you haven’t missed any or added extra.
- Blocking: For a professional finish, you can “block” your square. This involves wetting the square and shaping it to its desired dimensions, then letting it dry. This helps even out stitches and makes the square lay flat.
- Learning Resources: If you’re new to crochet, there are countless free video tutorials on YouTube for all the basic stitches. Search for “how to double crochet,” “how to make a magic ring,” etc.
- Practice: Don’t get discouraged if your first square isn’t perfect. Practice makes perfect!

7. What to Do with Your Square
- Single Blanket: Make one large square for a small lovey or playmat.
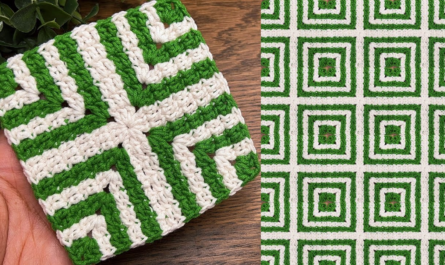
- Multi-Square Blanket: Make many squares of the same size and stitch them together using a variety of joining methods (e.g., slip stitch join, single crochet join, invisible join).
- Other Projects: Use your squares for cushion covers, bags, placemats, or anything else that benefits from a square motif!
By following these detailed steps, you’ll be well on your way to crocheting beautiful and cozy baby blanket squares! Happy
crocheting!