by
by That is a wonderful project choice! An Elegant Crochet Square Pattern for a blanket needs to have beautiful texture, density for warmth, and clean edges for joining.
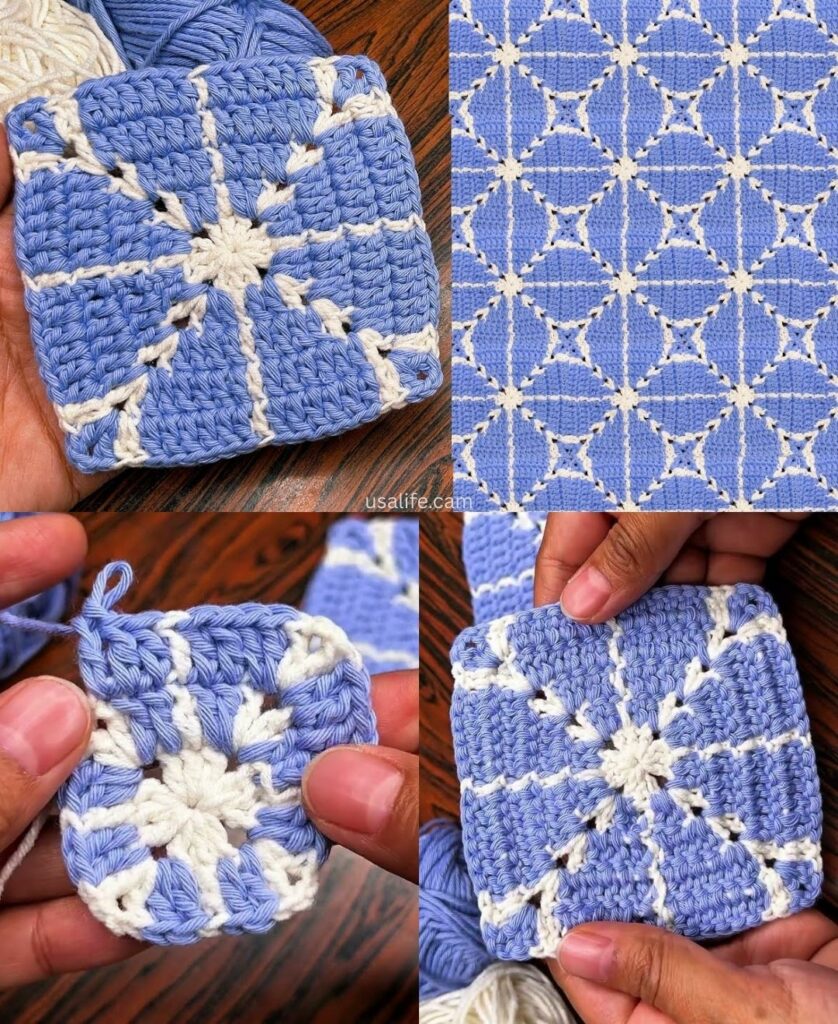
I will detail the pattern for the “Victorian Window Square,” which combines textured post stitches and fan shells to create a sophisticated, slightly raised geometric look that is perfect for a stunning heirloom blanket.
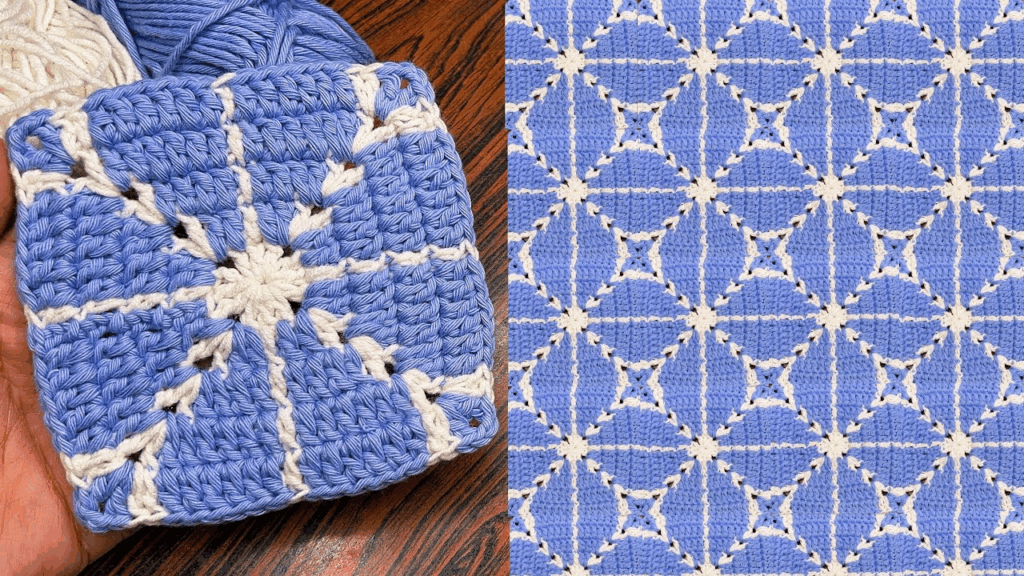
💎 Victorian Window Square Tutorial
This square uses a combination of V-stitches, Shells, and Front Post Double Crochet (FPdc) to create defined texture and shape.
Materials You’ll Need
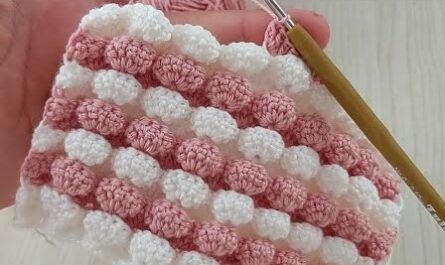
- Yarn: Medium-weight yarn (worsted/size 4). Using a solid color accentuates the texture.
- Crochet Hook: The size appropriate for your yarn (e.g., 5.0 mm).
- Scissors, Tapestry Needle.
Key Crochet Terms
| Abbreviation | Stitch Name |
| ch | Chain |
| sl st | Slip Stitch |
| dc | Double Crochet |
| FPdc | Front Post Double Crochet |
| V-st | V-Stitch (dc, ch 1, dc) |
| Shell | 5 dc worked into the same space |
| Corner | (dc, ch 2, dc) |
Part 1: Establishing the Center and Texture
Round 1: Foundation
- Start: Make a Magic Ring. ch 3 (counts as dc). Work 11 dc into the ring.
- Finish: Pull the tail tight. Join with a sl st to the top of the ch 3. (12 sts).

Round 2: Setting the Texture Frame
- ch 3 (counts as dc). Work dc in the same st.
- Texture: Work FPdc around the post of the next dc stitch from R1.
- Repeat: [2 dc in the next st, FPdc around the post of the next st] 5 more times.
- Finish: Join with a sl st to the top of the ch 3. (12 dc, 6 FPdc).
Round 3: Creating the Window Panels
This round sets up the corners and the “window” V-stitches along the sides.
- ch 1. Work sc in the same st.
- First Corner: ch 3. Work (dc, ch 2, dc) in the next FPdc. ch 3.
- Side Anchor: sc in the next dc stitch.
- Window: ch 3. Skip 2 sts. Work V-st (dc, ch 1, dc) in the next st. ch 3.
- Side Anchor: sc in the next st.
- Repeat: Continue the sequence [ch 3, Corner (dc, ch 2, dc) in FPdc, ch 3, sc in dc, ch 3, V-st, ch 3, sc in dc] 3 more times.
- Finish: Join with a sl st to the first sc.

Part 2: Defining the Square
Round 4: Filling the Windows with Shells
We replace the V-stitches with large Shells, giving the sides a beautiful fan shape.
- sl st into the ch-3 loop. ch 1. Work sc in the same loop.
- Corner Side: ch 3. Work Shell (5 dc) into the ch-2 corner space. ch 3.
- Side Anchor: sc in the next ch-3 loop. ch 3.
- Window Fill: Work Shell (5 dc) into the ch-1 space of the V-st. ch 3.
- Side Anchor: sc in the next ch-3 loop.
- Repeat: Continue the sequence [ch 3, Shell in corner, ch 3, sc in ch-3 loop, ch 3, Shell in V-st, ch 3, sc in ch-3 loop] around the square.
- Finish: Join with a sl st to the first sc.
Round 5: Final Clean-Up Round (Granny Style)
This round creates a flat, solid edge perfect for joining to other squares.
- sl st into the next ch-3 loop. ch 3 (counts as dc). Work 2 dc into the same loop.
- Shell Anchor: Work dc in the next 5 dc Shell stitches.
- Corner: Work (3 dc, ch 2, 3 dc) into the next ch-3 loop (this is the new corner).
- Repeat: Continue the sequence [dc in next 5 sts, 3 dc in ch-3 loop, dc in next 5 sts, 3 dc in ch-3 loop, Corner (3 dc, ch 2, 3 dc)] around the square.
- Finish: Join with a sl st to the top of the ch 3. Fasten off.
Final Step: Blocking for Elegance
Blocking is essential for this design. The post stitches and shells will tend to curl, so wetting the square and pinning the four corners sharply will ensure the motifs are flat, uniform, and the “Victorian Window” texture is clearly defined across your finished blanket.
Would you like a tutorial on how to join these elegant squares together?
Video tutorial: