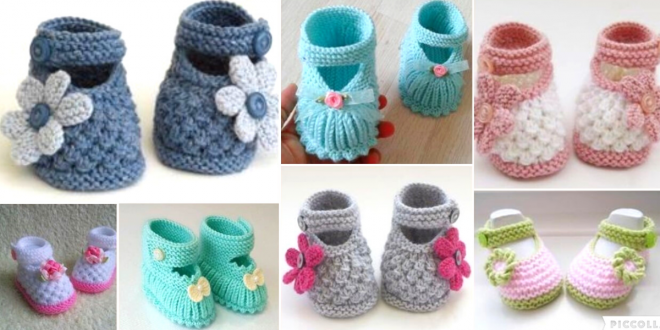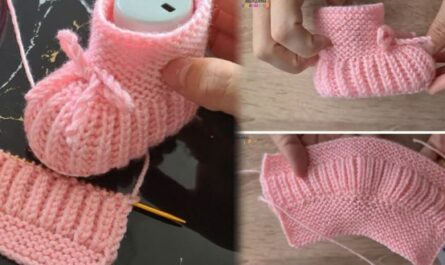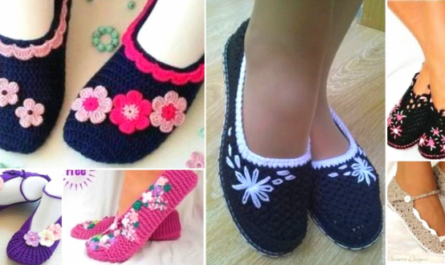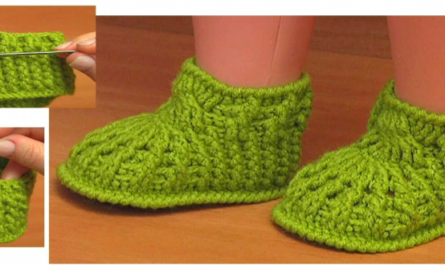
Whether you’re a seasoned crocheter or just starting your yarn adventures, creating a pair of beautiful, knitted shoes is a satisfying project that combines fashion and fun. This blog post will guide you through the process, offering detailed instructions and helpful tips to make your crocheted footwear dreams a reality!
Before you hook:
- Gather your materials: Choose a soft, durable yarn suitable for footwear (e.g., acrylic blend) and a crochet hook size recommended for your yarn weight. You’ll also need a tapestry needle for sewing seams and any embellishments you desire (buttons, beads, etc.).
- Pick your pattern: There are countless crochet shoe patterns available online and in books. Consider your skill level, desired style (slippers, booties, sandals), and recipient (adult, child, baby) when choosing. This guide will provide a basic foundation, but feel free to explore for more intricate designs!
Let’s get crocheting!
1. Start with the sole: Most patterns begin with a foundation chain and single crochets to create a base for the sole. Pay attention to shaping instructions to ensure the sole fits your foot or the recipient’s foot comfortably.
2. Build the sides: Depending on the pattern, you’ll likely work rows of stitches (single crochet, double crochet, etc.) around the sole, increasing or decreasing as needed to form the sides and heel of the shoe.
3. Don’t forget the toe! Shaping the toe often involves working in the front loops only or decreasing stitches in specific patterns. Follow your chosen instructions carefully for a neat and comfortable fit.
4. Finishing touches: Once the main structure is complete, it’s time to add personality! Here’s where you can get creative:
- Seaming: Use your tapestry needle to neatly join any open seams.
- Cuffs and embellishments: Add a decorative cuff around the ankle for extra warmth or flair. Sew on buttons, beads, or ribbons for a personalized touch.
- Sole reinforcement: If your shoes will see heavy wear, consider adding an extra layer of durable fabric or crochet stitches to the sole for added strength.
Tips for success:
- Gauge swatch: Before starting the project, make a small swatch with your chosen yarn and hook to ensure you achieve the correct gauge (stitches per inch) specified in the pattern. This helps ensure the finished shoes will fit as intended.
- Mind the tension: Maintain consistent tension throughout your crocheting to create an even and neat fabric.
- Double-check your work: As you progress, regularly check your stitch count and shaping to avoid mistakes. It’s easier to fix small errors early on.
- Don’t be afraid to experiment! Once you’re comfortable with the basics, try different colors, yarn textures, and embellishments to create unique and personalized shoes.
Show off your creation!
Once you’ve finished your beautiful crocheted shoes, share your achievement with the world! Post pictures online, gift them to a loved one, or simply enjoy wearing your handmade creation with pride. Remember, crocheting is a journey, so embrace the learning process, have fun, and keep your hook happy!
Bonus resources:
- Crochet Guild of America: [https://www.crochet.org/]
- Ravelry: [https://www.ravelry.com/] (online crochet community with patterns and resources)
- YouTube: A treasure trove of crochet tutorials, including shoe patterns for all skill levels
I hope this blog post inspires you to crochet your own pair of beautiful, knitted shoes! Remember, the most important ingredient is your creativity and passion for the craft. Happy crocheting!
Video tutorial


