by
by 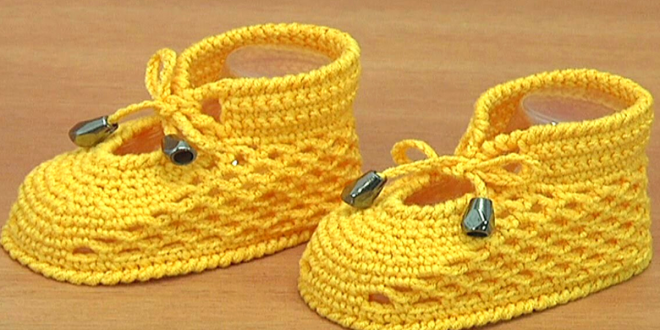
Shoes are more than just a necessity; they’re an expression of personal style and creativity. And what better way to showcase your flair than by crocheting your own unique pair? This guide will walk you through the process, from choosing the right materials to adding those finishing touches that make your shoes truly special.
Step 1: Gather Your Supplies
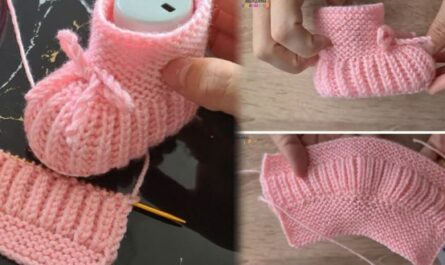
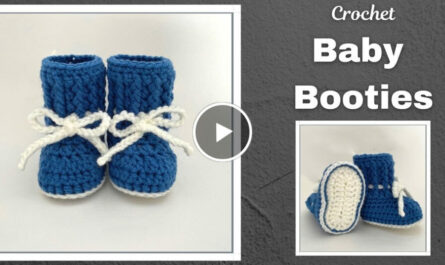
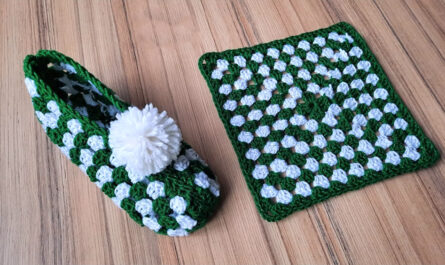
- Yarn: The type of yarn you choose will depend on the desired look and functionality of your shoes. For slippers, consider soft acrylic or wool blends. For sturdier footwear, explore cotton or hemp yarns. Remember, thicker yarns will create thicker shoes.
- Crochet hook: Choose a hook size appropriate for your chosen yarn weight.
- Tapestry needle: For weaving in ends and adding embellishments.
- Scissors: For cutting yarn.
- Optional: Stitch markers, measuring tape, sole insert (for added durability), buttons, beads, or other decorative elements.
Step 2: Select Your Pattern
The internet is a treasure trove of free and paid crochet shoe patterns. Consider your skill level, desired style (slippers, booties, sandals, etc.), and any specific features you want (open-toe, heel height, etc.). Websites like Ravelry and Etsy offer a vast selection with user reviews and photos for inspiration.
Step 3: Gauge Swatch
Before diving into the project, create a gauge swatch using the chosen yarn and hook size. This ensures your finished shoes will match the pattern’s dimensions. Follow the pattern’s gauge instructions and adjust your hook size if needed.
Step 4: Start Crocheting!
With your supplies prepped and pattern ready, it’s time to unleash your creativity! Most shoe patterns involve crocheting the sole and then working up the sides and any additional features like straps or cuffs. Follow the pattern instructions carefully, noting any stitch abbreviations or special techniques. Don’t hesitate to consult online tutorials or crochet communities for clarification on specific steps.
Step 5: Assembly and Finishing Touches
Once you’ve crocheted all the pieces, it’s time to assemble your masterpiece. This usually involves sewing the pieces together using your tapestry needle. If using a sole insert, carefully attach it at this stage. Now comes the fun part – adding embellishments! Buttons, beads, ribbons, or even small crocheted flowers can personalize your shoes and make them truly unique.
Step 6: Wear Your Creation with Pride!
You’ve poured your time and skill into crafting these beautiful shoes, so flaunt them! Wear them around the house, on casual outings, or even gift them to a loved one. Remember, handmade shoes are not just comfortable and stylish, they’re a conversation starter and a testament to your creativity.
Bonus Tips:
- Choose a comfortable yarn that won’t irritate your skin, especially for shoes worn without socks.
- Consider adding a non-slip sole for extra traction and safety.
- If you’re new to crocheting shoes, start with a simpler pattern and gradually progress to more complex designs.
- Don’t be afraid to experiment! Substitute colors, embellishments, and even stitch patterns to create a truly unique pair.
- Most importantly, have fun with the process! Crocheting is a relaxing and rewarding hobby, and creating your own shoes is a fun way to express yourself.
So, grab your hook, pick your yarn, and get ready to crochet the shoes of your dreams! With a little patience and creativity, you’ll be sporting unique and comfortable footwear that’s sure to turn heads.
Video tutorial