 by
by 
Crafting a handmade table runner adds a touch of warmth and personality to your dining space. Whether you’re a seasoned crocheter or just starting out, there’s a table runner pattern out there waiting for your touch. In this blog, we’ll walk you through the delightful process of crocheting a table runner, from choosing the perfect pattern to adding those finishing touches.
Gather Your Supplies:
- Yarn: Opt for durable, easy-care materials like cotton or linen. Consider the color scheme of your dining space and choose a yarn that complements your existing decor.Opens in a new windowintheyarngarden.comYarn for Crocheting Table Runner
- Crochet hook: Select a hook size appropriate for your chosen yarn weight.
- Scissors and tapestry needle: These will be your trusty companions for weaving in ends and adding finishing details.
- Optional: Measuring tape, stitch markers, blocking mats (for shaping your finished runner).
Choosing Your Pattern:
A plethora of table runner patterns cater to different skill levels and styles. Here are a few options to get you started:
- For Beginners: Simple stitch patterns like the moss stitch or half double crochet create elegant runners with minimal fuss.Opens in a new windowwww.pinterest.comMoss Stitch and Half Double Crochet Table Runner
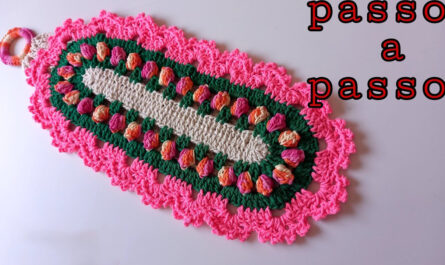
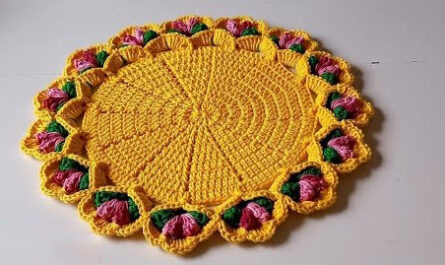
- For Intermediate Crocheters: Explore textured stitches like bobbles or popcorn stitches, or play with colorwork for a pop of personality.Opens in a new windowdrunkdogcreative.comBobble Stitch and Popcorn Stitch Table Runner
- For Advanced Crocheters: Lace patterns or intricate cable stitches elevate your table runner to a showpiece.Opens in a new windowfeltmagnet.comLace Stitch and Cable Stitch Table Runner
Crocheting Your Masterpiece:
Once you’ve chosen your pattern, follow the instructions carefully. Pay attention to stitch counts, row repeats, and any special techniques required. Don’t hesitate to consult online tutorials or crochet communities for help if you get stuck.
Tips for Success:
- Maintain consistent tension: This ensures your runner lays flat and has a neat appearance.
- Weave in ends as you go: This prevents untidy loose ends from marring your finished project.
- Block your runner (optional): This step helps your runner achieve its intended shape and size.
Adding the Finishing Touches:
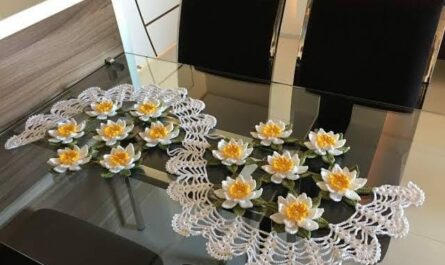
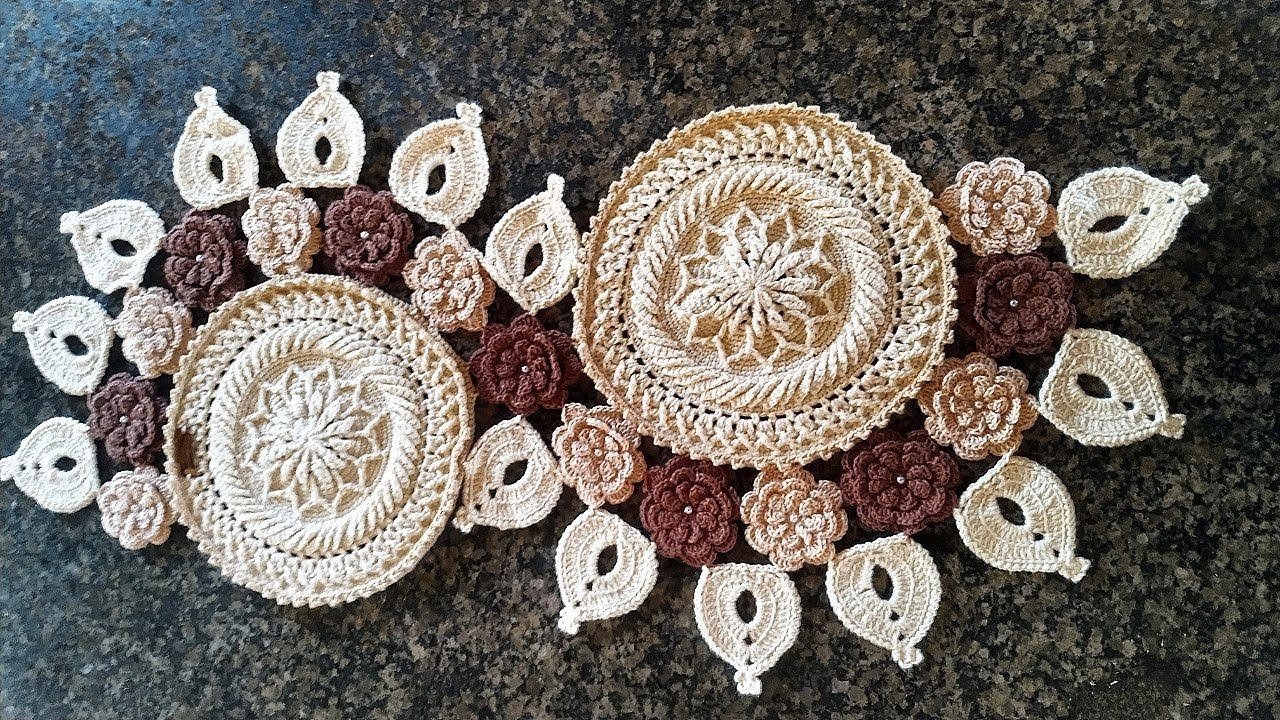
Personalize your table runner with charming details like tassels, fringes, or crocheted flowers. You can also incorporate decorative buttons or ribbons for a unique touch.
Displaying Your Work:
Showcase your handmade table runner with pride! Place it on your dining table, coffee table, or even a dresser for a pop of handcrafted charm.
Beyond the Basics:
With a little practice and experimentation, you can explore endless possibilities for your table runner creations. Try combining different stitch patterns, colors, and textures to create one-of-a-kind masterpieces. You can also adapt existing patterns to fit your desired size or shape.
The Joy of Handmade:
Crocheting a table runner is more than just crafting; it’s an opportunity to express your creativity and fill your home with handmade warmth. So grab your hook, choose your yarn, and let your imagination run wild!
We hope this guide inspires you to crochet a delightful table runner that brings joy to your dining space. Remember, the most important ingredient is your passion for the craft, so have fun and let your creativity flow!
Happy crocheting!
Video tutorial