 by
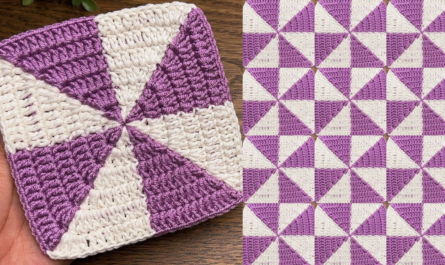
by It’s fantastic that you’re looking to create a stylish crochet rose motif! Just to clarify terminology, crochet uses a single hook, while knitting uses two needles. This guide will focus entirely on how to crochet a rose motif.
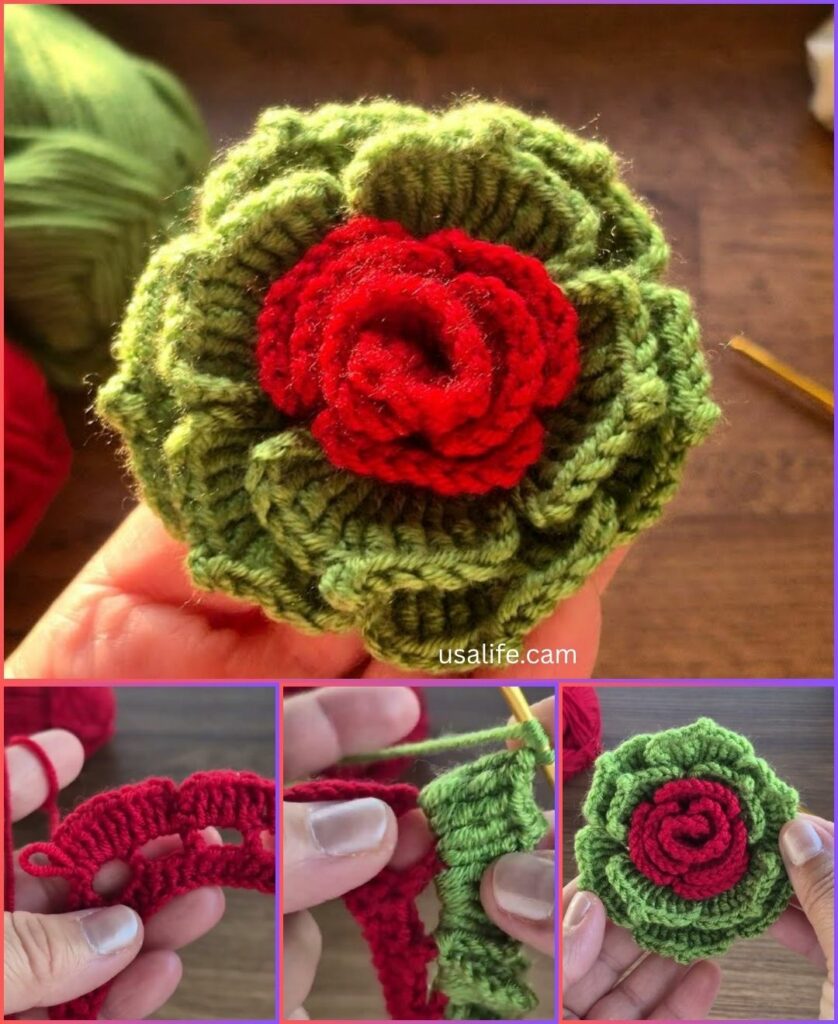
Crocheted roses are incredibly versatile and can add a touch of elegance and charm to many projects. They’re perfect for embellishing garments, bags, hats, hair accessories, home decor items, or even as standalone decorative pieces.
For the warm climate of Phnom Penh, 100% cotton yarn is an excellent choice for a rose motif. Cotton offers superb stitch definition, which is crucial for showing off the beautiful curves of a rose. It’s also durable and holds its shape well. Small amounts of leftover yarn are ideal for these projects.

How to Crochet a Stylish Rose Motif for Beginners
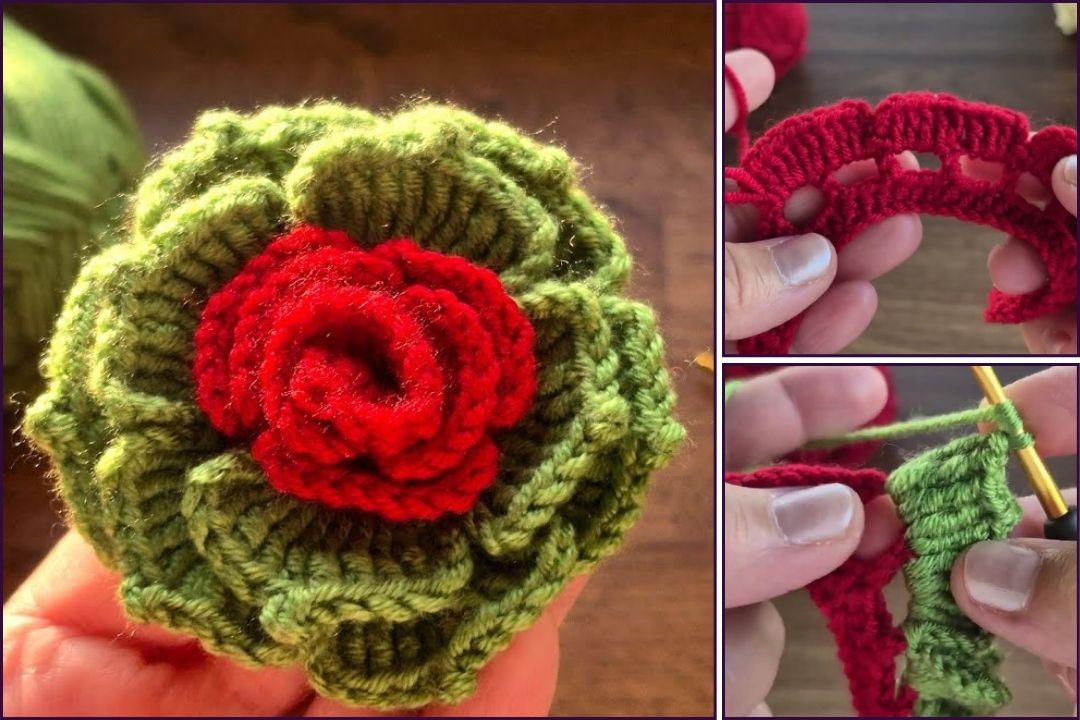
This guide will walk you through creating a flat, spiraling rose motif, which is one of the most common and stylish types of crocheted roses. It’s surprisingly simple once you get the hang of it and works by creating a long strip that then curls into a rose shape.
1. Essential Materials You’ll Need
- Yarn:
- Fiber: 100% Cotton Yarn is highly recommended for its excellent stitch definition and ability to hold shape, which is important for the structure of a rose. A soft, high-quality acrylic yarn can also work.
- Weight: DK (Double Knitting / Light Worsted / Category 3) or Worsted Weight (Aran / Medium / Category 4). DK will create a smaller, more delicate rose; Worsted will result in a more substantial rose.
- Color(s): Choose shades that evoke a real rose: reds, pinks, whites, creams, yellows, or even deep purples. You can also add a small amount of green for optional leaves (see “Tips” below).
- Quantity: You’ll only need small amounts of yarn, making this a fantastic stash-busting project.
- Crochet Hook:
- For DK Weight yarn, a 3.0mm (US C/2) or 3.5mm (US E/4) hook.
- For Worsted Weight yarn, a 3.5mm (US E/4) or 4.0mm (US G/6) hook.
- Choose a hook size slightly smaller than recommended for your yarn if you want a denser, stiffer rose that holds its shape well.
- Scissors: For cutting your yarn.
- Yarn Needle (Tapestry Needle): Absolutely essential for neatly weaving in yarn ends and for securing the rose shape.
- Optional: Hot glue gun (for securing rose shape permanently if not sewing), sewing needle and thread (if attaching to fabric).
2. Basic Crochet Stitches You’ll Use
This pattern primarily uses fundamental crochet stitches:
- Chain (ch): To begin your work and create turning chains/spaces.
- Slip Stitch (sl st): For neatening.
- Single Crochet (sc): Creates a dense fabric.
- Half Double Crochet (hdc): A medium-height stitch.
- Double Crochet (dc): The main stitch for forming the petals.
- Triple/Treble Crochet (tr): Used for taller petals to create more fullness.

The Spiraling Crocheted Rose Motif Pattern
This pattern creates a long, wavy strip that you then roll up and secure to form the rose shape. The variations in stitch height naturally create the petal effect.
Abbreviations (US Crochet Terms):
- ch: chain
- sl st: slip stitch
- sc: single crochet
- hdc: half double crochet
- dc: double crochet
- tr: triple crochet (or treble crochet)
- st(s): stitch(es)
Step 1: Create the Foundation Chain
The length of your starting chain will determine the size of your finished rose. A longer chain creates a larger, fuller rose.
- Using your chosen yarn and hook: Ch 31. (This will make a medium-sized rose, about 1.5 – 2 inches in diameter. For a smaller rose, chain less, e.g., Ch 21-26. For a larger rose, chain more, e.g., Ch 36-41).
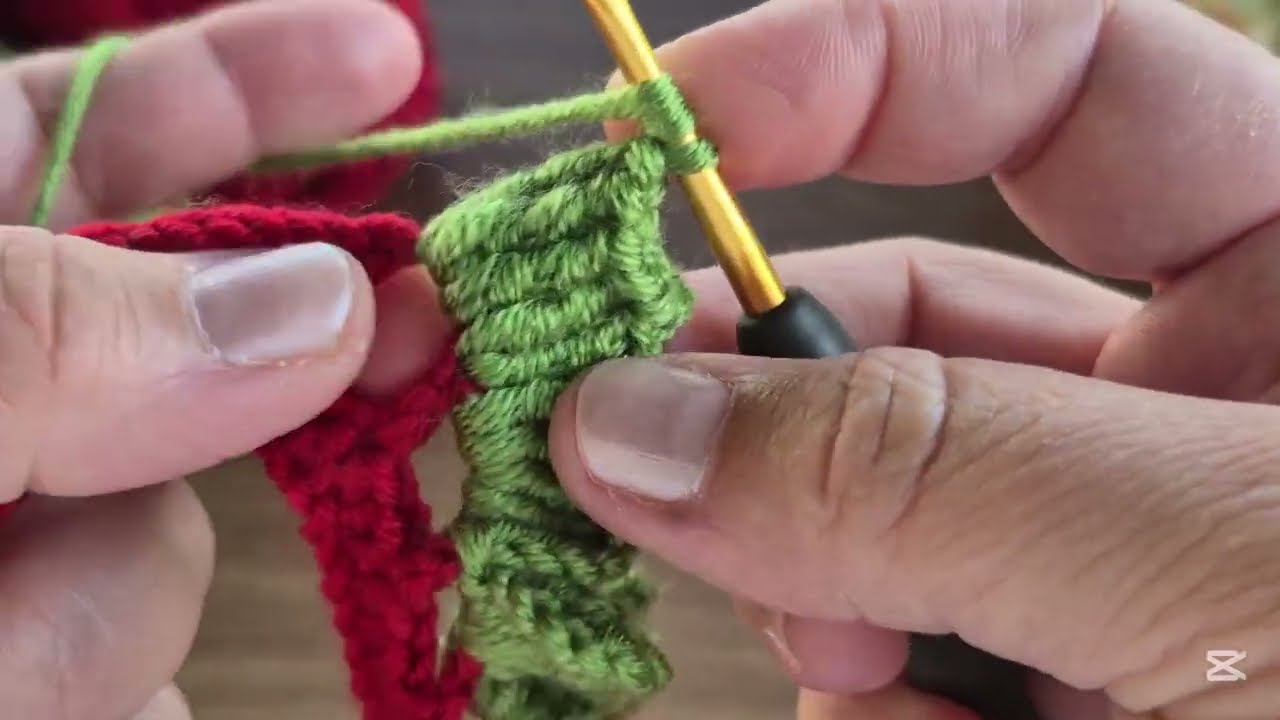
Step 2: Crocheting the Petal Strip
This entire pattern is worked in a single row, creating a long, wavy strip.
- Row 1 (Working back along the chain):
- Work 1 sc into the 2nd chain from your hook.
- Work 1 hdc into the next ch.
- Work 1 dc into the next 2 ch.
- Work 1 tr into the next 2 ch.
- Work [1 dc, 1 tr, 1 dc] all into the next ch. (This forms a “peak” for a larger petal).
- Work 1 tr into the next 2 ch.
- Work 1 dc into the next 2 ch.
- Work 1 hdc into the next ch.
- Work 1 sc into the next ch.
- Repeat from * to * two more times (or until you reach the end of your chain, adjusting if your initial chain was different). Each repeat creates a “section” of petals. The exact sequence for a section is:
[1 hdc, 2 dc, 2 tr, (1 dc, 1 tr, 1 dc) in next ch, 2 tr, 2 dc, 1 hdc, 1 sc]. - After your last repeated section, you should end with an
scin the final chain. - Ch 1 (does NOT count as a stitch) and turn your work. (You will have created a wavy strip with distinct peaks and valleys.)
Step 3: Creating the Rose Shape
This is where the magic happens! You’ll roll the crocheted strip into a rose.
- Fasten off your yarn, leaving a very long tail (at least 15-20 inches / 38-50 cm) for sewing the rose together. Pull the tail through the loop on your hook.
- Start Rolling: Beginning from the sc end of your crocheted strip (the narrower, flatter end), tightly roll the strip inward. This will form the center bud of your rose.
- Continue Rolling: As you roll, allow the wider, wavier parts of the strip (the “peaks” created by the
trstitches and thedc/tr/dcclusters) to naturally flare out and form the petals. Don’t roll too tightly; let the strip define the petal curves. - Secure the Shape (Crucial!): Once you’re happy with the rose shape, hold it firmly in place.
- Using your long yarn tail and a yarn needle, thread the tail.
- Carefully begin stitching through all layers of the rolled rose from the bottom. Make several stitches crisscrossing the base of the rose to secure all the layers together. Aim to go through the dense parts of the stitches so your securing stitches are strong and invisible from the top.
- Once fully secured, weave in the remaining tail on the back of the rose.

3. Finishing Your Stylish Crocheted Rose Motif
Proper finishing ensures your rose is durable and looks its best.
- Weave in All Ends NEATLY: Any short tails from your starting chain should also be woven in securely on the back of the rose using your yarn needle.
- Optional: Stiffening/Blocking (For more defined shape): If your rose feels too floppy, you can lightly stiffen it.
- You can use a fabric stiffener (like diluted white glue or commercial fabric stiffener). Apply it sparingly to the back and edges of the petals, then reshape and let it dry.
- Alternatively, simple wet blocking can help. Gently mist the rose with water, reshape it, and let it air dry completely. This will mostly help it hold its form but won’t make it rigid.
- Attach (if desired): Your rose is now ready to be attached to your chosen project using thread and a sewing needle, or a hot glue gun.
4. Tips for Making Your Crocheted Roses Truly Stylish
- Yarn Weight & Hook Size: This combination is crucial for the rose’s final look. A smaller hook with a given yarn weight will create a denser, stiffer rose. A larger hook will create a softer, floppier rose. Experiment to find your preferred “styl” (style).
- Color Choice: Ombre or variegated yarns can create beautiful, natural-looking color transitions in your rose. Using a slightly darker shade for the initial (tighter) part of the roll and transitioning to lighter shades for the outer petals can also add depth.
- Varying Petal Sizes: The key to a realistic rose is the variation in petal height. Ensure your
sc,hdc,dc, andtrstitches are distinct in height. - Rolling Technique: Don’t force the roll. Let the natural curve of the crocheted strip guide you. The tighter you roll the inner part, the smaller the bud. The looser you allow the outer parts to flare, the more open your rose will be.
- Optional Green Leaves:
- Simple Leaf: Ch 7. Sl st in 2nd ch from hook, sc in next ch, hdc in next ch, dc in next ch, hdc in next ch, sc in last ch. Ch 1, turn (work down other side of foundation chain): sc, hdc, dc, hdc, sc, sl st in base. Fasten off. Make 2, sew to back of rose.
- Alternative: Use a simple chain of 5-7 stitches and attach it to the back of the rose for a minimalistic leaf/stem effect.
- Layering with Multiple Roses: Crochet roses look particularly stunning when grouped in clusters or when different sizes are made and layered together.
- Adding Embellishments: A small bead or pearl can be sewn into the very center of the rose for extra sparkle.
With these detailed instructions and tips, you’ll be able to create truly gorgeous and stylish crocheted rose motifs! Enjoy the process of bringing these beautiful flowers to life with your hook and yarn.