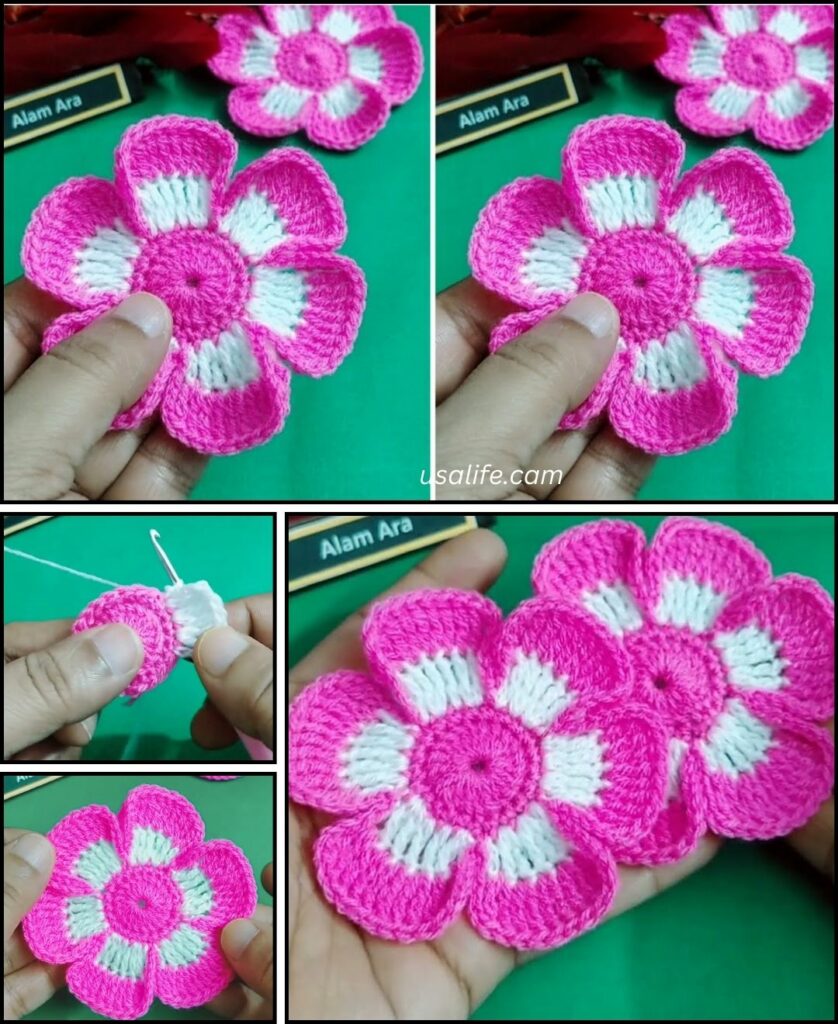
To crochet a large, striking flower, you’ll need a pattern that builds from a central base, expanding outward with multiple layers of petals. A simple and effective way to do this is to start with a flat, circular center and then create the petals in separate, expanding rounds. This method gives the flower a three-dimensional and realistic look.
Here is a detailed guide on how to crochet a big, beautiful flower with a layered petal design.

Materials Needed
- Yarn: Medium-weight yarn in at least two colors: one for the center (e.g., yellow) and another for the petals.
- Crochet Hook: The size recommended for your yarn.
- Scissors: For cutting yarn.
- Tapestry Needle: For weaving in the ends.
Abbreviations
- ch: chain
- sl st: slip stitch
- sc: single crochet
- hdc: half double crochet
- dc: double crochet
- tr: treble crochet
- dtr: double treble crochet
- st(s): stitch(es)
Pattern Instructions
This pattern starts with a solid center and then adds two layers of petals for a full, layered look.
Round 1: The Center
- Using your center color (e.g., yellow), create a magic ring. Alternatively, you can
ch 4and join with asl stto form a ring. ch 2(counts as ahdc).- Work 11 hdc into the ring.
- Join with a
sl stto the top of the beginningch 2. You should have 12 stitches. - Cut the yarn and tie off.

Round 2: Foundation for Petals
- Join your petal color to any stitch from the previous round.
ch 1(does not count as a stitch).- Work 2 sc into each stitch around. You should have 24 stitches.
- Join with a
sl stto the firstsc.
Round 3: The First Layer of Petals
This round creates the small inner petals of the flower.
sl stinto the next stitch.ch 3. This counts as your firstdc.- Work 3 tr and 1 dc into the same stitch where you made the
sl st. sl stinto the next stitch. Your first petal is now complete.sl stinto the next stitch.[ch 3, 3 tr, 1 dc]into the same stitch.sl stinto the next stitch.- Repeat steps 5-7 to create 12 petals around the entire circle.
- Join with a
sl stto the base of your first petal.

Round 4: Foundation for the Second Layer of Petals
This round is worked behind the first layer of petals to create a base for the bigger petals.
ch 1and turn your work so you are working on the back.- Work
scinto the back of eachsl stand the back of the base of each petal from the previous round. - You should have 24 stitches.
- Join with a
sl stto the firstsc. ch 1and turn your work back to the front.
Round 5: The Second Layer of Petals
This round creates the large, outer petals.
sl stinto the next stitch.ch 3(counts as firstdc).- Work
1 dc, 3 tr,1 dtr, 3 tr, and1 dcinto the same stitch where you made thesl st. sl stinto the next stitch. Your first large petal is now complete.sl stinto the next stitch.[ch 3, 1 dc, 3 tr, 1 dtr, 3 tr, 1 dc]into the same stitch.sl stinto the next stitch.- Repeat steps 5-7 to create 12 large petals.
- Join with a
sl stto the base of your first large petal.

Finishing Touches
- Weave in Ends: Carefully use your tapestry needle to weave in all loose yarn ends. This is crucial for a neat and durable finish.
- Shaping: Gently pull on the petals to shape them and make them lay flat. The layered design should naturally create a three-dimensional effect.
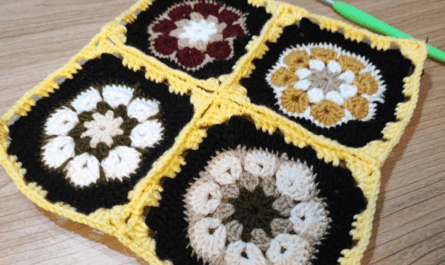
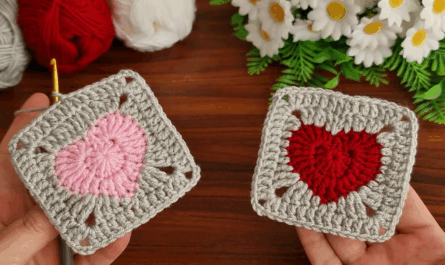
This pattern can be adapted for a variety of uses, from embellishments on blankets and hats to being the central piece of a coaster or a decorative piece for a pillow.

Video tutorial


