 by
by You’re looking to create a crochet bag handle – a fantastic way to customize your bags and make them truly unique! Just to clarify the terms, crochet uses a single hook, while knitting uses two needles. This guide will focus entirely on how to crochet a sturdy and stylish bag handle.
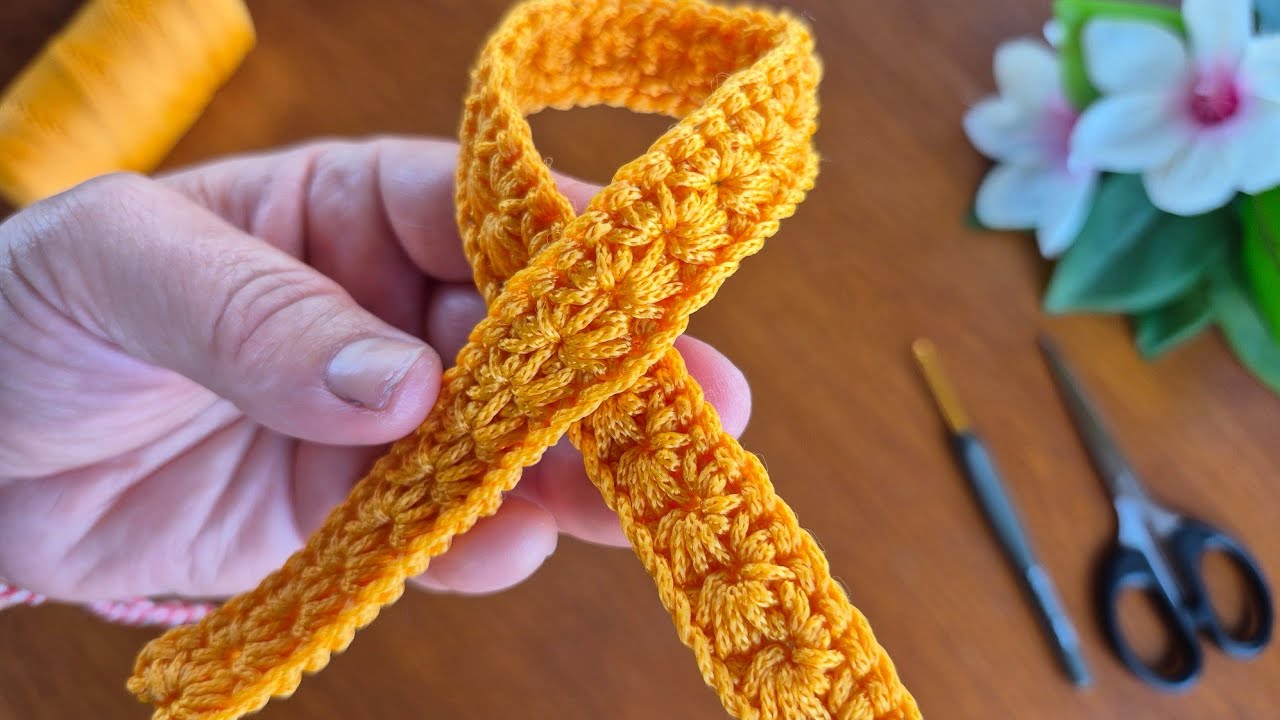
Crochet bag handles are not just functional; they’re an opportunity to add a decorative element to your project. The key to a good crochet handle is sturdiness and minimal stretch, especially for bags that will carry weight.
For the warm climate of Phnom Penh, 100% cotton yarn or a cotton blend is an excellent choice. Cotton is durable, has good stitch definition, and is less likely to stretch out significantly compared to some other fibers like acrylic, though a dense stitch pattern is still crucial for handles. You can also consider macrame cord or T-shirt yarn for incredibly sturdy handles, though they might be heavier.

How to Crochet a Sturdy & Stylish Bag Handle
There are several ways to crochet a bag handle, ranging from simple strips to more complex corded designs. Here, we’ll cover two popular and effective methods to create durable handles.
1. Essential Materials You’ll Need
- Yarn:
- Fiber: 100% Cotton, Cotton Blend, or Macrame Cord are great choices for sturdiness. Avoid very stretchy or flimsy yarns for handles that need to support weight.
- Weight: Worsted Weight (Aran / Medium / Category 4) is a good all-rounder. Thicker yarns like chunky or super bulky can make very substantial handles quickly.
- Color: Match your bag or choose a contrasting color for a pop.
- Quantity: You’ll need a moderate amount, enough to make two handles of your desired length and width.
- Crochet Hook:
- Choose a hook size one or two sizes smaller than recommended for your yarn. This is critical for creating a dense, less stretchy fabric that will hold its shape well under stress. For Worsted weight, a 3.5mm (US E/4) or 4.0mm (US G/6) is often good.
- Scissors: For cutting yarn.
- Yarn Needle (Tapestry Needle): Essential for weaving in ends and securely attaching the handles to your bag.
- Measuring Tape: For determining the desired length of your handles.
- Optional for extra sturdiness: Macrame rope, cotton cording, or sturdy ribbon (to insert inside the handle).
2. Basic Crochet Stitches You’ll Use
Most handle patterns rely on basic stitches worked densely:
- Chain (ch): To create the foundation.
- Slip Stitch (sl st): For joining or neatening edges.
- Single Crochet (sc): Creates a very dense, sturdy fabric, ideal for handles.
- Half Double Crochet (hdc): Creates a slightly thicker, still dense fabric.
- Thermal Stitch: (More advanced but excellent for non-stretch handles) – creates a super thick, dense fabric.

Method 1: The Dense Flat Strip Handle (Simple & Sturdy)
This method creates a flat handle that can then be folded or left flat. Using single crochet (sc) stitches ensures a tight, durable fabric.
Abbreviations (US Crochet Terms):
- ch: chain
- sc: single crochet
- sl st: slip stitch
- st(s): stitch(es)
A. Determine Handle Length & Width:
- Length: Measure how long you want your handle to be. For shoulder bags, this might be 20-24 inches (50-60 cm). For tote bag handles, 12-16 inches (30-40 cm) might be enough. Remember that crochet stretches a little, so consider making it slightly shorter than your final desired length.
- Width: Decide how wide you want the handle. A good starting point is 1-2 inches (2.5-5 cm).
B. Crocheting the Handle:
- Chain: Chain the number of stitches required to achieve your desired length. For example, if your gauge (stitches per inch) is 4 sc per inch and you want a 20-inch handle, you’d chain around 81 (80 sc + 1 for turning). Always make your chain a bit longer than you think, as stitches shorten it.
- Row 1: Work 1 sc into the 2nd chain from your hook. Work 1 sc in each chain across the row. (This establishes your handle’s length).
- Row 2: Ch 1 (does NOT count as a stitch), turn your work. Work 1 sc into the first sc and each sc across.
- Repeat Row 2: Continue repeating Row 2 until your handle reaches the desired width. The more rows you work, the wider the handle will be.
- Fasten off, leaving a very long tail (at least 12-18 inches / 30-45 cm) for sewing the handle to your bag.
C. Finishing the Flat Handle (Optional for extra sturdiness):
- Folding and Sewing (Recommended for a thick, less stretchy handle):
- Fold the long crocheted strip lengthwise in half.
- Using your yarn needle and the long tail, sew the raw edges together using a slip stitch seam or a whip stitch. This creates a tubular, super sturdy handle.
- Optional: Insert a Cord: Before sewing the edges together, you can insert a length of macrame rope, cotton cording, or even a thick ribbon inside the folded handle. This will make it virtually stretch-proof. Make sure the cord is the same length as your crocheted strip. Sew around the cord, ensuring it’s encased securely.
- Working a Border (for a neat, flat handle):
- If you prefer a flat handle, after completing your desired width, ch 1 and work sc stitches all around the entire edge of the rectangle (1 sc in each sc along the long sides, and 1-2 sc per row end along the short sides) to create a neat, finished edge. Join with a sl st to the first sc. Fasten off.

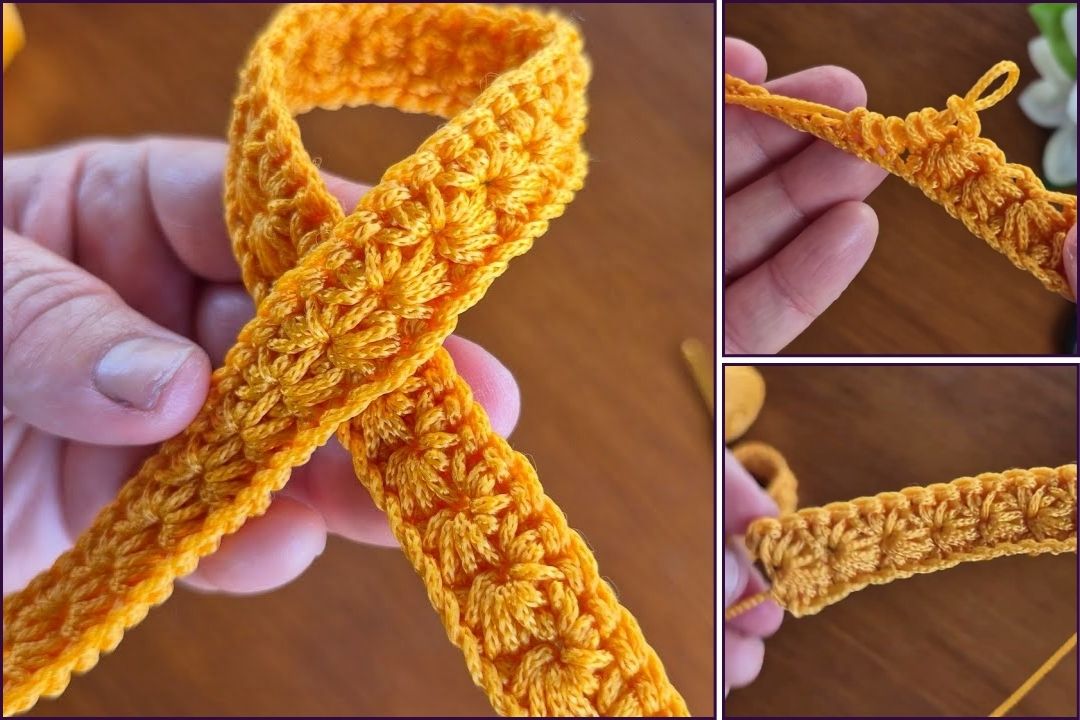
Method 2: The I-Cord Handle (Cord-like & Elegant)
An I-cord creates a neat, round, cord-like handle. While simple in concept, it requires a bit of practice. It’s naturally dense.
Abbreviations (US Crochet Terms):
- ch: chain
- sl st: slip stitch
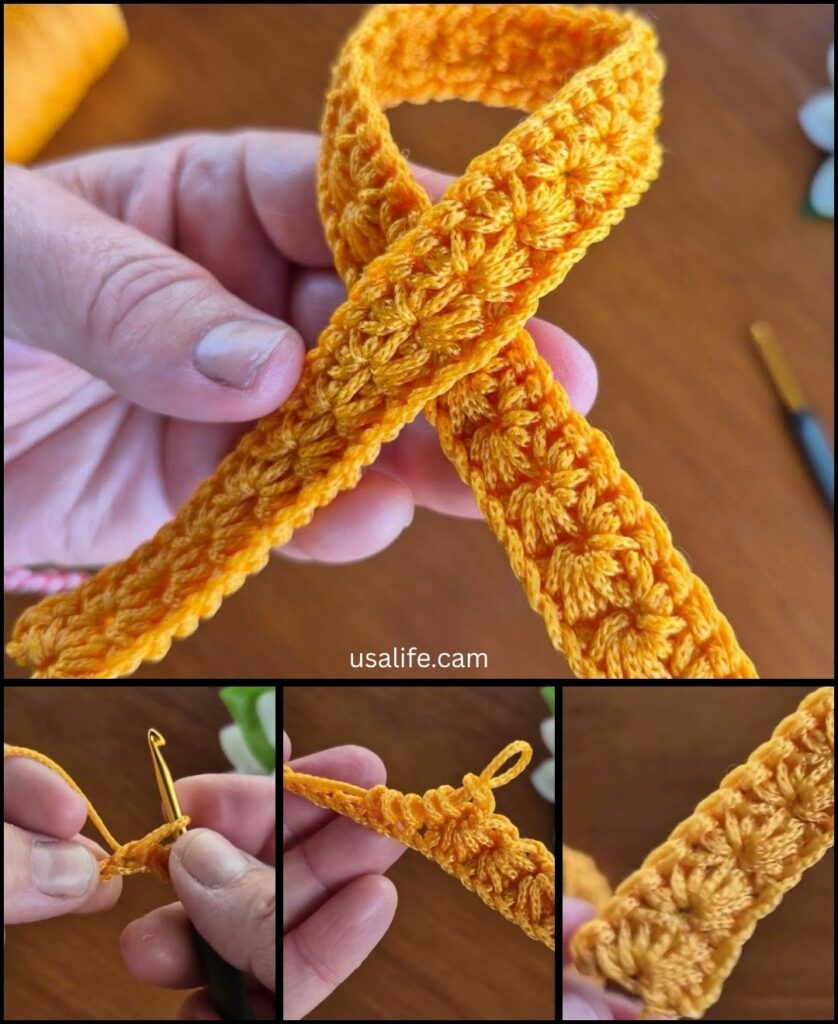
A. Crocheting the I-Cord:
- Chain: Ch 3 (or 4, depending on desired thickness of the cord).
- Row 1: Insert hook into the 2nd chain from hook, yarn over, pull up a loop (2 loops on hook). Insert hook into the 3rd chain from hook, yarn over, pull up a loop (3 loops on hook). If you chained 4, you’d have 4 loops on hook from inserting into the 2nd, 3rd, and 4th chains.
- Drop the first 2 (or 3) loops off your hook temporarily. Hold them securely with your non-dominant thumb and forefinger to prevent unraveling.
- Work the first stitch: Yarn over, pull through the single loop remaining on your hook. (This completes your first stitch).
- Pick up the next dropped loop: Insert hook into the next loop you dropped (the one closest to your hook). Yarn over, pull through that loop. (You’ll have 2 loops on hook again).
- Repeat: Pick up the last dropped loop (the one furthest from your hook). Yarn over, pull through that loop. (You’ll have 3 loops on hook again, if you started with 3 chains).
- Continue: Repeat steps 3-6. Drop all but the working loop, work into the working loop, then pick up each dropped loop one by one and work into them. This creates a continuous tube.
- Continue this process until your I-cord reaches your desired length.
B. Finishing the I-Cord Handle:
- Once you reach the desired length, work a sl st into each of the remaining loops on your hook to bind them off neatly.
- Fasten off, leaving a very long tail for sewing.
- Weave in the starting tail.

3. Attaching Your Crochet Bag Handles (Crucial Step!)
Proper attachment ensures your handles are secure and your bag is functional.
- Placement: Decide where on your bag you want the handles to be. Typically, they are attached to the top edge, equidistant from the sides. You’ll need two handles, one for each side of the bag opening (or one long handle that goes over the shoulder).
- Pinning: Use stitch markers or safety pins to temporarily secure the handles in place on your bag. Double-check the spacing and alignment.
- Sewing:
- Using the long yarn tail you left and your yarn needle, securely sew the ends of the handles to the bag.
- Use strong, tight stitches. A whip stitch or a running stitch that goes through both the handle and the bag fabric multiple times works well.
- For the flat strip handle (Method 1), you’ll sew the flat ends down onto the bag. If you folded it, sew the folded ends flat to the bag.
- For the I-Cord handle (Method 2), you can either flatten the ends and sew them down, or you can create a loop on the bag itself and loop the I-cord through it (similar to a belt loop).
- Go back and forth several times to reinforce the attachment points. A loose handle is the fastest way for a bag to become unusable!
- Weave in All Ends NEATLY: After sewing, carefully weave in any remaining yarn tails into the stitches of the handle or the bag.
4. Tips for Stylish & Sturdy Crochet Bag Handles
- Yarn Choice is Key: As mentioned, avoid stretchy yarns like pure acrylic for load-bearing handles unless reinforced. Cotton, linen, hemp, or macrame cord offer good durability.
- Dense Stitching: Regardless of the stitch, make your stitches tight. A smaller hook for the yarn weight helps significantly.
- Reinforcement:
- Internal Cording: This is the best way to prevent stretch in a crochet handle. Insert rope, cord, or ribbon inside a tubular handle (as described in Method 1).
- Fabric Lining: For the entire bag, adding a fabric lining can take the strain off the crocheted fabric and handles, significantly increasing the bag’s lifespan and sturdiness.
- Handle Shape: Experiment with different widths and lengths.
- Short, wide handles: Great for tote bags held in hand or on the forearm.
- Longer, thinner handles: Ideal for shoulder bags or crossbody bags.
- Decorative Touches:
- You can crochet two different colored strips and sew them together for a striped handle.
- Add a decorative stitch pattern to the handle itself, like a braided look or a textured stitch, but ensure it remains dense.
- Consider adding metal D-rings or purse hardware to your bag and attaching your crochet handles to those for a more professional finish.
By following these detailed steps and tips, you’ll be able to crochet durable, stylish, and functional bag handles for all your projects!