by
by You’re looking to learn about granny square patterns in crochet! That’s an excellent choice. Granny squares are iconic, versatile, and a fantastic project for beginners to master. They teach fundamental skills and can be used to create everything from blankets and scarves to bags and garments.
What is a Granny Square?
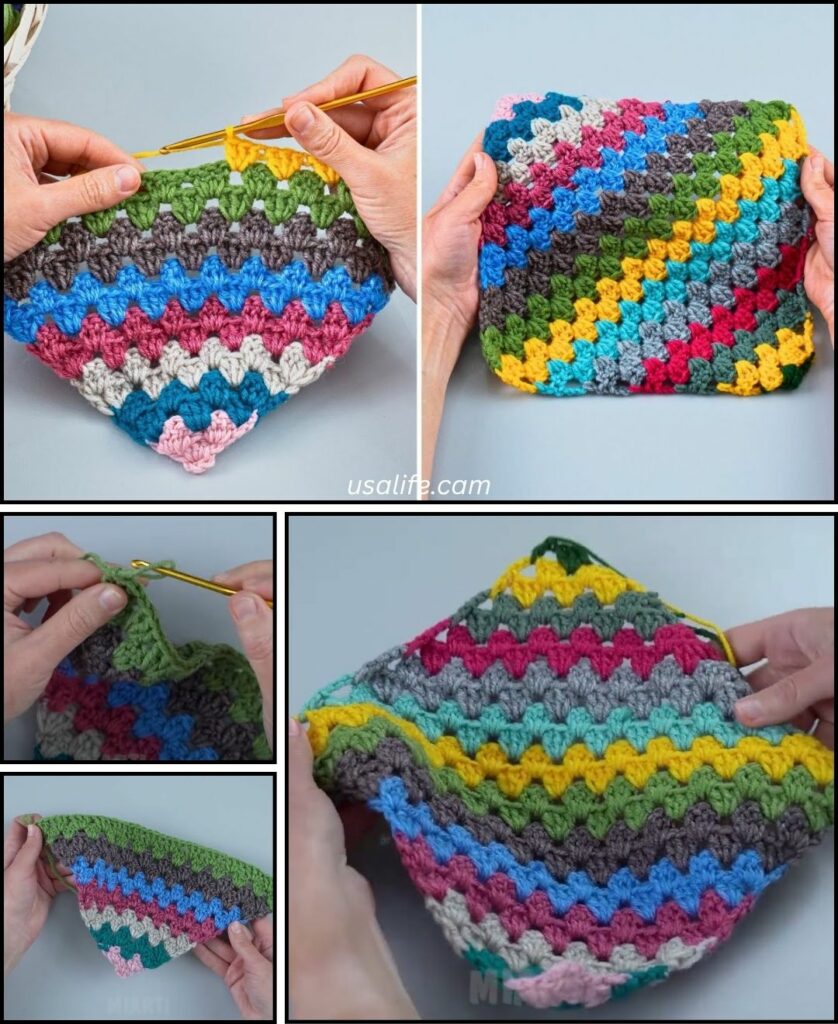
At its heart, a granny square is a crocheted motif, typically square, that is worked in rounds from the center out. The classic design is characterized by “granny clusters,” which are groups of three double crochet (dc) stitches worked together into the same space, separated by chain stitches.
Granny squares are popular because:
- Beginner-Friendly: They primarily use just a few basic stitches (chain, slip stitch, double crochet).
- Portable: You can easily carry your project with you.
- Versatile: Once you have a collection of squares, you can join them together to make larger items.
- Scrap-Friendly: They’re perfect for using up small amounts of yarn in different colors.
- Visually Appealing: The classic open, lacy look is charming, and they lend themselves well to color changes.
Essential Materials You’ll Need
- Yarn: Any type of yarn can be used for granny squares, but for beginners, worsted weight (medium/category 4) acrylic or cotton yarn is often recommended.
- Acrylic: Affordable, widely available, comes in many colors, and is easy to work with.
- Cotton: Has great stitch definition, is durable, and creates a lovely finished product.
- You’ll likely want at least two colors to appreciate the classic granny square look, but you can start with one.
- Crochet Hook: The yarn label will recommend a hook size. For worsted weight yarn, a 4.0mm (US G/6) or 5.0mm (US H/8) hook is common.
- Scissors: For cutting yarn.
- Yarn Needle (Tapestry Needle): Crucial for weaving in all those loose ends for a neat finish.
Basic Crochet Stitches You’ll Use
Mastering these few stitches is all you need for a classic granny square:
- Chain (ch): The foundation of most crochet.
- Slip Stitch (sl st): Used for joining rounds and moving across stitches.
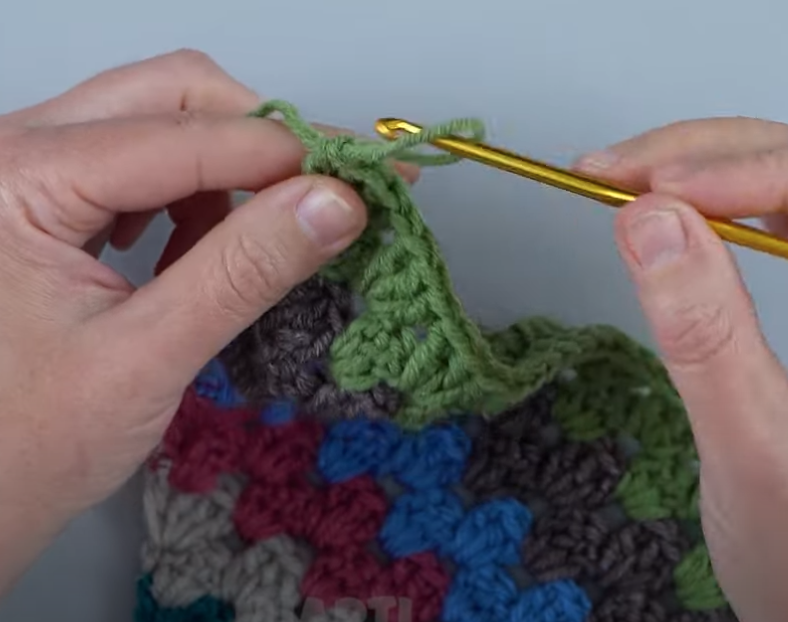
- Double Crochet (dc): The main stitch that forms the “clusters” of the granny square.
- Working in Rounds: You’ll build the square by working in circles from the center.
- Fasten Off: Securely ending your work.
- Weaving in Ends: Hiding yarn tails for a clean project.
Classic Granny Square Pattern (Step-by-Step for Beginners)
This is the most common and beloved granny square pattern. Once you master this, you can tackle many variations!
Abbreviations (US Crochet Terms):
- ch: chain
- sl st: slip stitch
- dc: double crochet
- st(s): stitch(es)
- ch-sp: chain space
(...): work stitches into the same stitch or space[...]: repeat instructions in brackets- FO: Fasten off
Foundation Round: Creating the Center Ring
You’ll start by making a ring in the center.
- Method 1: Magic Ring (Recommended for a tight center)
- Make a slip knot on your hook.
- Wrap the yarn around your fingers (usually pointer and middle) to form a loop.
- Insert your hook into the loop, yarn over, pull up a loop. Ch 1.
- Now, work your stitches for Round 1 into this loop. When done, pull the tail tight to close the ring.
- Method 2: Chain Ring (Easier for absolute beginners)
- Ch 4.
- Sl st into the 1st ch to form a ring.
Round 1: The First Set of Clusters and Corners
This round sets up the four corners of your square.
- Ch 3 (counts as your first dc).
- Work 2 dc into the center ring. (This completes your first “granny cluster” of 3 dc).
- Ch 2 (this creates your first corner space).
- Work 3 dc into the center ring. (Second cluster)
- Ch 2 (second corner space).
- Work 3 dc into the center ring. (Third cluster)
- Ch 2 (third corner space).
- Work 3 dc into the center ring. (Fourth cluster)
- Ch 2 (fourth corner space).
- Join with a sl st into the top of the initial Ch 3. (You should have 4 clusters of 3 dc, separated by 4 ch-2 spaces).
- (Optional) Change Color: If you want to change colors for the next round, FO your current color, leaving a 4-6 inch tail to weave in.
Round 2: Building Out the Sides and Corners
From this round onwards, you’ll work into the chain spaces from the previous round.
- If you changed color, join your new color with a sl st into any ch-2 corner space from the previous round.
- Ch 3 (counts as your first dc). Work 2 dc into the same ch-2 corner space.
- Ch 2. Work 3 dc into the same ch-2 corner space. (This forms your first corner:
(3dc, ch2, 3dc)). - Ch 1 (this creates the chain space for the side of your square).
- Now, move to the next ch-2 corner space. Work
(3dc, ch2, 3dc)into this corner space. - Ch 1.
- Repeat steps 5 and 6 around the square until you reach your starting point.
- After your last
(3dc, ch2, 3dc)in the corner, ch 1. - Join with a sl st into the top of the initial Ch 3. (You should now have 4 full corners and 4 ch-1 spaces along the sides).
- (Optional) Change Color: FO your current color.
Round 3 and Beyond: Making Your Square Bigger
Repeat Round 2’s logic, but now you’ll have “side” spaces to work into.
- If you changed color, join your new color with a sl st into any ch-2 corner space from the previous round.
- Ch 3 (counts as your first dc). Work 2 dc into the same ch-2 corner space.
- Ch 2. Work 3 dc into the same ch-2 corner space. (First corner:
(3dc, ch2, 3dc)). - Ch 1.
- Work 3 dc into the next ch-1 side space. (First side cluster)
- Ch 1.
- Work
(3dc, ch2, 3dc)into the next ch-2 corner space. (Second corner) - Ch 1.
- Work 3 dc into the next ch-1 side space. (Second side cluster)
- Ch 1.
- Repeat around until you reach your starting corner. Each round, you’ll have more ch-1 side spaces to fill with 3 dc clusters.
- After your last
(3dc, ch2, 3dc)in the corner, ch 1. - Join with a sl st into the top of the initial Ch 3.
- Continue repeating this pattern until your square is the desired size.
- Fasten Off: Cut your yarn, leaving a 6-inch tail. Yarn over and pull the tail completely through the loop on your hook. Pull tight to secure.
Finishing Your Granny Square
- Weave in All Ends NEATLY: This is critical for a professional and durable finish. Use your yarn needle to carefully weave in every single yarn tail. Go back and forth through stitches a few times to secure them.
- Blocking (Optional but Recommended): For a truly flat and perfectly square shape, you can block your granny square.
- Gently wet the square (you can spritz it or immerse it and squeeze out excess water).
- Lay it flat on a blocking mat or towel, gently shaping it into a perfect square. Use rust-proof pins to hold the corners and sides in place if needed.
- Allow it to air dry completely.
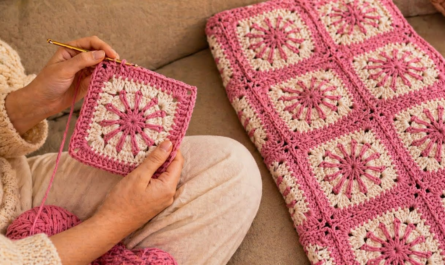
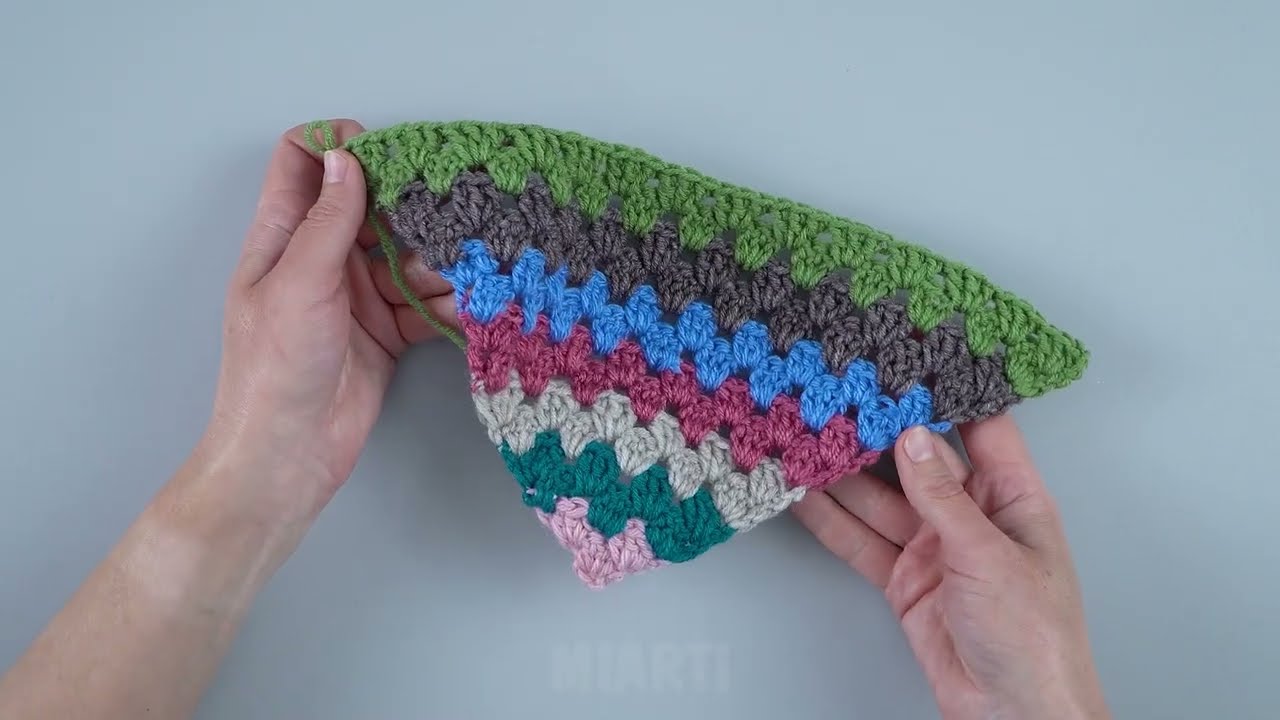
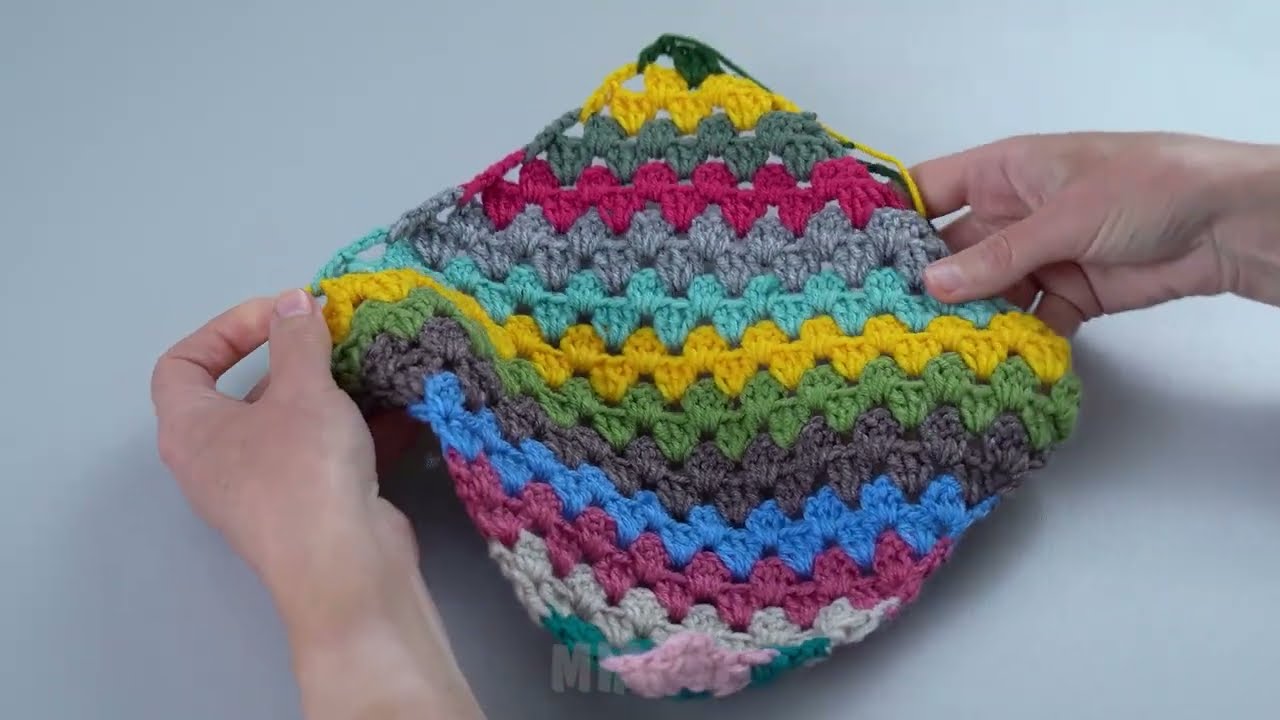
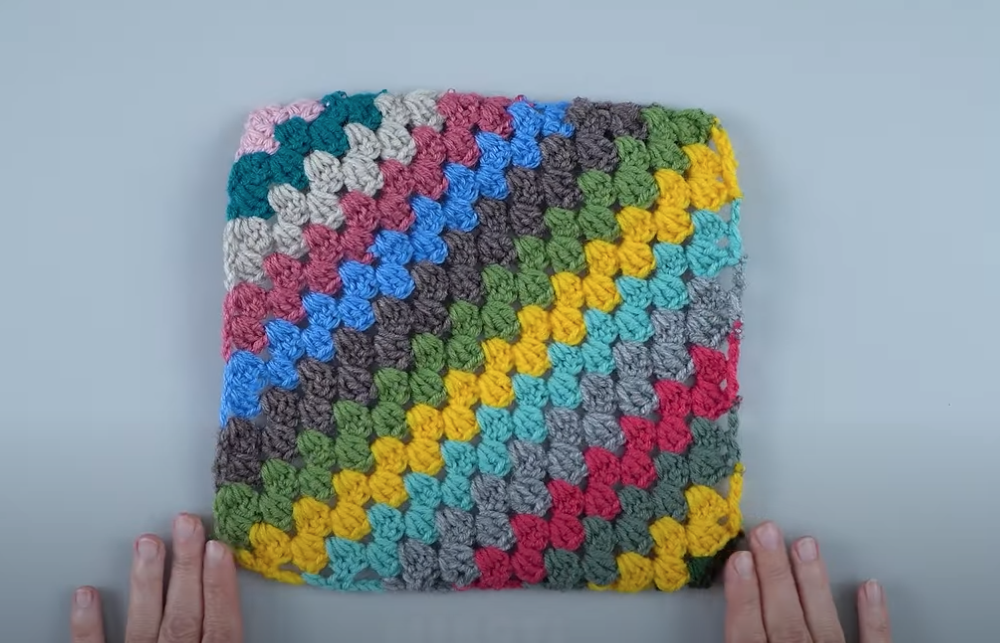
Different Types of Granny Square Patterns
Once you’ve mastered the classic, there’s a whole world of granny squares to explore! Here are a few popular variations:
- Solid Granny Square: Instead of working clusters into chain spaces, stitches are worked directly into the top of stitches from the previous round, creating a denser, less holey fabric. These are great for garments or projects where you want less “airiness.”
- Sunburst Granny Square: Starts with a puffy, textured center (often using popcorn or puff stitches) that resembles a sun, then expands into a square. These are very popular for their tactile appeal.
- Circle to Square Granny Square: As the name suggests, you start with a crocheted circle and then transition into a square shape in later rounds.
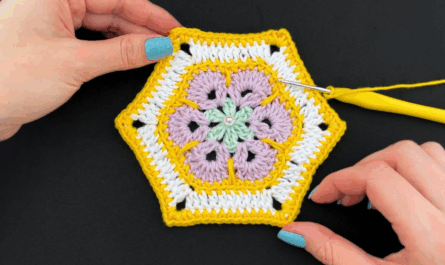
- Flower Granny Square: Incorporates a raised or embedded flower motif within the center of the square.
- Hexagon Granny Square: Similar concept to the square, but worked to create a six-sided motif instead of four.
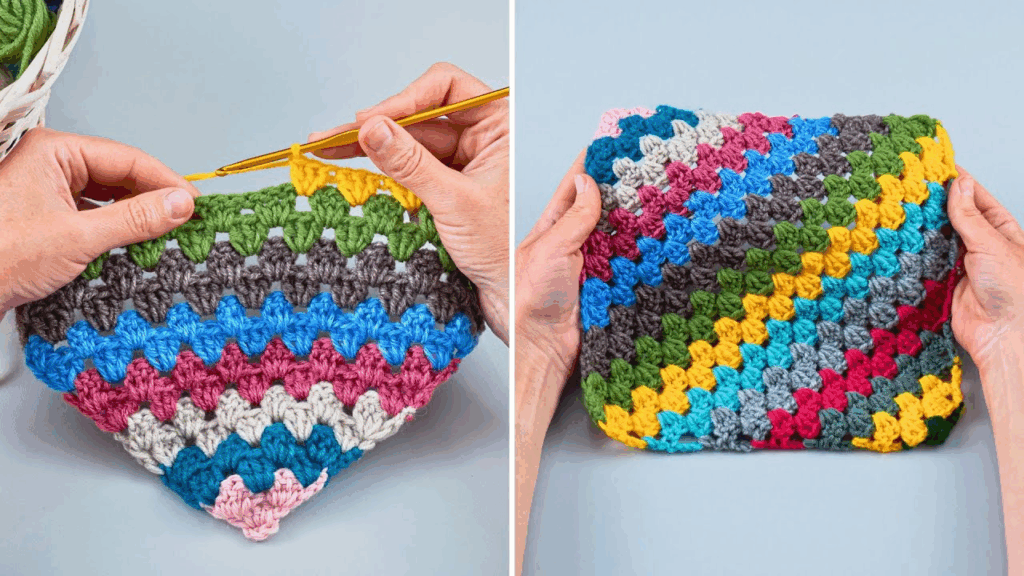
- Continuous Granny Square: Instead of fastening off after each color change, the yarn is carried up the side or a special technique is used to create a seamless color transition, resulting in fewer ends to weave in.
Don’t be afraid to experiment with colors! That’s one of the most fun aspects of granny squares. You can make each round a different color, or just change colors every few rounds.
What project do you have in mind for your granny squares?