by
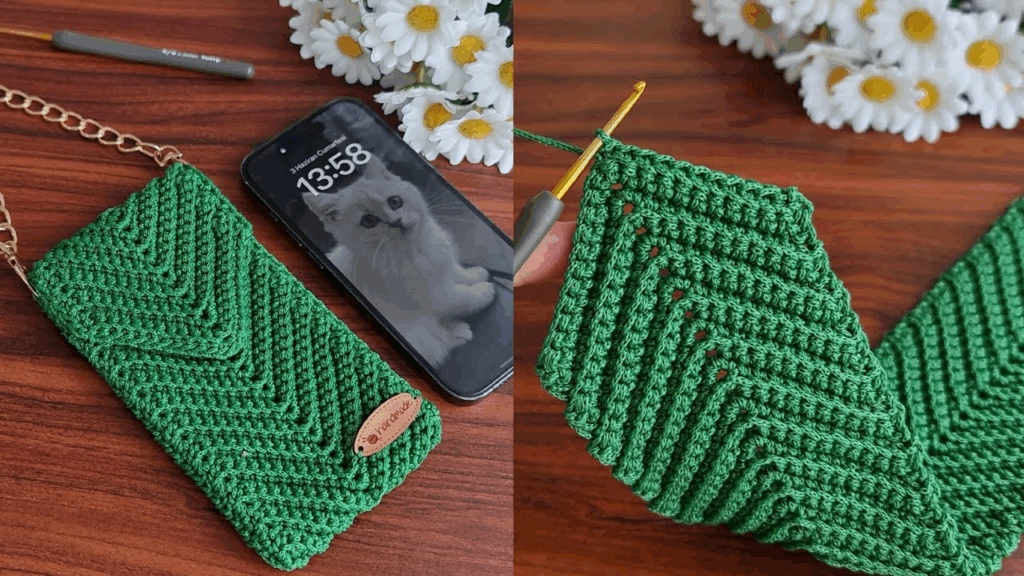
by Creating a mini crochet phone case is a fun, practical project that’s perfect for beginners. It’s an excellent way to practice basic stitches and learn how to create a flat, rectangular shape that’s later seamed into a pouch. This guide will walk you through a simple pattern for a custom-sized phone case.
Materials Needed
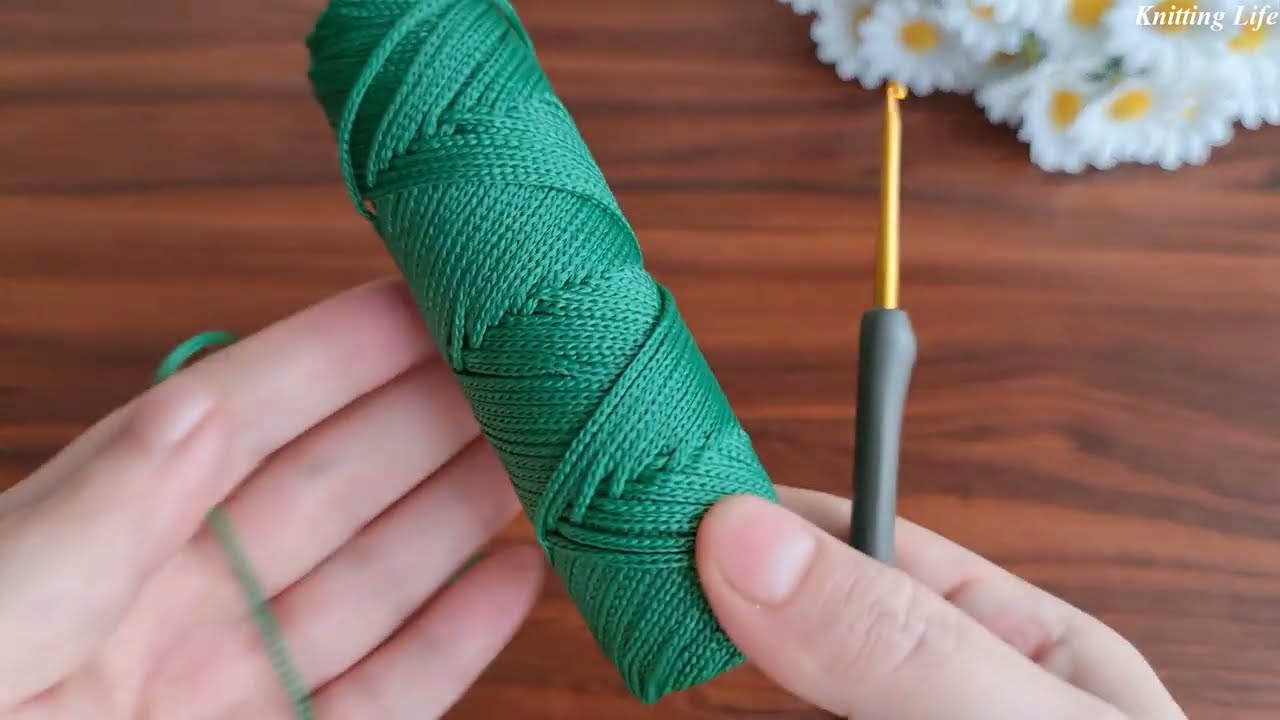
- Yarn: A durable yarn like cotton, acrylic, or a cotton blend works best. Choose a medium-weight (worsted) yarn for a sturdy case.
- Crochet Hook: The size recommended for your yarn.
- Scissors: For cutting yarn.
- Tapestry Needle: For weaving in the ends and sewing the case together.
- A Button or Clasp (optional): To close the case.
Abbreviations
- ch: chain
- sc: single crochet
- sl st: slip stitch
- st(s): stitch(es)
Part 1: The Body of the Case
The body of the case is worked in a flat, rectangular piece. You can customize the size to fit any phone.
- Measure Your Phone: Measure the width of your phone.
- Foundation Chain:
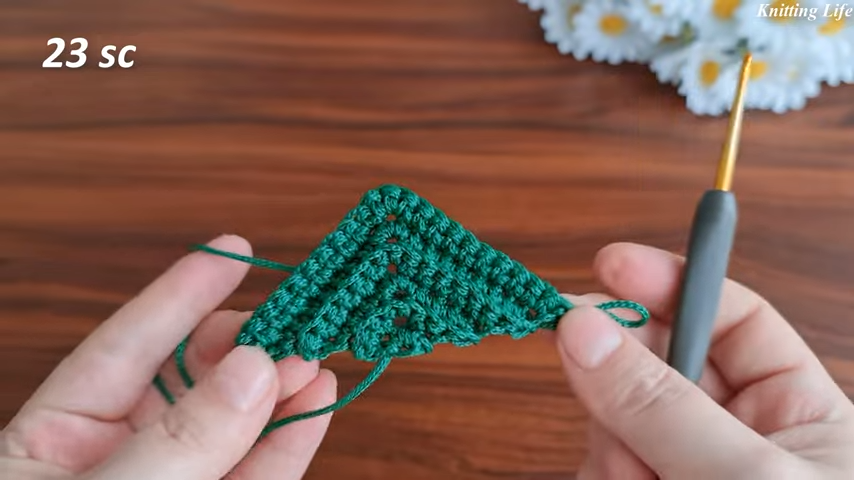
cha number of stitches that is about the same length as the width of your phone. A good starting point is usually between 15-20 chains. - Row 1:
scin the secondchfrom the hook and in eachchacross. You should have one less stitch than your starting chain.ch 1and turn. - Row 2:
scin eachstacross.ch 1and turn. - Repeat Row 2 until your piece is long enough to fold around your phone, covering both the front and the back.
- Fasten off, leaving a long tail for sewing.
Part 2: Assembly
This is where your flat rectangle becomes a phone case.
- Fold the Rectangle: Lay your crochet rectangle flat. Fold it in half to form the pouch.
- Seam the Sides: Using the long yarn tail and a tapestry needle, sew the two sides of the case together. You can use a simple whip stitch or a slip stitch seam for a clean look.
- Weave in Ends: Weave in any remaining yarn ends on the inside of the case.
Part 3: The Flap and Closure (Optional)
For extra security and a finished look, you can add a flap and button.
- The Flap:
- With the yarn still attached to the top of the case,
ch 1and turn. scin each stitch across the top edge.ch 1and turn.- Repeat this row for 5-7 rows, or until your flap is the desired length.
- With the yarn still attached to the top of the case,
- Buttonhole:
- In the middle of your last row,
ch 3, skip the next stitch, and thenscin the following stitch. - This creates a small loop for your button.
- In the middle of your last row,
- Finishing the Flap:
ch 1andscacross the final row. Fasten off and weave in the end. - Attach the Button: Sew a button onto the front of the phone case, right below where the buttonhole on the flap will land.

Finishing Touches
- Strap: You can add a strap to your case so you can carry it around your neck or wrist. Simply
cha long chain, thensl stback down the chain to make it sturdier. Sew each end of the strap to the sides of your case. - Embellishments: Get creative! You can add a small crocheted flower, a shell stitch border, or some beads for a unique look.
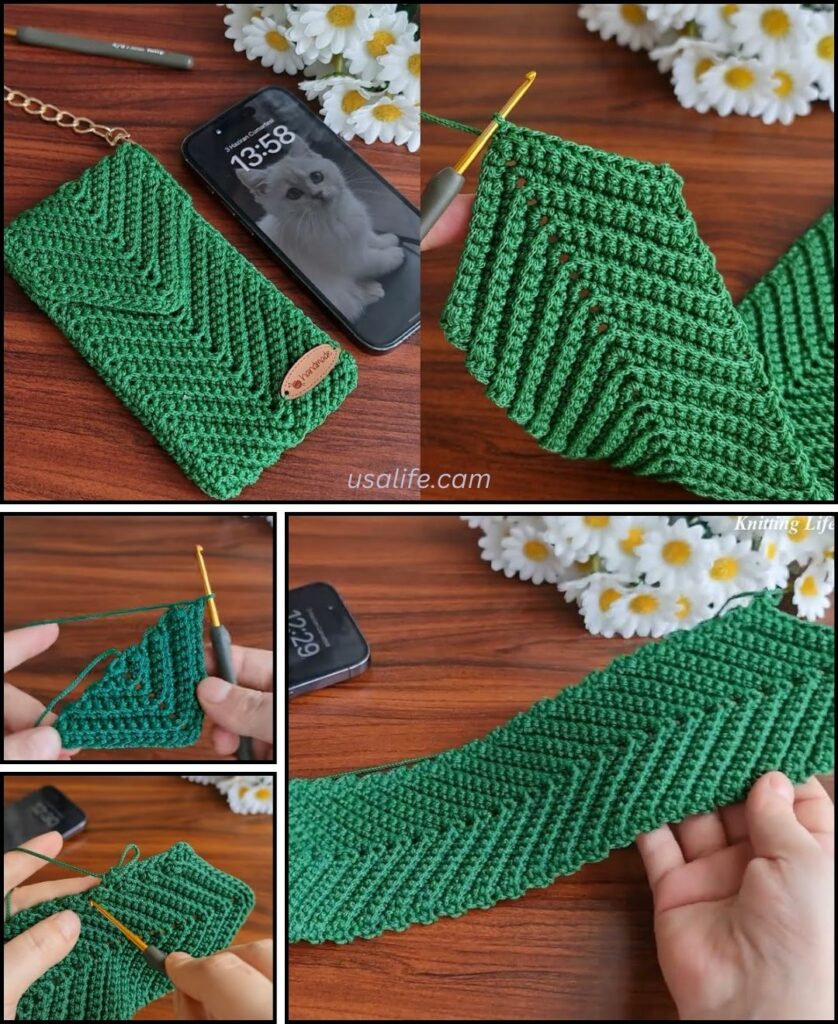
You’ve now created a stylish and functional mini crochet phone case!
Video tutorial: