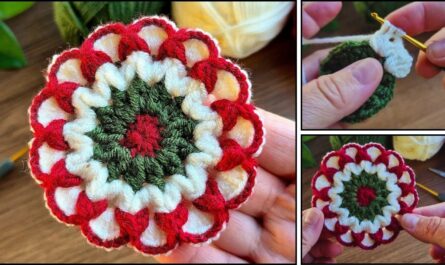
 by
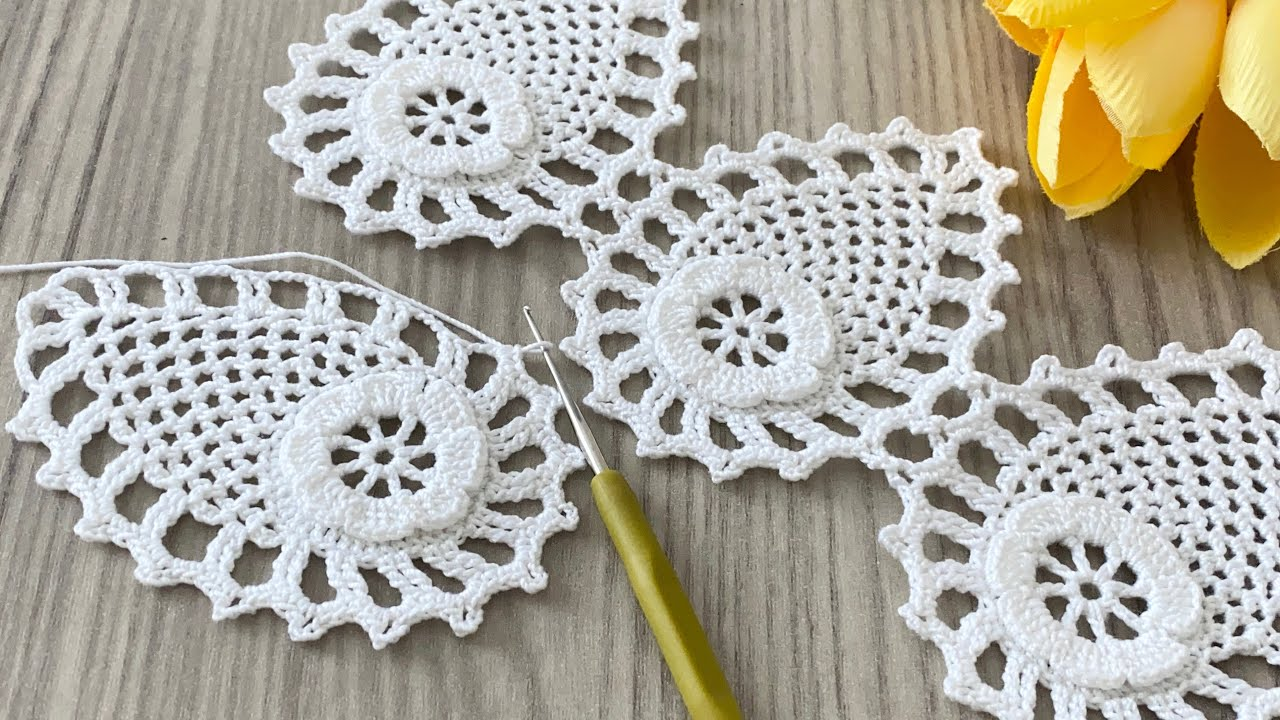
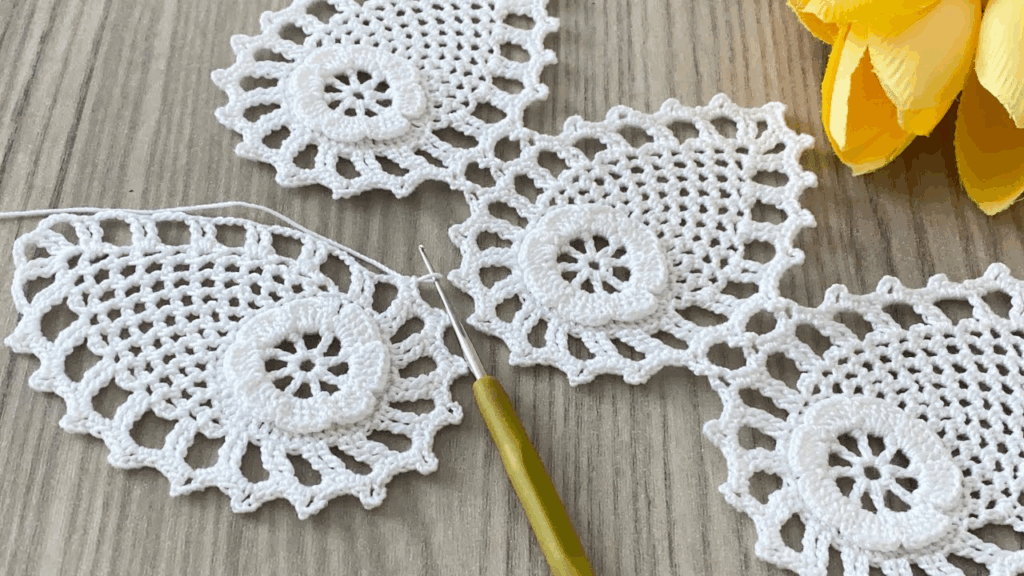
by That’s a wonderful choice! The Pineapple Motif is one of the most classic and elegant lace patterns in crochet, and while it looks intricate, the “super easy” versions simplify the structure to make it accessible to adventurous beginners.
The ease comes from using taller stitches and fewer chain loops in the body of the motif.
Here is a detailed, step-by-step tutorial for a Super Easy Pineapple Motif.
🍍 Super Easy Pineapple Motif Tutorial
This motif creates a single, open pineapple shape, perfect for joining into runners, or as an accent motif on garments.
Materials You’ll Need
- Yarn/Thread: Use a fine cotton thread (Size 10 or 20) for the most delicate look, or Sport Weight yarn for a more visible, faster project.
- Crochet Hook: The size appropriate for your material (e.g., 1.75 mm for thread, 3.5 mm for yarn).
- Scissors, Tapestry Needle.
Key Crochet Terms
| Abbreviation | Stitch Name |
| ch | Chain |
| sl st | Slip Stitch |
| sc | Single Crochet |
| dc | Double Crochet |
| tr | Treble Crochet (Triple Crochet) |
| Shell | A group of multiple DC stitches in one space |
Part 1: Establishing the Foundation
We start with a V-stitch base that anchors the wide fan structure.
- Foundation: Ch 6. Sl st to the first ch to form a ring.
- Round 1: ch 4 (counts as 1 tr). Work (3 tr, ch 3, 4 tr) into the ring. Sl st to the top of the ch 4. (This creates the wide initial shell).
- Round 2 (Anchor): ch 1. Work sc in the same stitch. ch 4. Skip 3 tr. Work sc in the ch-3 peak. ch 4. Skip 3 tr. Work sc in the top of the next tr. ch 4. Sl st to the first sc. (3 ch-4 loops created).

Part 2: Forming the Pineapple Body
This is where the signature fan shape is built and then filled with netting.
Round 3: The Shell Fan
- sl st into the first ch-4 loop. ch 3 (counts as dc). Work 6 dc into the same ch-4 loop. (First half of anchor).
- Side Anchor: sc in the next ch-4 loop.
- Pineapple Fan: Work 10 tr into the next ch-4 loop (This forms the large fan that will become the pineapple).
- Side Anchor: sc in the next ch-4 loop.
- Finish: Work 7 dc into the first ch-4 loop (completing the anchor shell). Join with a sl st to the top of the ch 3. (14 dc total anchor stitches).

Round 4: Building the Netting
This round uses simple chain loops to start defining the pineapple’s mesh structure.
- sl st over the first 7 dc stitches (to move past the anchor shell).
- Anchor: ch 1. Work sc in the space between the 7th and 8th dc (the shell peak).
- Netting Start: ch 3. Skip 1 tr. Work sc in the next tr.
- Repeat: [ch 3, skip 1 tr, sc in the next tr] 3 more times. (You should have 4 ch-3 loops across the fan).
- Anchor: ch 3. Skip 1 tr. Work sc in the space between the last two tr stitches of the fan.
- Finish: ch 1. Sl st to the starting sc.
Round 5: Decreasing the Net
This is the key to creating the pineapple’s tapering shape.
- ch 1. sc in the same st.
- Netting: ch 3. Work sc into the next ch-3 loop.
- Repeat: [ch 3, sc in the next ch-3 loop] across the top of the fan. (The number of loops decreases by 1).
- Anchor: Work sc into the final ch-1 space.
- Finish: Sl st to the first sc.

Round 6: Final Netting and Picots
- ch 1. sc in the same st.
- Netting: Repeat the sequence [ch 3, sc in the next ch-3 loop] across the top of the fan.
- Finish: Work sc in the final sc. ch 3. Join with a sl st to the first sc.
Part 3: The Decorative Top Edge
This finishes the top of the motif, giving it a neat edge.
- Round 7 (Picots): ch 1. sc in the first ch-3 loop. Picot (ch 3, sl st in 1st ch).
- Repeat: [sc in the next ch-3 loop, Picot] around the top of the fan.
- Fasten off.
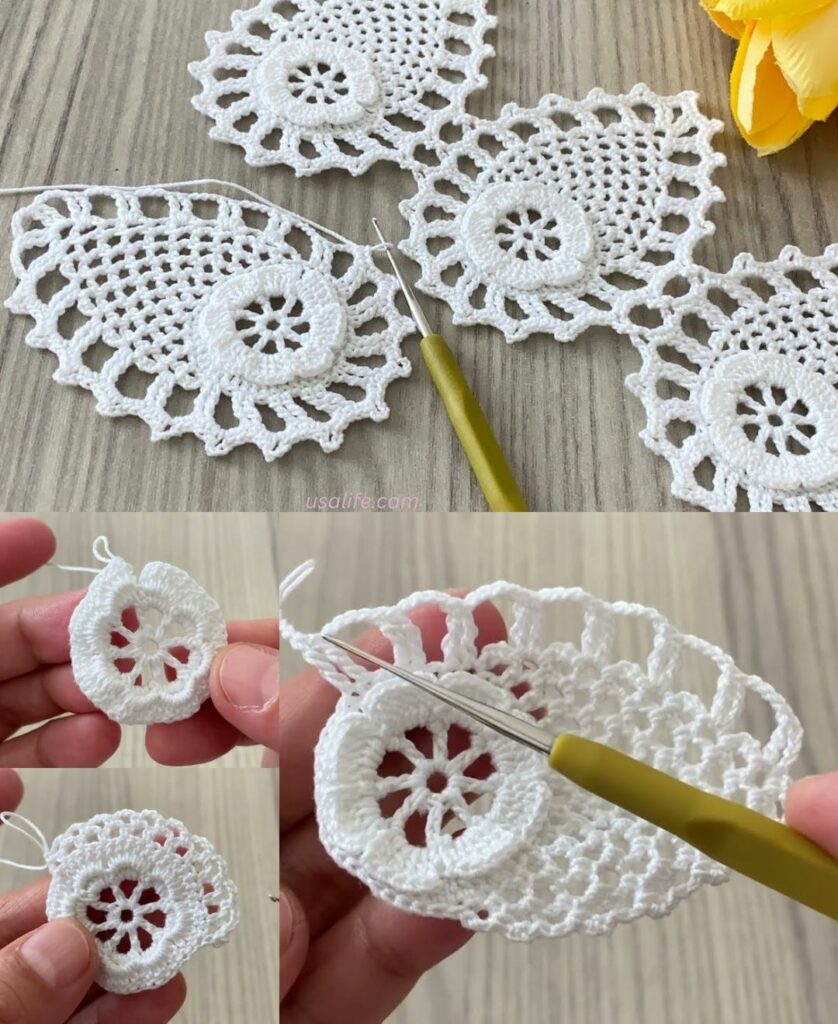
Final Step: Blocking
Blocking is mandatory for the pineapple motif. Wet the finished piece, gently pull the center shell anchor wide, and pin the edges of the netting to emphasize the beautiful, lacy curves. Allow it to dry completely.
Video tutorial: