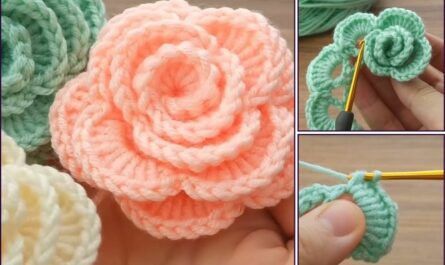
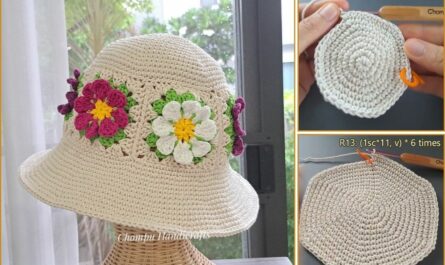
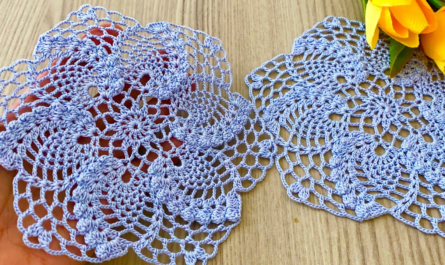
That is a beautiful way to finish a project! A Crochet Lace Flower Edge (often called a scallop or appliqué border) adds a delicate, professional, and elegant touch to scarves, blankets, towels, or garment necklines.
Here is a detailed, step-by-step tutorial for a popular Picot Petal Flower Edge, which is easy to repeat and creates a lovely continuous floral scallop.

🌸 Picot Petal Flower Edge Tutorial
This border is worked along the edge of an existing crocheted or fabric piece. It relies on small picot stitches to form the delicate points of the petals.
Materials You’ll Need
- Project: Your finished item (blanket, towel, etc.).
- Yarn/Thread: Choose a yarn weight compatible with your project, or a finer thread for a more delicate lace effect.
- Crochet Hook: The size appropriate for your yarn.
- Scissors, Tapestry Needle.
Key Crochet Terms
| Abbreviation | Stitch Name |
| ch | Chain |
| sl st | Slip Stitch |
| sc | Single Crochet |
| dc | Double Crochet |
| Picot | Ch 3, sl st into the first ch (creates a small loop/point) |
| Shell | A group of stitches worked into one space/stitch |

Foundation: Preparing the Edge
Before starting the lace, you must establish an even base of single crochet (sc) stitches along the perimeter.
- Preparation Round: Join your yarn to the corner of your existing project.
- Work SC Evenly: Work a round of sc evenly all the way around the edge.
- Crucial: Ensure your sc count is a multiple of 5 + 1 (The repeat count for this pattern is 5 stitches). Adjust the last few stitches if necessary.
- Work 3 sc into each corner to ensure the border lays flat.
- Join with a sl st to the first sc.

Part 1: Forming the Petal Bases
This round sets up the spaces where the petals will be anchored and ensures the scallops have the right tension.
- Round 2 (Shell Setup): ch 1 (does not count as st). sc in the same st.
- Skip: ch 2, skip the next 2 stitches.
- Anchor: Work sc in the next stitch.
- Repeat: [ch 2, skip 2 sts, sc in the next st] around the entire perimeter.
- Finish: Join with a sl st to the first sc.
Part 2: Creating the Flower Petals
We now work directly into the ch-2 spaces created in the previous round, using the picots to form the delicate tips.
- Round 3 (Petal Creation): sl st into the first ch-2 space.
- First Petal: ch 3 (counts as dc). Work 2 dc into the same ch-2 sp.
- Petal Point: Work a Picot (ch 3, sl st into the first ch).
- Descent: Work 3 dc back into the same ch-2 sp. (This completes the 6-stitch shell with a picot peak).
- Anchor: Work sc into the sc anchor between the next ch-2 spaces.
- Repeat: [sc in the next sc anchor, Shell (3 dc, Picot, 3 dc) in the next ch-2 sp] around the entire edge.
- Finish: Join with a sl st to the first stitch.

Part 3: Finishing (Optional)
You can add a final, subtle round to define the flower edge further.
- Round 4 (Defining Edge): ch 1. Work sc in the same st.
- Work sl st over the first 3 dc of the shell.
- Work sc into the picot point.
- Work sl st over the next 3 dc of the shell.
- Work sc into the sc anchor between the shells.
- Repeat: Continue the sequence [sc in the next sc anchor, sl st over first 3 dc, sc in picot point, sl st over next 3 dc] around.
- Fasten off.
Final Step: Blocking
To ensure the lace edge lays flat and the small petals are perfectly shaped, give the border a light blocking (wetting and pinning the scallops until dry).

Your project now has a beautiful, continuous lace flower border!
Video tutorial:


