by
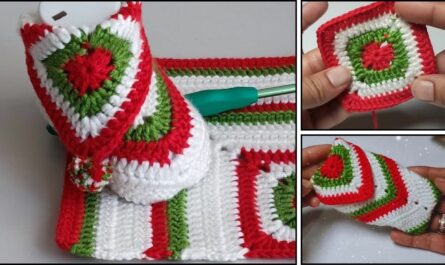
by Crochet flowers are the “instant gratification” of the craft world. They take about ten minutes, use up tiny scraps of yarn, and act as the perfect gateway to learning how to work in a circle.
For a beginner, the Classic 5-Petal Bloom is the gold standard. It teaches you the three most important skills: creating a center ring, managing stitch heights to create curves, and finishing a project securely.
🧶 The Beginner’s Floral Kit
Before you grab your hook, choose a yarn that doesn’t “fight” you. Avoid dark colors like black or navy because you won’t be able to see the “eyes” (holes) where your hook needs to go.
| Item | Recommendation | Why? |
| Yarn | Medium-weight (Worsted/Size 4) Cotton or Acrylic | Sturdy, doesn’t split easily, and shows great stitch definition. |
| Hook | 5.0 mm (H/8) | Large enough to hold comfortably without hand cramps. |
| Color | Bright Yellow, Pink, or Mint | Makes the “anatomy” of the stitch very easy to see. |
Essential Stitch Key (US Terms)
- ch (Chain): The basic building block.
- sl st (Slip Stitch): Used to join or “anchor” a petal.
- sc (Single Crochet): A short, tight stitch for the flower center.
- dc (Double Crochet): A tall stitch that provides the “body” of the petal.
🛠 Step-by-Step Instructions
Step 1: The Foundation (The Center)
- Make a Slip Knot and place it on your hook.
- ch 4.
- Insert your hook into the very first chain you made and work a sl st.
- You now have a tiny circle. This is the “eye” of your flower.

Step 2: Round 1 (The Petal Bases)
We are going to crochet into the big hole in the center of the circle, not into the individual chains.
- ch 1 (this just gets your hook to the right height).
- Work 10 sc into the center of the ring.
- sl st into the first sc you made to close the circle.
Check your work: You should have a little “doughnut” with 10 visible stitches around the edge.
Step 3: Round 3 (Growing the Petals)
Each petal is worked over 2 stitches from the previous round.
- Start Petal 1: ch 2. In the same stitch you just joined into, work 2 dc.
- Finish Petal 1: In the next stitch, work 2 dc, then ch 2, and sl st into that same stitch. (First petal done!)
- Repeat:
- sl st into the next “empty” stitch.
- ch 2, 2 dc in that same stitch.
- 2 dc, ch 2, sl st in the next stitch.
- Keep going until you have 5 petals.

💡 Troubleshooting Like a Peer
- “My flower is curling into a cup!” You are likely pulling your yarn too tight. Crochet should feel relaxed. If you feel like you’re in a tug-of-war with the yarn, loosen your grip or move up a half-size in hook.
- “I can’t find the hole!” After you finish a petal, it often “crowds” the next stitch. Use your fingers to physically push the finished petal to the left to reveal the next empty stitch in the center ring.
- The “Yarn Chicken” Warning: Don’t cut your yarn too short! Always leave a 6-inch tail at the end. If you cut it too close to the knot, the flower will eventually “unravel” itself under pressure.
✨ What to do with your flower?
- The Beanie Upgrade: Sew it onto a plain store-bought hat to make it look like a boutique piece.
- The Garland: Crochet 10 of these in different colors and string them together with a long chain for a nursery decoration.
- The “Pocket Hug”: Carry one in your pocket to give to a friend who is having a rough day. It’s a handmade hug that fits in a palm.
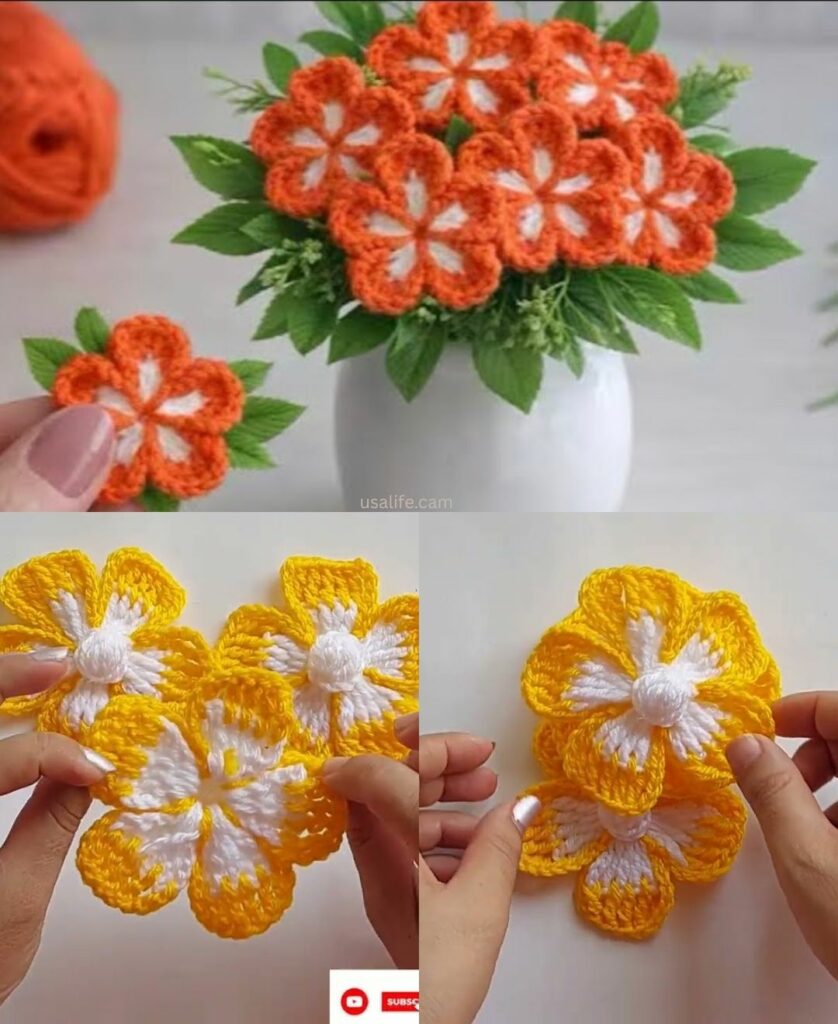
Would you like me to show you how to change colors so you can make a flower with a yellow center and white petals (a classic daisy)?