 by
by The humble granny square is the ultimate “chameleon” of crochet. While the classic version is iconic, the real magic happens when you move beyond the basic 3-dc cluster. Whether you want to create a 3D masterpiece, a sleek geometric tile, or a delicate lace motif for home decor, the granny square is your foundation.
Here are four distinct “Granny Square Ideas” ranging from vintage-inspired to high-fashion modern.
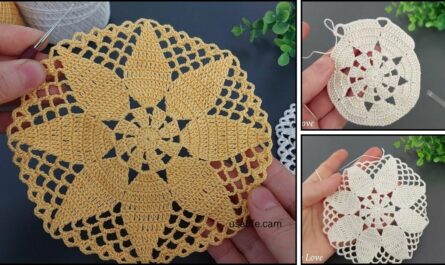
1. The “3D Pop-Up” Floral Square
This idea moves the crochet work into the third dimension. Instead of a flat circle, the center of the square is a raised “popcorn” or “puff” stitch flower that stands off the fabric.
- Best For: Textured baby blankets, decorative pillows, or statement cardigans.
- The Look: High-relief petals (using Front Post Treble Crochet) that transition into a solid, flat border.
- Color Tip: Use a variegated yarn for the flower and a solid, neutral color (like cream or charcoal) for the squaring-off rounds to make the 3D element “pop.”
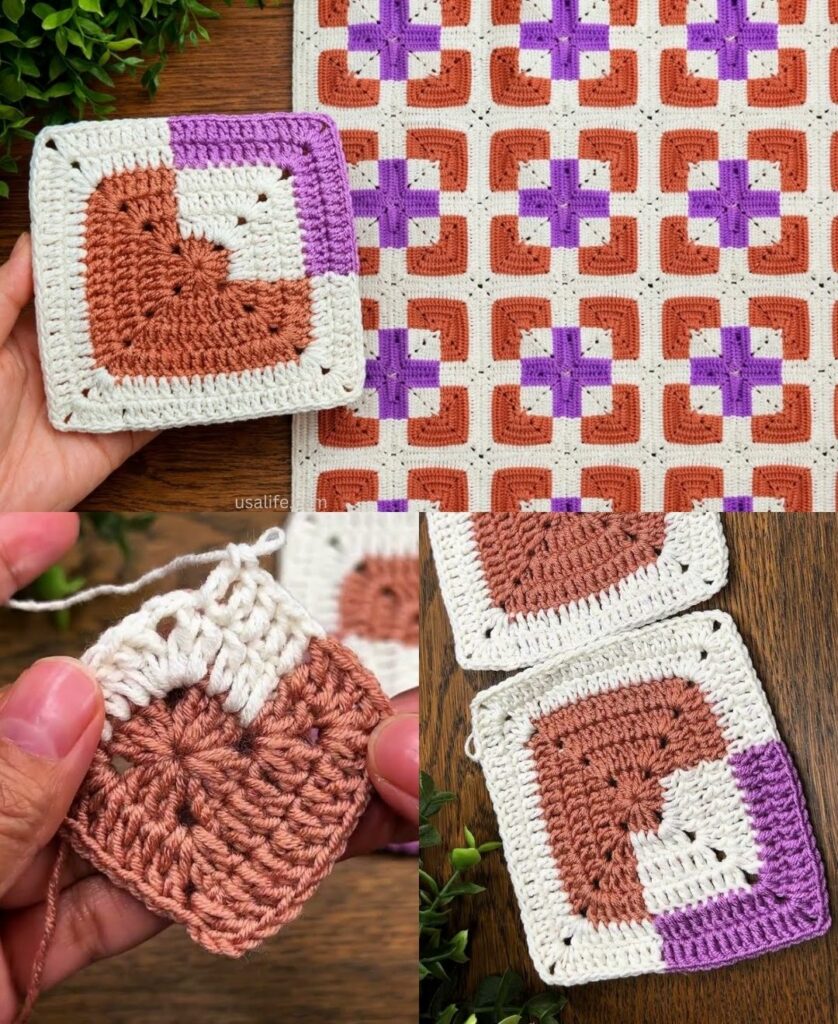
2. The “Modern Geometric” Solid Tile
For those who prefer a minimalist, architectural aesthetic, the solid granny square is the way to go. By replacing the “holes” with solid double crochets, you create a dense fabric that looks like a woven tile.
| Feature | Classic Granny | Modern Solid |
| Texture | Airy and “Loopy” | Dense and Smooth |
| Complexity | Beginner-friendly | Intermediate (tension is key) |
| Best Project | 70s-style Afghans | Structured Tote Bags / Tech Sleeves |
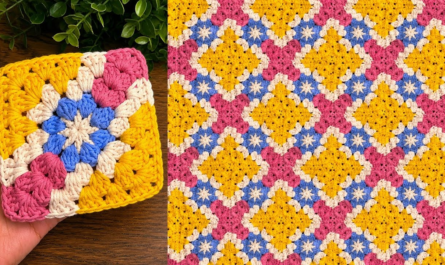
3. The “Mosaic” Geometric Square
Mosaic crochet allows you to create intricate, “pixelated” patterns without the stress of carrying multiple yarns across a row. You work with one color at a time, using dropped-down stitches to create the pattern.
- The Idea: Create a “Greek Key” or “Diamond” pattern within the square.
- Why it works: It produces a heavy, warm fabric with a professional, high-end finish that looks almost knitted.
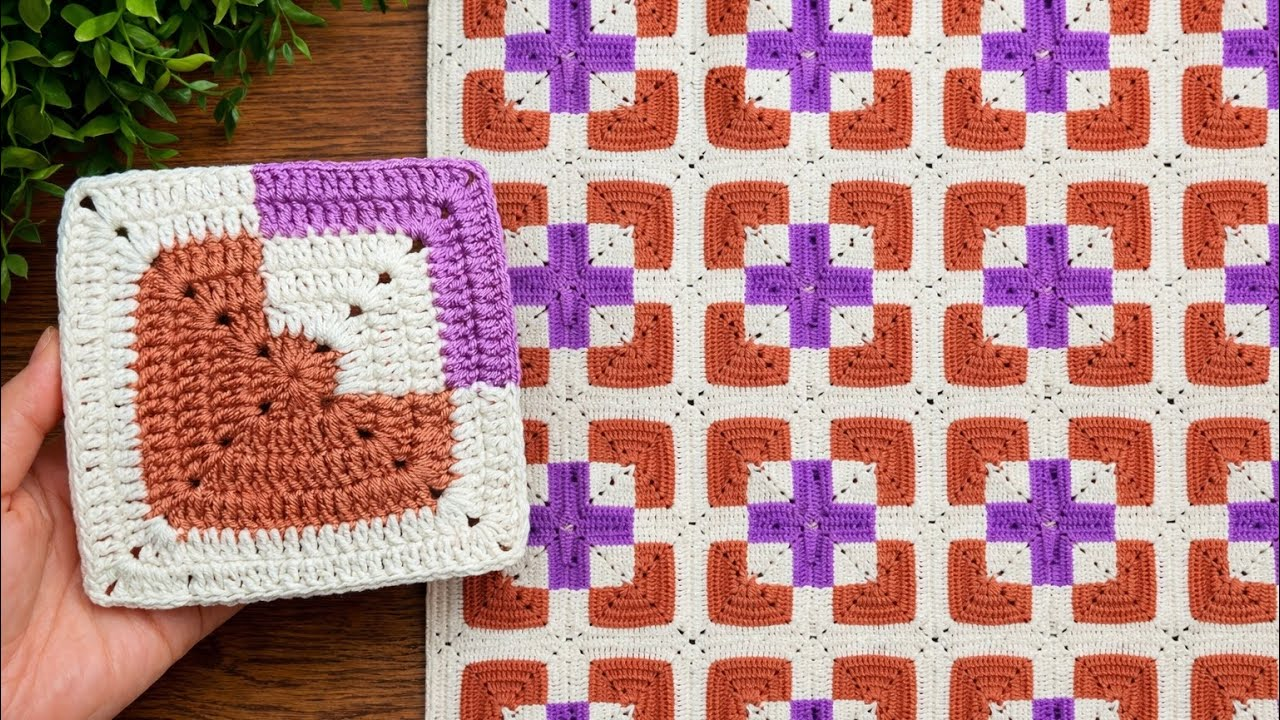
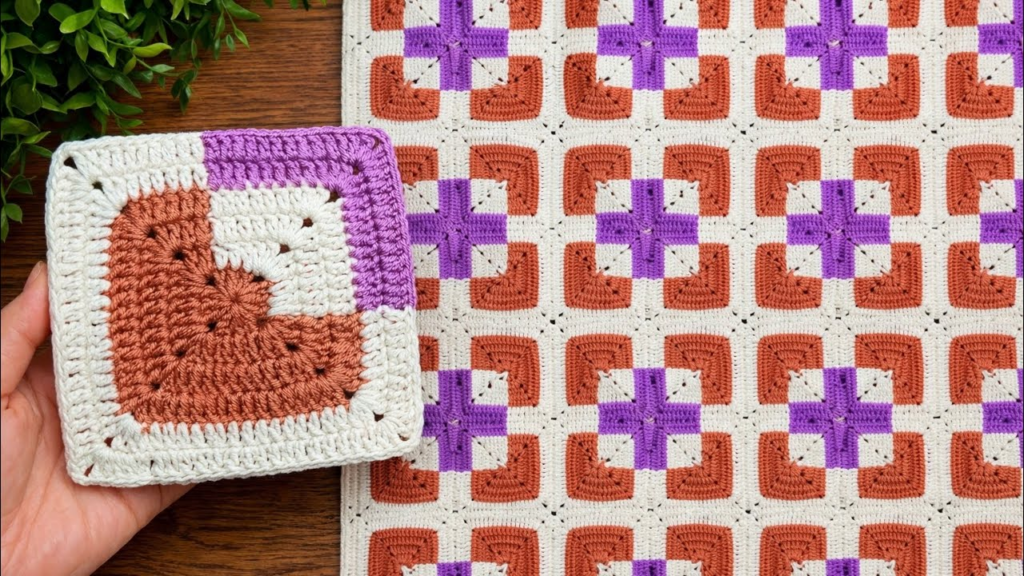
4. The “Stained Glass” Motif
This idea focuses on color theory rather than stitch complexity. You use a dark “anchor” color (like Black or Deep Navy) for the final round of every square.
- The Layout: Use vibrant, jewel-toned centers for each square.
- The Effect: When joined, the dark borders act like the lead in a stained-glass window, making every color appear more saturated and brilliant.

📐 The “Master Plan” Math
Before you start a large project, you need to know how many “bricks” you have to build. If $W$ is the desired width of your project and $L$ is the length, and your finished, blocked square has a side length of $s$:
$$Total Squares = \frac{W}{s} \times \frac{L}{s}$$
Pro-Tip: Always add 10% to your total yarn calculation to account for the “Yarn Chicken” factor—nothing is worse than running out of a specific dye lot three squares away from the finish line.
✨ 3 Secrets for a Professional Finish
1. The “Anti-Spiral” Turn
If you notice your squares are starting to “tilt” or look like they are spiraling clockwise, it’s because you are working in the round without turning.
- The Fix: Flip your work over after every round. This keeps the stitches perfectly vertical and the corners sharp.
2. Blocking is Mandatory
A “raw” crochet square often looks a bit wonky or “curled” at the edges.
- The Fix: Pin your squares to a foam blocking board in a perfect square shape and hit them with a light blast of steam. This “sets” the fibers and ensures that when you join them, they fit together like perfectly cut tiles.

3. The “Invisible Join”
Instead of a chunky whip-stitch that creates a ridge, use the Flat Slip Stitch Join. By slip-stitching through the Back Loops Only (BLO) of two squares side-by-side, you create a recessed seam that lies completely flat—ideal for table runners or garments.
💡 A Touch of Candor
Weaving in ends is the “existential dread” of every crocheter. If you are doing a multi-color project, do not wait until the end. Weave in your tails as you finish each square. Dealing with a “spaghetti monster” of 200 yarn tails at the end of a project is the quickest way to ensure it stays in the “unfinished” pile forever.
Which of these styles sounds like it would fit your next project—the 3D texture or the flat geometric look?