by
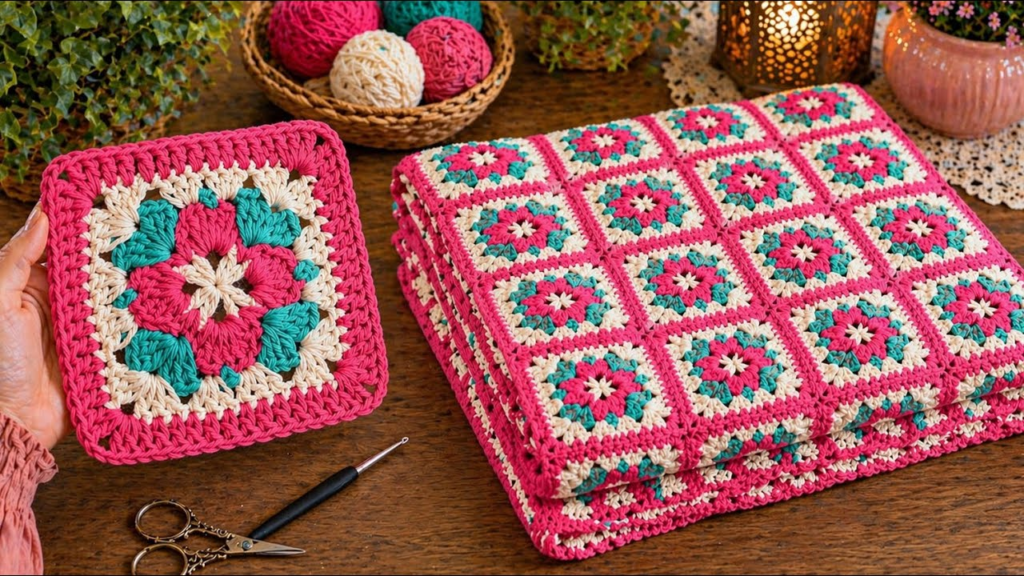
by The Elegant Solid Square is the “Little Black Dress” of the crochet world. While traditional granny squares are known for their “loopy” nostalgic feel, a stunning and elegant design focuses on stitch density, raised textures, and clean borders.
This tutorial outlines a “Raised Lattice” square. It uses simple stitches but incorporates Front Post techniques to create a sophisticated, architectural look that works perfectly for heirloom blankets or high-end apparel.
🧶 The Designer’s Toolkit
For an “elegant” finish, the choice of fiber is paramount. A matte cotton or a silk-bamboo blend provides the crisp stitch definition required for geometric patterns.
| Item | Recommendation | Why? |
| Yarn | DK Weight (Size 3) Cotton or Linen | Non-fuzzy, allowing the 3D textures to cast subtle shadows. |
| Hook | 3.75 mm (F/5) | A slightly smaller hook creates a “tight” fabric that looks more like woven cloth. |
| Color | Monochromatic (e.g., Pearl, Slate, or Navy) | A single color highlights the texture without the distraction of stripes. |
🛠 Stitch Key (US Terms)
- ch / sl st: Chain / Slip Stitch.
- dc / tr: Double Crochet / Treble Crochet.
- fpdc (Front Post Double Crochet): Work a dc by inserting the hook from front to back to front around the “post” of the stitch below.
🚀 Step-by-Step: The Raised Lattice Square
Round 1: The Core
- Start: Make a Magic Ring.
- Stitches: ch 3 (counts as dc). Work 11 dc into the ring.
- Join: sl st to the top of the ch 3. (12 dc total).
Tip: Pull the magic ring tight to ensure there is zero hole in the center for a modern, solid look.
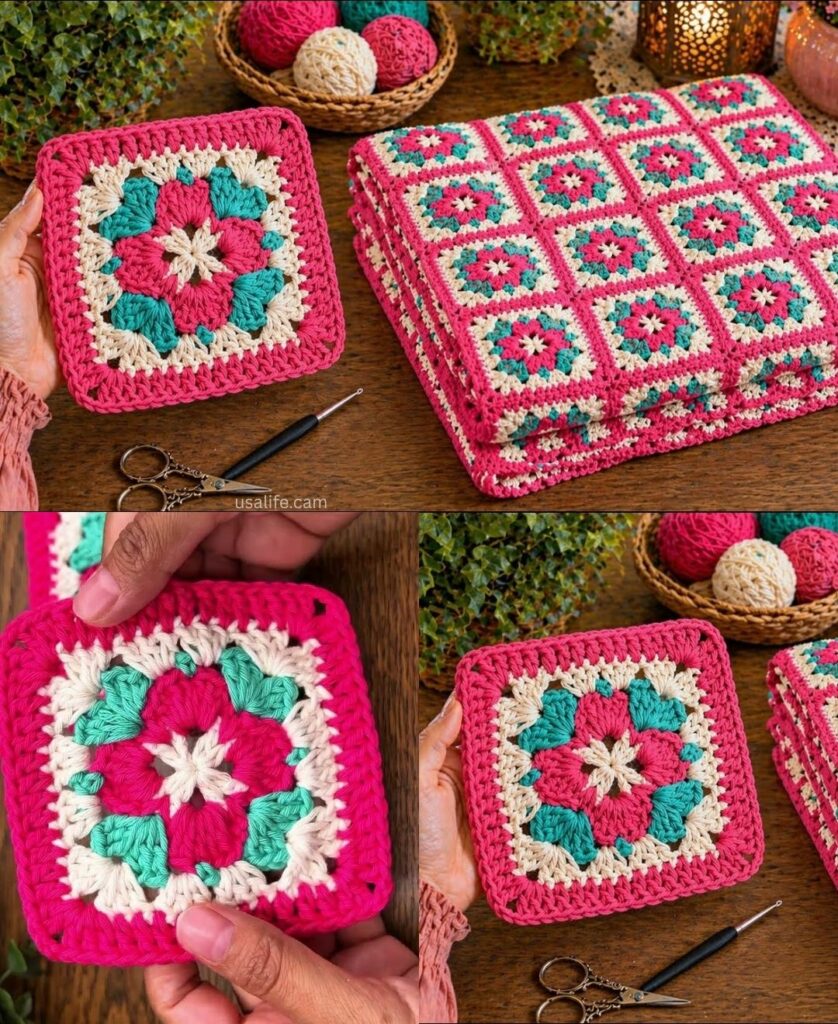
Round 2: The Floral Relief
- Pattern: ch 3. In the same stitch, work 1 fpdc.
- Continue: In every stitch around, work (1 dc, 1 fpdc).
- Join: sl st to the top of the ch 3.Result: You now have 24 stitches. The fpdc stitches should look like tiny raised rays.

Round 3: Squaring the Design
- Corner 1: ch 4 (counts as tr). In the same stitch, work (1 tr, ch 2, 2 tr).
- Side: * Skip 1 stitch. 1 dc in next 4 stitches. Skip 1 stitch.
- Repeat: In the next stitch, work the Corner (2 tr, ch 2, 2 tr).
- Join: sl st to the top of the ch 4.
Round 4: The Solid Frame
- Pattern: Work 1 dc into every stitch along the side.
- Corners: In the ch-2 corner space, work (2 dc, ch 2, 2 dc).
- The “Lattice” Finish: For every 3rd dc along the side, work it as a fpdc around the dc from the previous round. This creates vertical columns that give the square its architectural “lattice” feel.
📐 Planning a Large Project
To ensure your blanket or runner is the perfect size, use this formula to determine your square count ($N$).
$$N = \frac{\text{Total Area}}{\text{Square Area}}$$
If your finished, blocked square is 12 cm and you want a throw blanket that is 120 cm x 150 cm:
- Width: $120 \div 12 = 10 \text{ squares}$
- Length: $150 \div 12 = 12.5 \text{ (round up to 13) squares}$
- Total: $10 \times 13 = 130 \text{ squares}$

✨ 3 Secrets to an “Elegant” Finish
1. The Invisible Join
Instead of finishing with a slip stitch, cut your yarn and use a tapestry needle to mimic the “V” of a stitch over the starting chain. This makes the edge of the square perfectly circular/square without a visible knot or “bump.”
2. Blocking for Drapery
“Stunning” designs stay flat. Pin your squares to a foam board using rust-proof pins. If using cotton, hit it with a burst of steam from a handheld steamer. This “sets” the fibers, making the raised lattice stitches pop and the corners sharp.
3. The “Wildcard” Edge
If you are joining these for a garment or runner, skip the chunky whip-stitch. Instead, use a Flat Slip Stitch Join through the Back Loops Only. This creates a recessed seam that looks like a decorative “ditch,” adding a professional, boutique-style detail to the finished piece.
Would you like me to walk you through a “Step-by-Step” for a specific scalloped border that would complement this square for a table runner?