by
by 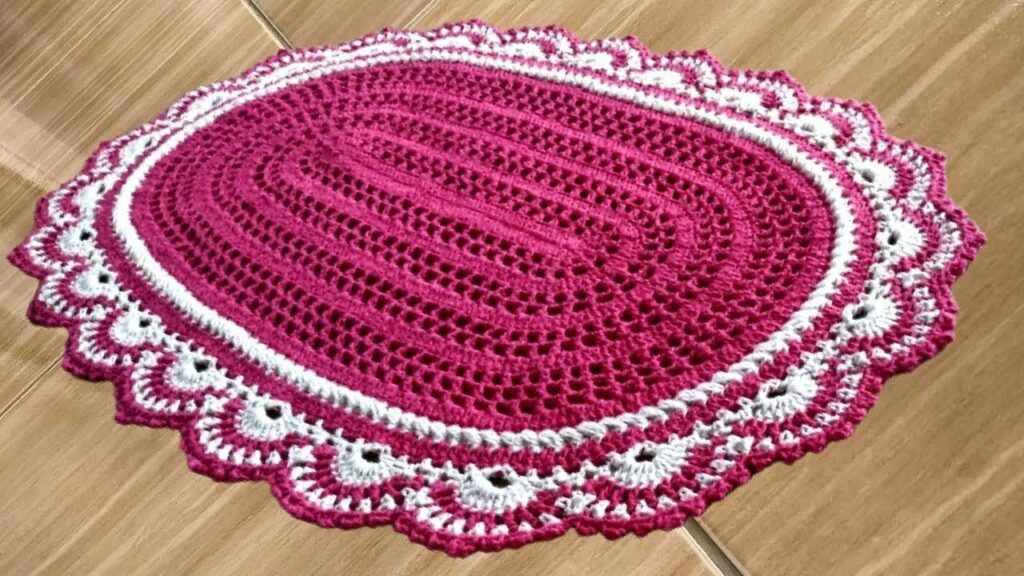
Crocheting a rug is a great way to add a touch of personality and coziness to your home. It’s also a surprisingly beginner-friendly project, even if you’ve never crocheted before. In this blog post, we’ll walk you through the steps of crocheting a rug, from choosing the right materials to finishing off your project.
Materials
- Yarn: You’ll want to choose a yarn that is both durable and soft. Wool or acrylic are good options. For a rug that will get a lot of use, you might want to consider using a blend of wool and acrylic.
- Crochet hook: The size of your crochet hook will depend on the thickness of your yarn. A size H-8 or I-9 hook is a good starting point for most worsted weight yarns.
- Scissors: You’ll need scissors to cut your yarn.
- Tapestry needle: A tapestry needle is used to weave in the ends of your yarn.
Optional materials
- Rug backing: This will help to prevent your rug from slipping and sliding. You can find rug backing at most fabric stores.
- Stitch markers: These can help you keep track of your stitches.
Instructions
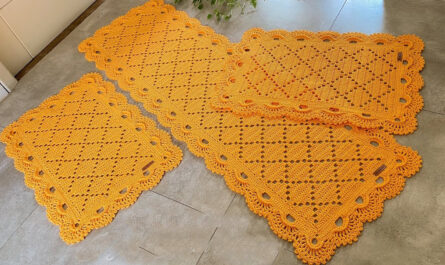
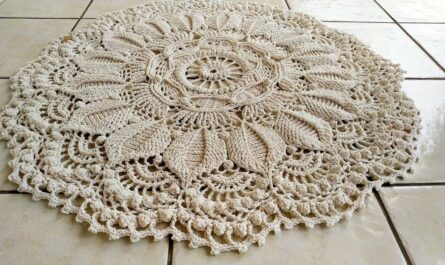
- Choose a pattern: There are endless possibilities when it comes to crochet rug patterns. You can find free patterns online or in crochet magazines. For your first rug, you might want to choose a simple pattern that uses basic stitches.
- Chain a foundation chain: The length of your foundation chain will determine the width of your rug. A good rule of thumb is to chain 2 stitches for every inch of width you want your rug to be.
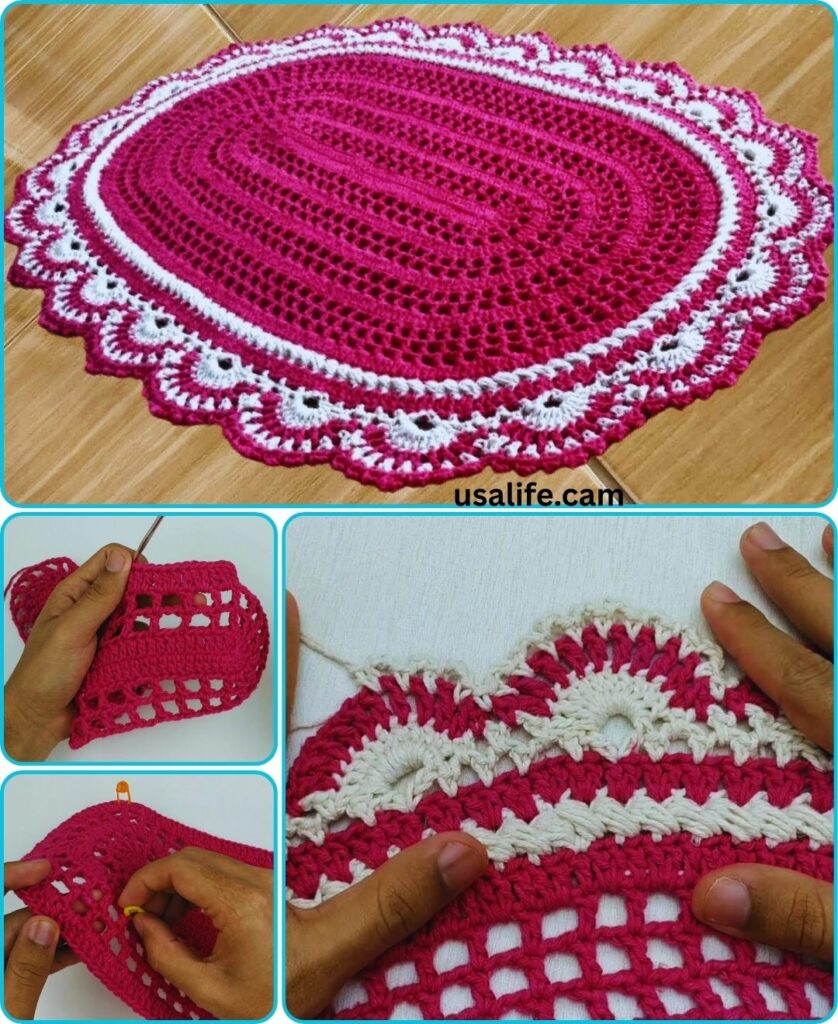
- Work the first row: The first row of your rug will be worked in the chain spaces. The type of stitch you use will depend on the pattern you’ve chosen.
- Continue working rows: Once you’ve worked the first row, you’ll simply continue working rows of stitches until your rug reaches the desired length.
- Finishing off: Once you’ve reached the desired length, it’s time to finish off your rug. You can do this by weaving in the ends of your yarn.
- Add a rug backing (optional): If you want to prevent your rug from slipping and sliding, you can add a rug backing. You can find rug backing at most fabric stores. Simply cut the backing to the size of your rug and attach it to the back of your rug using fabric glue or a hot glue gun.
Tips for beginners
- Don’t be afraid to make mistakes: Everyone makes mistakes when they’re learning to crochet. Just don’t give up!
- Take your time: It takes time to crochet a rug. Don’t rush the process.
- Have fun! Crocheting should be enjoyable. If you’re not having fun, you’re probably doing something wrong.
With a little practice, you’ll be crocheting beautiful rugs in no time!
Video tutorial
Additional tips
- If you’re using a pattern, be sure to read through it carefully before you start crocheting.
- When working with yarn, it’s important to keep it tensioned. This will help to prevent your stitches from being too loose or too tight.
- If you’re not sure how to do a certain stitch, there are plenty of tutorials available online.
- Once you’ve finished crocheting your rug, you can block it to help it keep its shape. Blocking is simply the process of wetting the rug and then laying it flat to dry.
I hope this blog post has inspired you to crochet your own rug. With a little practice, you’ll be creating beautiful and functional pieces for your home in no time!
Happy crocheting!
I would also like to add that crocheting a rug is a great way to upcycle old yarn. If you have any leftover yarn from other projects, you can use it to crochet a rug. This is a great way to save money and be eco-friendly.
I hope this blog post has been helpful. Please let me know if you have any questions.
Happy crocheting!