 by
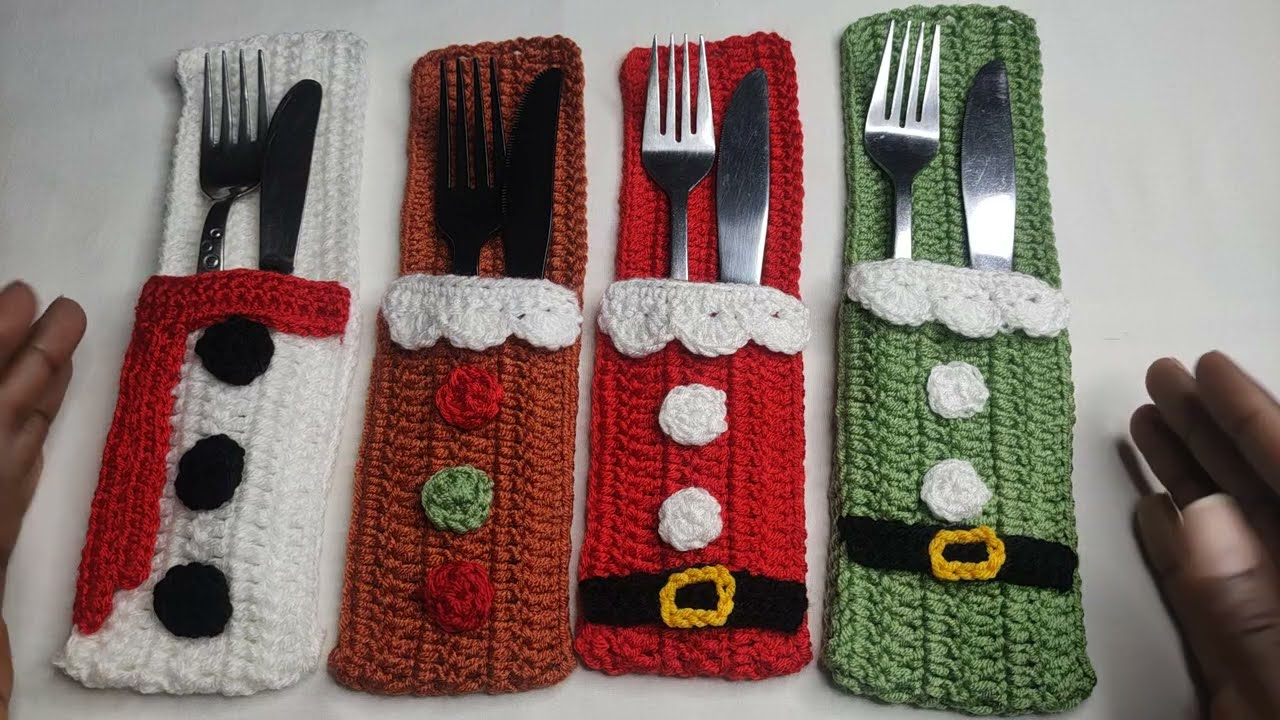
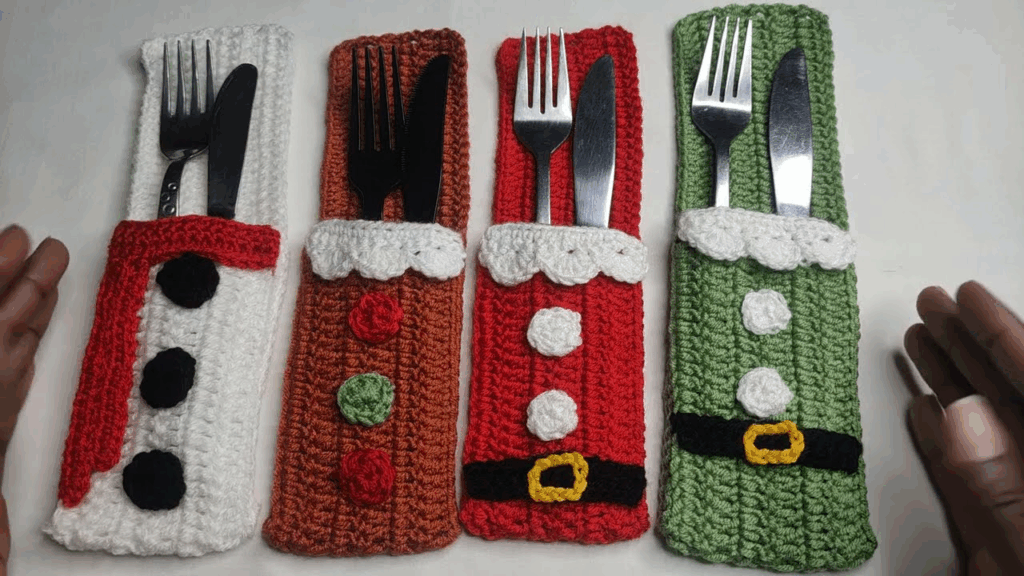
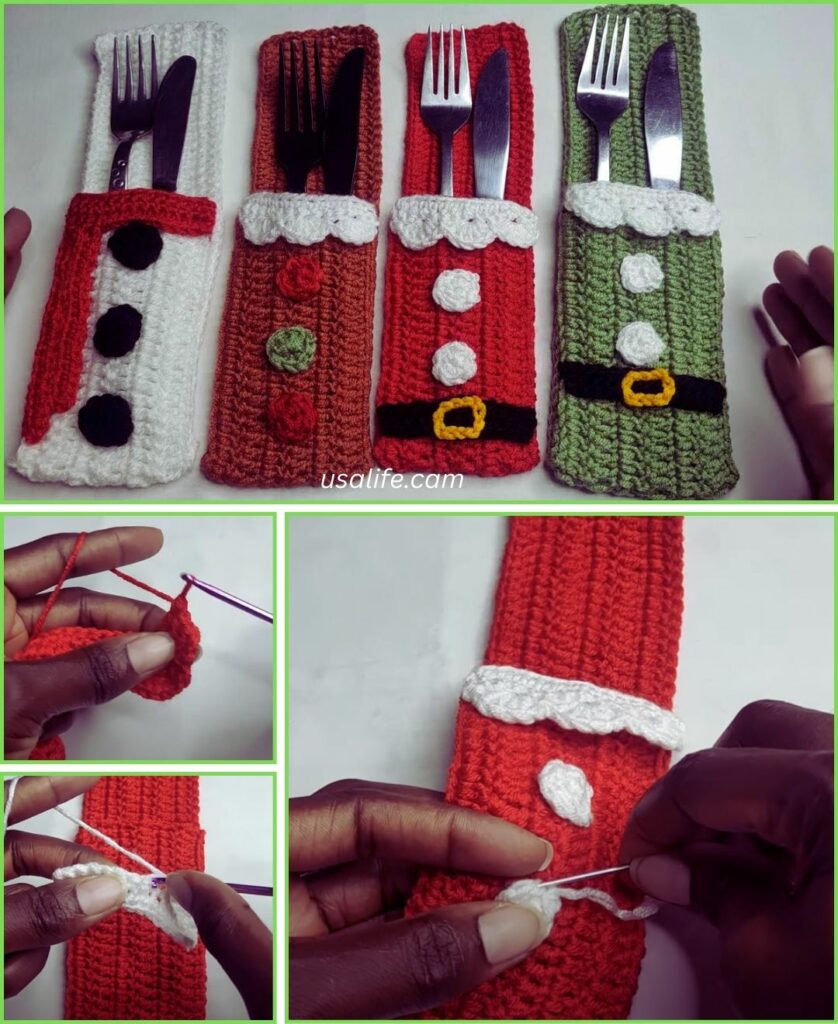
by A crochet Christmas cutlery holder is a delightful and festive addition to your holiday table! It’s a charming way to present forks, knives, and spoons, adding a handmade touch to your Christmas dinner. These can be simple sleeves or more elaborate designs, often shaped like mini stockings, Santa hats, or even little sweaters.
For a Christmas cutlery holder, acrylic yarn is a fantastic choice. It’s affordable, widely available in a huge range of festive colors, easy to work with, durable, and very washable – perfect for something that might get food on it! Cotton yarn would also work if you prefer a natural fiber.
How to Crochet a Christmas Cutlery Holder: A Detailed Tutorial
This tutorial will guide you through making a simple yet festive mini Christmas stocking cutlery holder. It’s easy enough for beginners and works up quickly, so you can make several for your holiday gathering.
1. Essential Materials You’ll Need
- Yarn:
- Main Color (MC): Red, green, or a festive blue. Worsted Weight (Aran / Medium / Category 4) is ideal.
- Contrast Color (CC): White or cream (for the “fur” cuff). Worsted Weight, matching MC in thickness.
- Optional – Accent Color: Small amounts of yellow/gold for a star, or brown for a reindeer nose, if you want to add appliqués.
- Quantity: You’ll need very small amounts per holder, typically less than 20-30g for MC and even less for CC. Great for using up scraps!
- Crochet Hook:
- A 4.0mm (US G/6) or 4.5mm (US 7) hook. Choose a hook size that creates a fairly dense fabric to prevent cutlery from poking through easily.
- Scissors: For cutting yarn.
- Yarn Needle (Tapestry Needle): Essential for weaving in ends and sewing on any embellishments.
- Stitch Marker (Optional but helpful): To mark the beginning of rounds.
2. Basic Crochet Stitches You’ll Use
This pattern primarily uses fundamental crochet stitches:
- Chain (ch): For foundation and turning.
- Slip Stitch (sl st): For joining rounds.
- Single Crochet (sc): Creates a dense, sturdy fabric, great for the main body and cuff.
- Half Double Crochet (hdc): A medium-height stitch, used for shaping the toe/heel of the stocking.
- Single Crochet Decrease (sc2tog): Decreases the stitch count (for shaping).
- Working in Rounds & Rows: You’ll work the foot/heel in rows and the leg in rounds.
- Fasten Off: Securely ending your work.
- Weaving in Ends: Hiding yarn tails for a neat finish.
Crochet Mini Christmas Stocking Cutlery Holder Pattern
This pattern will make a holder approximately 5-6 inches (12.5-15 cm) tall, suitable for a standard set of cutlery.
Abbreviations (US Crochet Terms):
- MC: Main Color
- CC: Contrast Color
- ch: chain
- sl st: slip stitch
- sc: single crochet
- hdc: half double crochet
- sc2tog: single crochet 2 stitches together (decrease)
- st(s): stitch(es)
(...): work stitches into the same stitch[...]: repeat instructions in brackets- FO: Fasten off
Part 1: The Foot and Heel of the Stocking (MC)
We’ll start by making a foundation chain and working around it to form the base of the foot, then shaping the heel.
- Foundation Chain: With MC, Ch 13.
- Round 1:
- Sc in the 2nd ch from hook. Sc in each of the next 10 chains.
- In the last chain, work (3 sc). (This creates the toe end of the foot).
- Now, working down the opposite side of the foundation chain: Sc in each of the next 10 chains.
- In the very last chain (which is also the first chain you worked into), work (2 sc).
- Join with a sl st to the first sc. (26 sc total)
- You now have an oval shape for the sole of the foot.
- Round 2: Ch 1 (does not count as st). Sc in each st around. Join with a sl st to the first sc. (26 sc)
- Repeat Round 2 for a total of 3 rounds if you want a slightly wider foot, or skip to the next step for a more streamlined foot.
- Row 4 (Heel Turn – working in rows):
- Ch 1, turn. Sc in the first 13 stitches only. (13 sc)
- You are now only working back and forth on half of your stitches to create the heel flap.
- Row 5: Ch 1, turn. Sc2tog. Sc in each of the next 9 sts. Sc2tog. (11 sc)
- Row 6: Ch 1, turn. Sc2tog. Sc in each of the next 7 sts. Sc2tog. (9 sc)
- Row 7: Ch 1, turn. Sc2tog. Sc in each of the next 5 sts. Sc2tog. (7 sc)
- Do not fasten off MC.
Part 2: The Leg of the Stocking (MC)
Now we’ll continue around the entire piece to form the leg.
- Connecting Round: Ch 1. Now, you’ll work sc stitches around the entire opening, including the raw edges of the heel flap you just created and the unworked stitches from Round 3.
- Work 4 sc evenly down the side of the heel flap (into the ends of Rows 4-7).
- Sc in each of the 13 unworked stitches from Round 3.
- Work 4 sc evenly up the other side of the heel flap.
- Sc in the 7 stitches across the top of the heel (from Row 7).
- Join with a sl st to the first sc. (Approx. 28 sc, adjust for neatness).
- You should now have a closed loop that will form the leg of the stocking.
- Rounds 9-14 (Leg Height): Ch 1. Sc in each st around. Join with a sl st to the first sc. (28 sc)
- Repeat this round until your stocking leg reaches the desired height (e.g., 6 rounds total for the leg part, starting from Rnd 9).
- Fasten off MC.
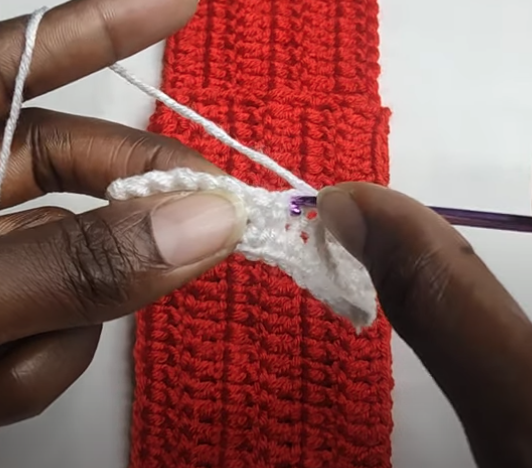
Part 3: The Cuff (CC)
This creates the classic fluffy top of the stocking.
- Join CC: Join Contrast Color (CC) with a sl st to any stitch at the top opening of the stocking.
- Round 1: Ch 1. Sc in each st around. Join with a sl st to the first sc. (28 sc)
- Round 2-3: Ch 1. Sc in each st around. Join with a sl st to the first sc. (28 sc)
- Repeat this round for 2-3 more rounds for a thicker cuff.
- Fasten off CC, leaving a small tail for weaving in.
Part 4: Hanging Loop (Optional)
- With CC, ch 15.
- Sl st back into the first ch to form a loop.
- Fasten off, leaving a tail for sewing.
- Using your yarn needle, securely sew the loop to the inside top corner of the stocking cuff. Weave in ends.
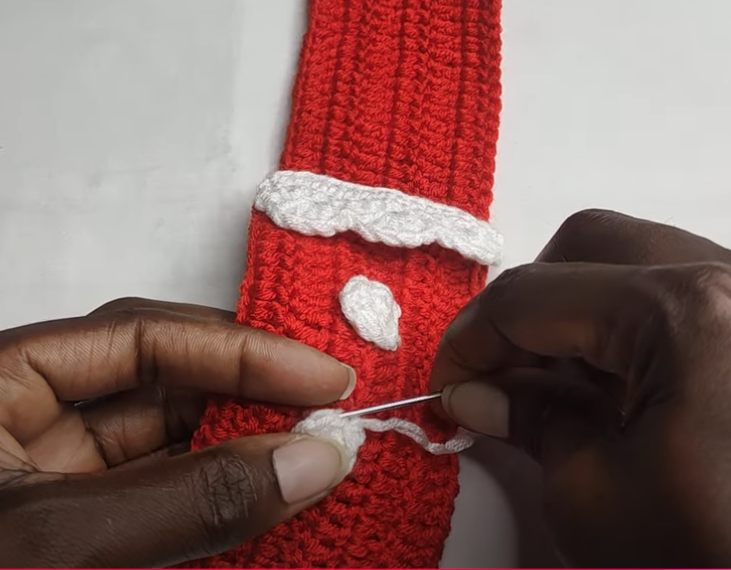
Part 5: Finishing and Embellishments
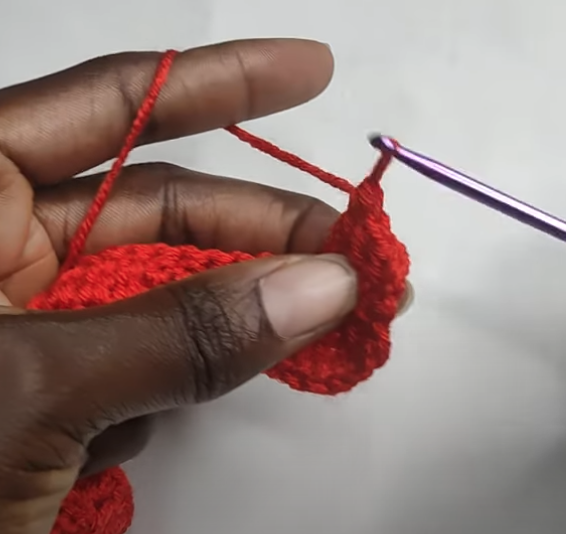
- Weave in ALL Ends NEATLY: This is crucial for a clean, professional-looking holder. Use your yarn needle to carefully weave in every single yarn tail securely.
- Optional – Add Appliqués/Decorations:
- Star: Crochet a small yellow star and sew it to the cuff or the toe.
- Snowflake: Embroider a simple white snowflake pattern on the leg.
- Button/Bow: Sew on a small Christmas-themed button or a tiny ribbon bow.
- Steam Block (Optional): Gently steam your finished holder with an iron (don’t touch the iron directly to the yarn) or use a garment steamer. This helps to even out stitches and give it a polished shape.

Alternative Designs & Tips for Customization
- Santa Hat Holder:
- Instead of a stocking shape, you could crochet a simple cone for the hat (starting with a few sc in MR, then increasing every few rounds until it’s wide enough for cutlery).
- Add a white sc cuff at the bottom and a white pompom at the tip.
- Simple Pouch:
- Just crochet a rectangle, fold it in half, and sew up the sides. Add a decorative top edge.
- Different Stitches:
- Use hdc or dc for the body for a looser, quicker fabric (but ensure it’s dense enough for cutlery).
- Try a textured stitch like moss stitch for the cuff instead of plain sc.
- Size Adjustments:
- Wider/Longer: Increase the starting chain for the foot, and/or add more rounds to the foot base and leg.
- Shorter: Decrease the number of rounds for the leg.
- Embroidery: Instead of sewn-on appliqués, you can embroider simple designs like snowflakes, holly leaves, or names directly onto the stocking.
These little cutlery holders are quick to make, so you can easily whip up a set for your entire Christmas table. Happy holiday crocheting!