by
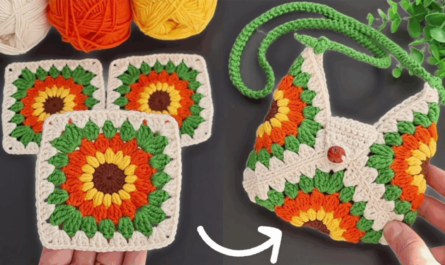
by That’s a wonderful idea! Crochet flower coasters and placemats are not only beautiful but also practical projects for adding handmade charm to your home. They use similar circular construction methods, with the placemat simply requiring more rounds to reach a larger size.1
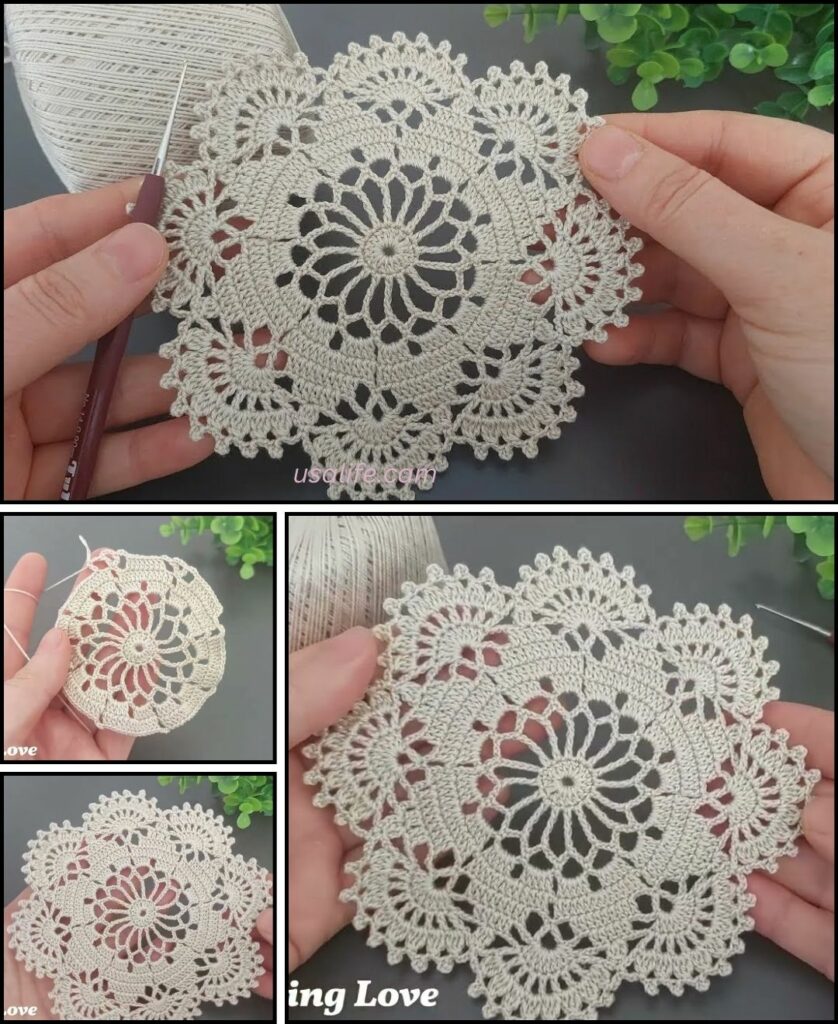
Here is a detailed guide on how to crochet both a floral coaster and placemat, using the same core pattern that focuses on creating defined petals.
🌻 Materials Needed
- Yarn:100% Cotton Yarn is highly recommended for placemats and coasters, as it is durable, washable, and heat-resistant.2
- Coasters: Worsted Weight (Size 4).3
- Placemats: Worsted or Chunky Weight (Size 5/6) for faster growth.
- Crochet Hook: The size recommended for your yarn (e.g., 4.0 mm for worsted cotton).
- Colors: Choose a Center Color (A) (e.g., yellow) and a Petal Color (B).
- Scissors
- Tapestry Needle: For weaving in ends.
Key Crochet Terms
| Abbreviation | Stitch Name |
| ch | Chain |
| sl st | Slip Stitch |
| sc | Single Crochet |
| dc | Double Crochet |
| tr | Treble Crochet (Triple Crochet) |
| st(s) | Stitch(es) |

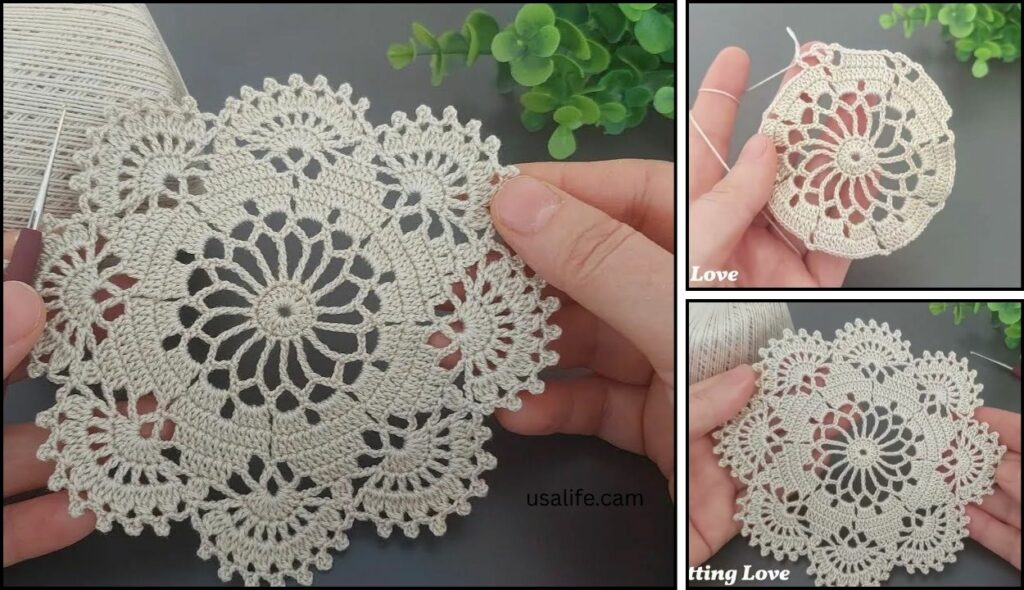
Part 1: The Flower Coaster (Quick & Small)
This pattern uses a two-round center and a final round of defined petals.
Round 1: Center Foundation (Color A)
- Start: With Color A, make a Magic Ring (or ch 4, join).
- Base: ch 2 (counts as first hdc). Work 11 hdc (half double crochet) into the ring. (12 sts)
- Finish: Pull the tail tight. Join with a sl st to the top of the beginning ch 2. Fasten off Color A.
Round 2: Petal Anchor (Color B)
- Join: Join Color B into any stitch with a sl st.
- Increase: ch 1 (does not count as st). Work 2 sc (sc-inc) in the same stitch and in every stitch around. (24 sts)
- Finish: Join with a sl st to the first sc.

Round 3: Defining the Petals (Color B)
This round creates the five distinct petals that make up the coaster’s decorative edge.
- First Petal:ch 1 (does not count as st).
- Work sc in the same stitch.
- Work hdc in the next stitch.
- Work 3 dc in the next stitch.
- Work hdc in the next stitch.
- Work sc in the next stitch.
- Anchor: sl st into the next stitch. (This grounds the petal and prepares for the next one.)
- Repeat: [sl st in the next st, sc in the next st, hdc in the next st, 3 dc in the next st, hdc in the next st, sc in the next st] four more times.
- Finish: Join with a sl st to the starting sl st. Fasten off and weave in ends.
Your flower coaster is complete!

Part 2: Adapting to a Flower Placemat
To make a placemat (approx. 12-14 inches wide), you need to add several foundation rounds before starting the petals. The key is to maintain a flat circle increase formula until you reach the desired diameter.
Foundation Rounds (Color B, expanding the circle)
You will continue increasing by 12 stitches each round (following the “sc 1, inc,” “sc 2, inc” formula) until the circle measures about 10-12 inches across.
| Round | Stitch Pattern | Total Stitches |
| 4 | [sc in next 3 sts, inc] 6 times | 30 sts |
| 5 | [sc in next 4 sts, inc] 6 times | 36 sts |
| 6 | [sc in next 5 sts, inc] 6 times | 42 sts |
| … continue until satisfied with size | [sc in next N sts, inc] 6 times |
Final Placemat Petal Round
Once your circle is the desired placemat size, you can add a dramatic, oversized petal border. This pattern requires the final foundation round to have a stitch count divisible by the number of petals you want (e.g., 6 or 8 petals).
- Assumption: Your final foundation round has 84 stitches (14 sts per petal).
- Join: Ensure you are at the end of your final foundation round. ch 1.
- First Petal: Work sc in the next st. hdc in the next 2 sts. dc in the next 3 sts.
- Peak: Work tr in the next 4 sts.
- Descent: dc in the next 3 sts. hdc in the next 2 sts. sc in the next st.
- Anchor: sl st into the next 2 stitches. (This creates the small dip between petals).
- Repeat: Repeat the entire petal sequence [sl st 2, sc 1, hdc 2, dc 3, tr 4, dc 3, hdc 2, sc 1] around the entire perimeter (6 times total).
- Finish: Join with a sl st to the first sc. Fasten off and weave in ends.
Finishing Both Projects
- Blocking: Blocking is essential for both items, especially the placemat, to make sure the edges are flat and the flower shape is distinct. Pin the item out, steam it lightly, and let it dry completely.
Would you like a guide on how to join these flower motifs if you wanted to make a large blanket or table runner?
Video tutorial: