by
by 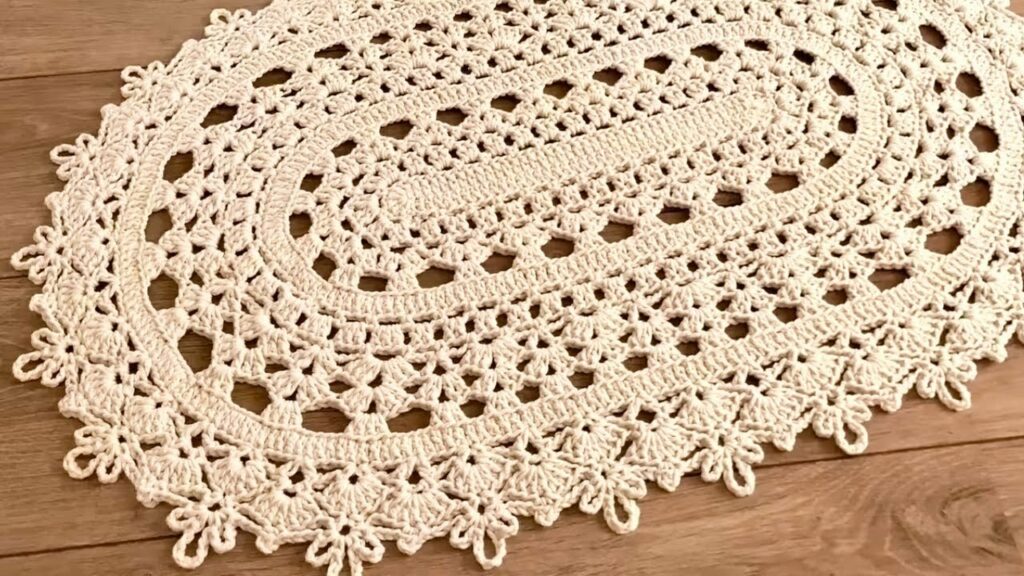
Step into the Oval: Crocheting a Cozy Rug for Your Home
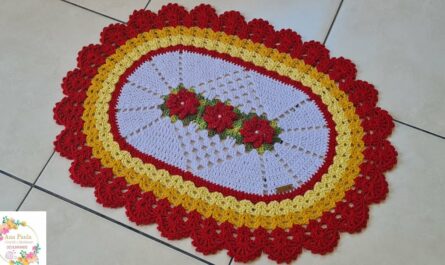
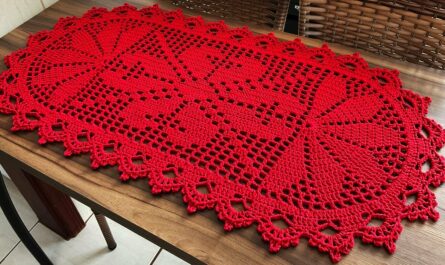
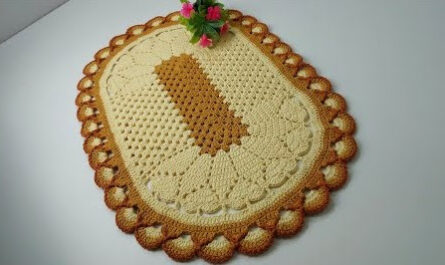
Oval rugs add a touch of whimsical charm to any space, whether it’s a sun-drenched living room or a cozy reading nook. But the thought of crocheting one might seem daunting. Fear not, fellow yarn enthusiasts! This guide will walk you through the process, stitch by stitch, so you can create your own beautiful oval rug.
Gather your tools:
- Yarn: Choose a medium-weight yarn suitable for rugs. Wool or acrylic blends are good options for durability and easy washing. Remember, you’ll need quite a bit, depending on the rug’s size!
- Crochet hook: Choose a hook size appropriate for your yarn weight.
- Stitch markers: These will help you mark the center and edges of your oval.
- Yarn needle: For weaving in ends and attaching any embellishments.
- Optional: Measuring tape, tapestry needle, scissors, blocking mats (for shaping your finished rug).
Let’s begin!
- Foundation chain: Start by chaining a desired number of stitches. The length will determine the width of your oval. A good rule of thumb is to chain 3 times the desired width. For example, for a 30-inch wide rug, chain 90.
- Elliptical shaping: This is where the oval magic happens! To create the elongated oval shape, we’ll work increases and decreases at specific points.
- Chain 3, turn: This counts as your first double crochet (dc).
- Work double crochets across the chain: Make one dc in each chain stitch until you reach the last 3 chains.
- Increase at the corner: Work 2 dcs in the last chain stitch. Turn your work.
- Skip 2 stitches, dc in the next stitch: This creates a gentle curve.
- Repeat increases and decreases: Follow the pattern of increasing at the corners and skipping 2 stitches at the sides of the oval. This will define the oval shape.
- Continue working rows: Keep crocheting dcs in each stitch across the row, following the increase and decrease pattern at the corners and sides.
- Mark the center: Place a stitch marker in the center stitch of the foundation chain. This will help you maintain symmetry.
- Round and round we go: Once you’ve reached the desired length (3 times the desired width is a good starting point), it’s time to join the ends and work in continuous rounds.
- Slip stitch into the first dc: This connects the foundation chain to the last row to form a closed loop.
- Work dcs continuously around the oval: Follow the increase and decrease pattern at the corners and sides, crocheting around and around in continuous rounds.
- Use stitch markers as guides: Keep them at the center and edges of the oval to maintain shape.
- Finishing touches:
- Tie off yarn and weave in ends: Secure the last stitch and neatly weave in all yarn ends using a yarn needle.
- Blocking (optional): This helps the rug lay flat and even. Pin the rug to blocking mats in its desired shape and let it dry.
- Personalize your masterpiece: You can add tassels, fringes, or other embellishments to express your unique style.
Video tutorial
Tips and tricks:
- Consider changing stitch types for texture and visual interest. Try half double crochets, treble crochets, or even popcorn stitches!
- Experiment with different yarn colours to create patterns or stripes.
- Use stitch markers generously to stay on track with increases and decreases.
- Don’t be afraid to adjust the pattern based on your desired size and yarn. Practice makes perfect!
Embrace the journey of crocheting your own oval rug. It may take some time and patience, but the satisfaction of creating a beautiful and functional piece for your home is truly rewarding. So grab your hook, choose your favourite yarn, and get ready to step into the oval!
I hope this detailed guide helps you on your oval rug-crocheting adventure. If you have any questions or need further guidance, feel free to leave a comment below. Happy crocheting!