by
by 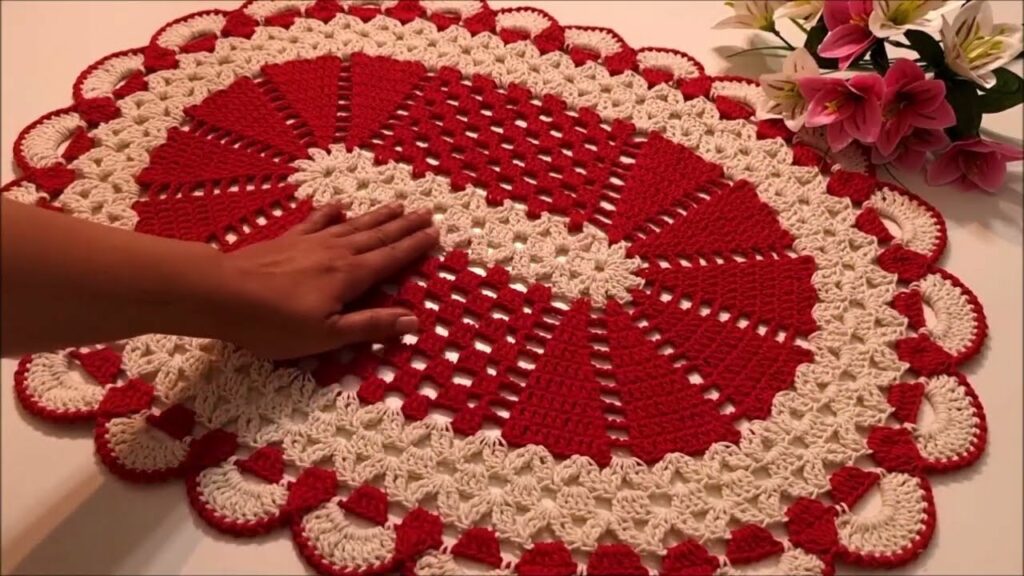
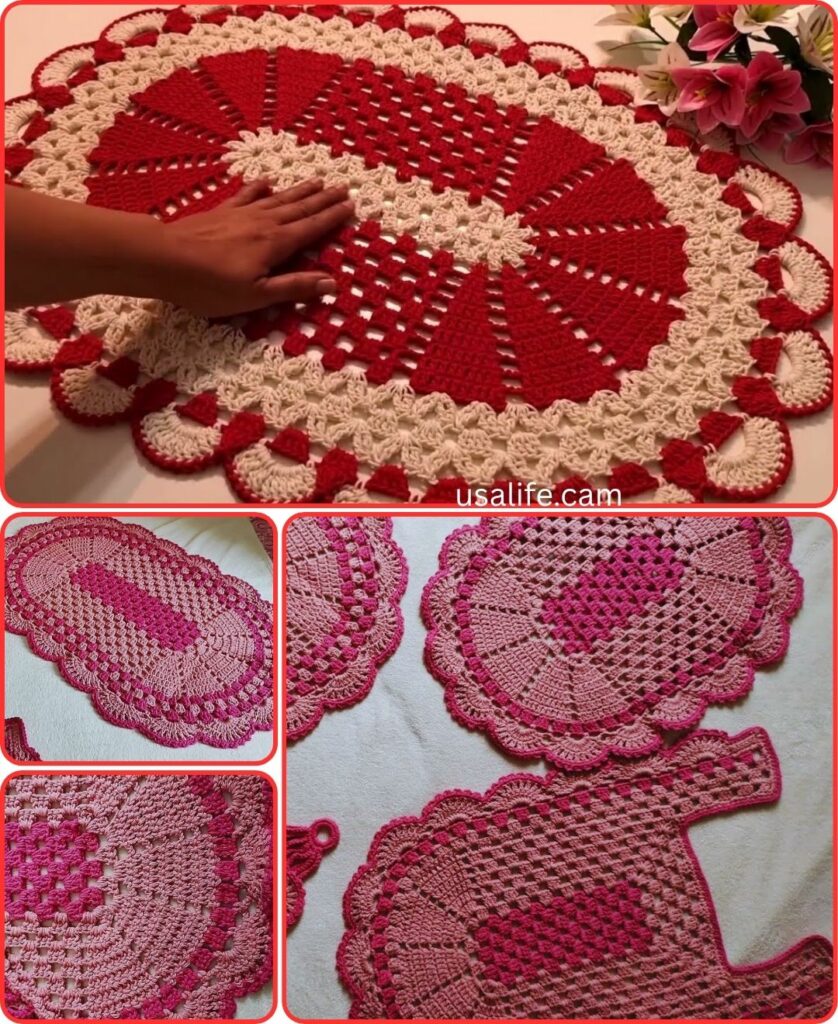
Step into Style: Crocheting Your Dream Oval Rug
Oval rugs are a versatile and charming addition to any room, adding a touch of cozy elegance that instantly elevates the space. But for many crafters, the thought of tackling an oval project can feel intimidating. Fear not, fellow hook enthusiasts! This detailed guide will walk you through the process of crocheting a beautiful oval rug, step-by-step, so you can confidently create a unique piece that reflects your style.
Gather Your Supplies:
- Yarn: Choose a sturdy yarn suitable for rugs, like cotton, wool blend, or acrylic. Consider your desired rug size and thickness when choosing the yarn weight.
- Crochet hook: Select a hook size appropriate for your chosen yarn. A larger hook will create a thicker, looser rug, while a smaller hook will result in a denser, tighter fabric.
- Stitch markers: These handy tools will help you mark the center and edges of your oval, ensuring even shaping.
- Scissors: For trimming yarn ends and any necessary adjustments.
- Optional: Measuring tape, tapestry needle (for weaving in ends), rug backing (for added stability).
Choosing Your Technique:
There are two main approaches to crocheting an oval rug:
- Foundation chain method: This involves creating a long chain to form the base of the oval, then working stitches back and forth to build up the rug. This method is simple and beginner-friendly, but can be time-consuming for larger rugs.
- Magic ring method: This technique uses a magic ring to create a circular base, then increases and decreases stitches to form the oval shape. This method is efficient for smaller rugs, but requires some practice to master the magic ring.
Let’s Get Hooking!
- Start with the Base:
- Foundation chain method: Chain a long string of stitches, approximately 1.5 times the desired width of your finished rug. Mark the center of the chain with a stitch marker.
- Magic ring method: Make a magic ring and work single crochets (SCs) into the ring. Increase stitches evenly at the ends to create the oval shape.
- Building the Body:
- For both methods, work rows of stitches back and forth, increasing stitches at the ends to maintain the oval shape. Use stitch markers to mark the turning points and ensure symmetry.
- You can experiment with different stitch patterns, like double crochets (DCs), half double crochets (HDC), or textured stitches, to add visual interest.
- For a thicker rug, work several rows in each stitch before increasing.
- Shaping the Edges:
- As you approach the desired length of your rug, start decreasing stitches at the ends to gradually narrow the oval.
- Continue working rows of decreases until you reach the desired width of your rug border.
- Finishing Touches:
- Work a border around the edge of your rug using your preferred stitch pattern. A simple sc border or a decorative picot edge are popular choices.
- Weave in all yarn ends using a tapestry needle.
- For extra stability, consider adding a rug backing. This is especially helpful for high-traffic areas.
Tips and Tricks:
- Use a stitch counter to keep track of your rows and stitches, ensuring accuracy.
- Block your finished rug to even out any uneven stitches and achieve a professional look.
- Customize your rug with colors, textures, and embellishments to match your décor and personal style.
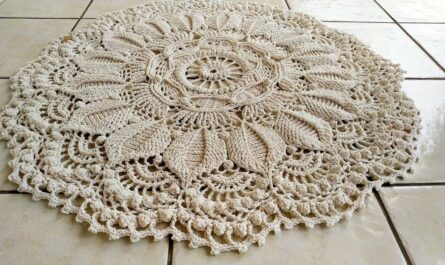
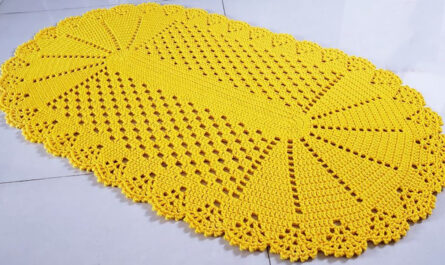
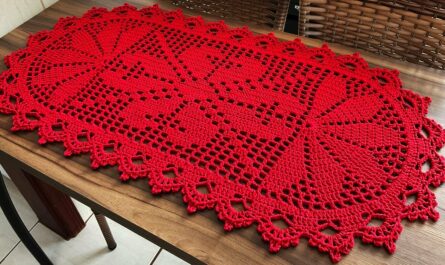
Inspiration for Your Oval Masterpiece:
- Create a vibrant boho-chic rug using a mix of bright colors and textured stitches.
- Opt for a classic and timeless look with a neutral-toned rug featuring a simple stitch pattern.
- Channel your inner artist and create a unique rug with a repeating pattern or motif.
Remember, crocheting is a journey of creativity and exploration. Don’t be afraid to experiment and have fun with the process! With a little patience and practice, you’ll be stepping onto your own handmade oval masterpiece in no time.
Video tutorial
Bonus Resources:
- Check out online tutorials and patterns for specific oval rug designs.
- Join crochet forums and communities for inspiration, tips, and support.
- Most importantly, embrace your creativity and enjoy the process of crocheting your dream oval rug!
I hope this guide has helped you embark on your oval rug-crafting adventure. Remember, the most important ingredient is your passion for crochet! So grab your hook, yarn, and a dash of inspiration, and let your creativity flow!