by
by 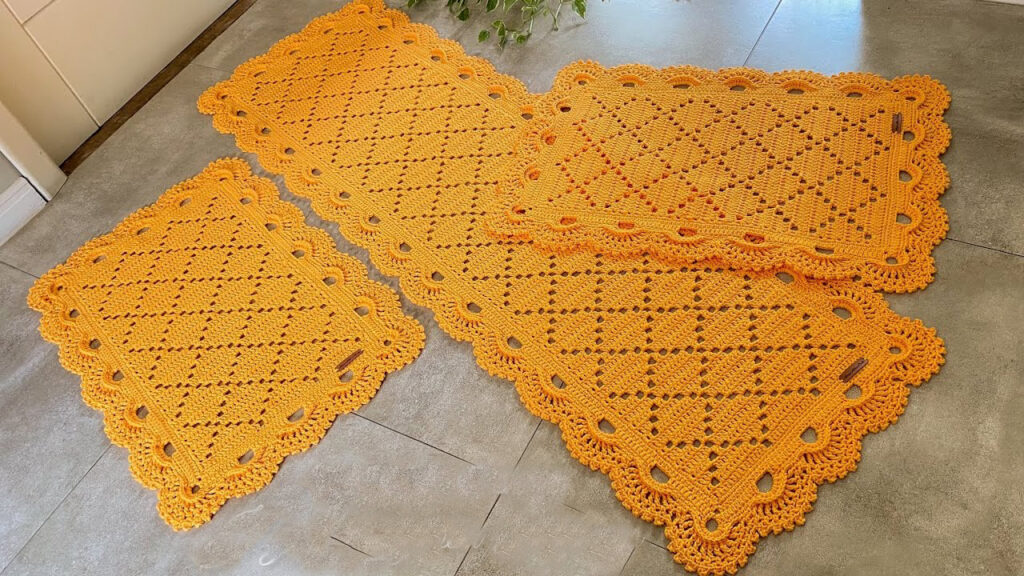
Add a Touch of Sparkle to Your Kitchen with a Crocheted Diamond Rug Set
Spice up your kitchen with a dazzling touch of handmade charm! Crocheting a diamond rug set is a delightful project that’s perfect for adventurous beginners and seasoned stitchers alike. Not only will you add a pop of color and personality to your culinary space, but you’ll also gain immense satisfaction from crafting something beautiful with your own two hands.
Choosing your yarn and tools:
- Yarn: Opt for durable, washable cotton yarn in colors that complement your kitchen décor. Consider contrasting shades for the diamonds and background for a striking effect.
- Crochet hook: Select a hook size appropriate for your chosen yarn weight.
- Scissors: A reliable pair for snipping yarn ends is essential.
- Tapestry needle: This will come in handy for weaving in ends and adding decorative touches.
Let’s crochet some diamonds!
- Foundation chain: Start by making a foundation chain in the desired length for your rug. Remember, the finished width will be roughly half the chain length.
- Double crochet rows: Work rows of double crochets in the back loops only of the foundation chain. This creates a nice, textured border for your rug.
- Diamond formation: Now comes the fun part – crocheting the diamonds! Skip a few stitches at the beginning of the row, then work a cluster of double crochets in the next stitch. Skip a few more stitches and repeat the cluster. This will form the peak of your diamond. Continue making clusters and skipping stitches across the row, creating a series of diamond shapes.
- Filling the diamonds: Turn your work and work double crochets in the spaces between the clusters from the previous row. This fills out the diamonds and creates a nice, raised effect.
- Repeat and border: Continue working rows of diamonds and filling them until your rug reaches the desired size. Finish with a few rows of double crochets in the back loops only to create a clean border.
Making the matching runner:
Follow the same basic steps as the rug, but adjust the foundation chain length to create a narrower runner. You can also experiment with different diamond sizes or border styles to add variation to the set.

Pro tips for diamondlicious success:
- Use stitch markers to mark the spaces between your diamond clusters for a more consistent look.
- Weave in your ends as you go to avoid having to deal with a mountain of them at the end!
- Block your finished rugs and runner to give them a nice, polished shape.
Now, the fun part – customization!
Get creative and personalize your diamond rug set to match your kitchen’s unique style. Here are some ideas:
- Play with colors: Use a gradient of shades for the diamonds or add pops of contrasting colors for an eye-catching effect.
- Texture time: Incorporate different stitch patterns, like popcorn stitches or shells, within the diamonds or border for added dimension.
- Fringe it up: Add a playful fringe border to your runner for a touch of whimsy.
- Get thematic: Choose colors and patterns that reflect your kitchen’s theme, whether it’s rustic farmhouse, modern chic, or anything in between.
With a little creativity and these helpful tips, you’ll soon be gracing your kitchen floor with a sparkling diamond rug set that’s as unique and beautiful as you are. So grab your yarn, hook, and a sprinkle of imagination, and let the crocheting magic begin!
Happy crafting!
Video tutorial