 by
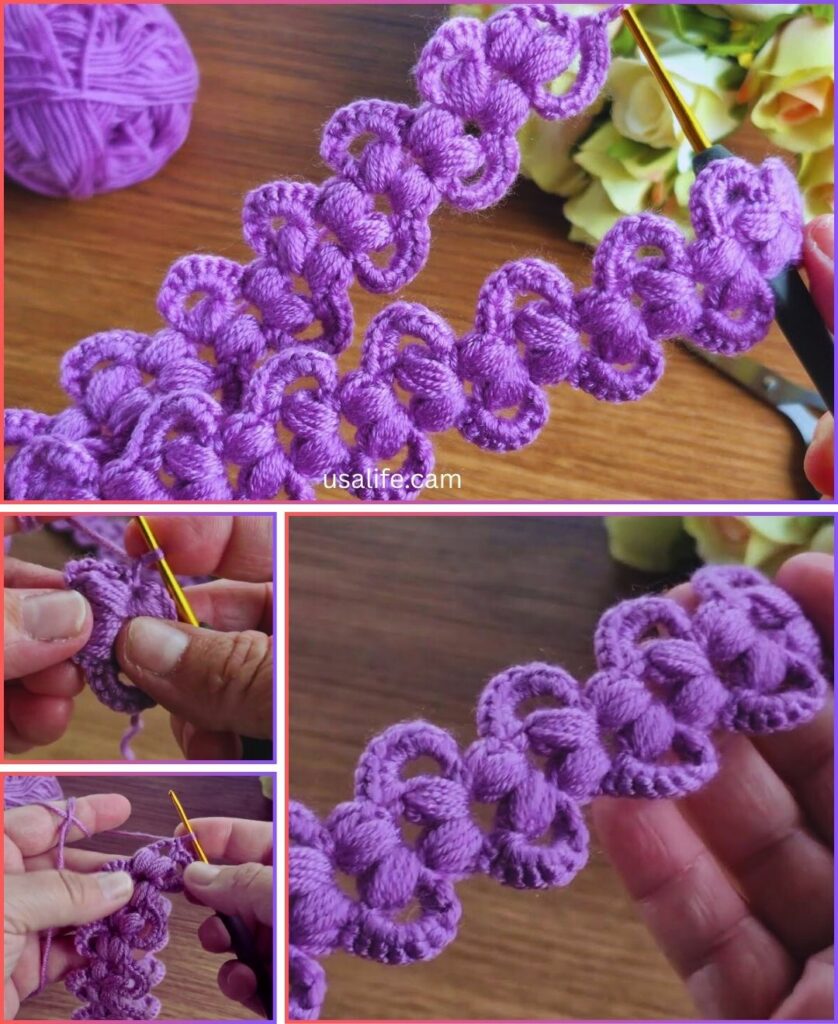
by It sounds like you’re interested in making a lovely crochet baby headband! Just to clarify the terminology, crochet uses a single hook, while knitting uses two needles. This guide will focus entirely on how to crochet a baby headband.
Crocheted headbands are a fantastic project for beginners. They work up quickly, use minimal yarn, and are adorable accessories for babies. They also make wonderful, personalized gifts.
Given that you’re in Phnom Penh, where it’s warm, choosing the right yarn is important for comfort. 100% cotton yarn or a soft cotton blend is highly recommended for baby items. These natural fibers are breathable, gentle on a baby’s sensitive skin, durable, and easily machine washable.

How to Crochet a Baby Headband for Beginners
This guide will walk you through creating a simple and soft baby headband, suitable for beginners. We’ll start with a basic band and then discuss adding an optional flower embellishment.
1. Essential Materials You’ll Need
- Yarn:
- Fiber: Choose 100% Cotton, a Cotton Blend (e.g., cotton/acrylic or cotton/bamboo), or a soft, premium Acrylic Yarn. Look for yarn specifically labeled “baby yarn” or that feels incredibly soft and non-irritating.
- Weight: DK (Double Knitting / Light Worsted / Category 3) or Worsted Weight (Aran / Medium / Category 4). DK weight will result in a lighter, more delicate headband, while Worsted will be a bit thicker.
- Color(s): Choose colors suitable for babies – pastels, soft neutrals, or gentle brights. You might need one color for the band and a contrasting color for an optional flower.
- Quantity: You’ll only need a small amount of yarn, typically less than 50g for a single headband, making it a great stash-busting project.
- Crochet Hook:
- For DK Weight yarn, a 3.5mm (US E/4) or 4.0mm (US G/6) hook.
- For Worsted Weight yarn, a 4.0mm (US G/6) or 4.5mm (US 7) hook.
- Always check your yarn label for the recommended hook size. For headbands, you generally want a fabric that is soft but not too flimsy, so aim for a tension that creates good drape without being too loose.
- Scissors: For cutting your yarn.
- Yarn Needle (Tapestry Needle): Essential for neatly weaving in all your yarn ends and for sewing on the flower.
- Measuring Tape: Crucial for getting the correct length for the baby’s head.
2. Basic Crochet Stitches You’ll Use
This pattern uses very basic and fundamental crochet stitches:
- Chain (ch): To begin your work and create turning chains.
- Slip Stitch (sl st): For joining stitches or rounds.
- Single Crochet (sc): Creates a dense, sturdy fabric, good for the band.
- Half Double Crochet (hdc): Creates a slightly taller, softer fabric than single crochet, also great for the band.
- Double Crochet (dc): A taller stitch, used primarily for the optional flower.

How to Crochet a Simple Baby Headband Pattern
We’ll make a rectangle band and then join the ends.
Abbreviations (US Crochet Terms):
- ch: chain
- sc: single crochet
- hdc: half double crochet
- sl st: slip stitch
- st(s): stitch(es)
Step 1: Measure for Size
The key to a good headband is getting the right fit. Headbands should have negative ease, meaning they should be slightly smaller than the head circumference so they stretch to fit snugly without being too tight. Cotton yarn has some stretch.
Here are typical average head circumferences for babies (measure the actual baby if possible!):
- Newborn: 13 – 14 inches (33 – 36 cm) – Chain for about 12 inches (30 cm)
- 0-3 Months: 14 – 15 inches (36 – 38 cm) – Chain for about 13 inches (33 cm)
- 3-6 Months: 15 – 17 inches (38 – 43 cm) – Chain for about 14 inches (36 cm)
- 6-12 Months: 17 – 19 inches (43 – 48 cm) – Chain for about 16 inches (40 cm)
- Toddler (1-3 yrs): 18 – 20 inches (46 – 51 cm) – Chain for about 17-18 inches (43-45 cm)
Step 2: Create Your Starting Chain
We will make the headband about 1.5 – 2 inches (4 – 5 cm) wide, so we need a short chain.
- Using your chosen yarn and hook: Ch 8. (This will make a band about 1.5-2 inches wide. Adjust by chaining more or fewer stitches for your desired width).
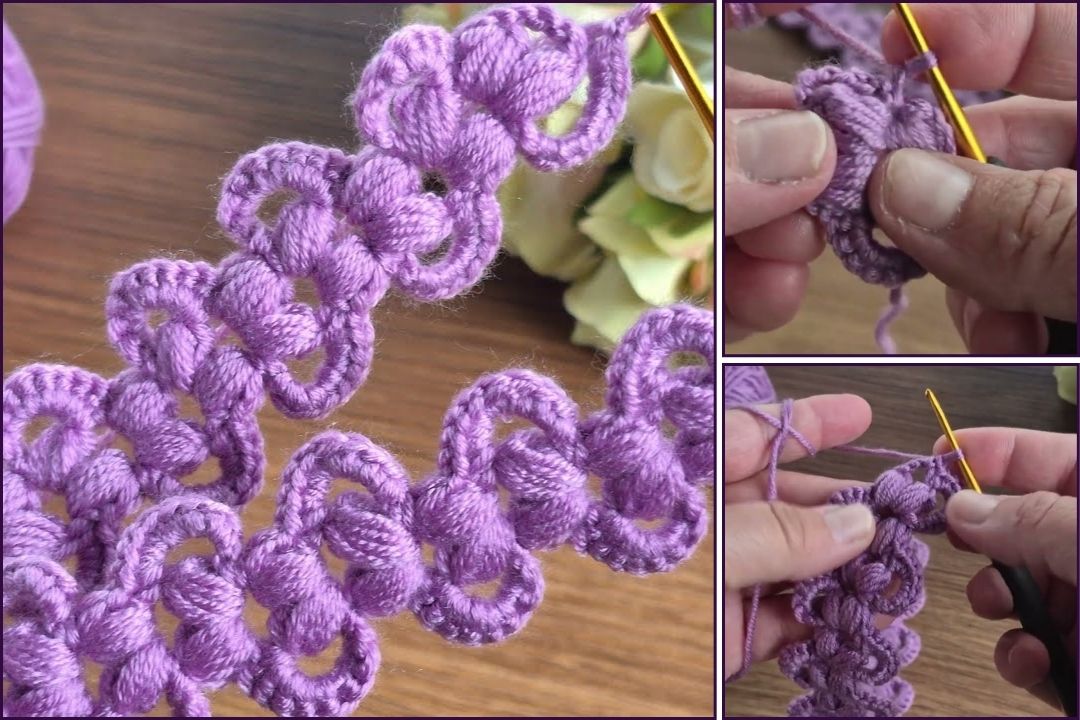
Step 3: Crocheting the Band
We’ll use Half Double Crochet (hdc) stitches for a soft, slightly stretchy band.
- Row 1: Work 1 hdc into the 3rd chain from your hook. Work 1 hdc into each remaining chain across. (You will have 6 hdc stitches. The initial 2 skipped chains count as nothing for stitch count, only for height).
- Ch 2 (does NOT count as a stitch) and turn your work.
- Row 2: Work 1 hdc into the first hdc of the previous row. Work 1 hdc into each hdc across the row, until you reach the end. Work your last hdc into the very last hdc (not the turning chain). (6 hdc)
- Ch 2 (does NOT count as a stitch) and turn your work.
- Repeat Row 2: Continue repeating Row 2 until your band reaches the desired length from Step 1 (e.g., 14 inches for a 3-6 month size). Stretch your work lightly to measure.
Step 4: Joining the Ends
Once you’ve reached your desired length, it’s time to join the ends of the band to form a loop.
- Place the first row (the starting chain) and the last row together, lining up the stitches.
- Insert your hook into the first stitch of the current row and the corresponding first stitch of the starting chain.
- Work a sl st through both loops.
- Continue working sl st through both corresponding stitches across the entire width of the band to join them securely.
- Fasten off, leaving a 6-inch tail. Pull the tail through the loop on your hook and pull tight to secure.
- Weave in both yarn tails securely using your yarn needle. Your basic baby headband is now complete!
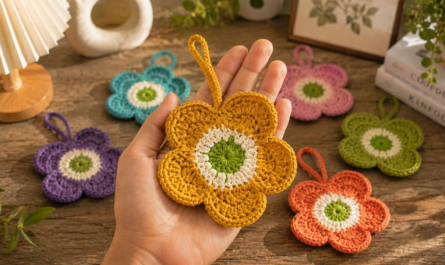
Optional: Add a Crocheted Flower Embellishment
A small crocheted flower adds a lovely touch to the headband. You can use the same pattern as in my previous “How to crochet flower motif” explanation, but here’s a simpler version if you want just a quick flower.
Simple Flower Pattern
Materials: Small amount of yarn (contrasting color), smaller hook (e.g., 3.5mm), yarn needle, scissors.
Abbreviations: ch, sl st, sc, dc, MR.
- Start (Magic Ring recommended for a tight center):
- Create a Magic Ring (MR).
- Ch 1 (does NOT count as st).
- Work 6 sc into the MR. Pull tail to close.
- Join with a sl st to the first sc. (6 sc)
- Petal Round:
- Ch 2 (does NOT count as st).
- Work (2 dc, ch 2, sl st) all into the same st where you just joined.
- *Sl st into the next st. Ch 2, work (2 dc, ch 2, sl st) all into the same st.* Repeat from * to * 4 more times.
- You will have 6 petals.
- Join with a sl st to the very first sl st of the round.
- Fasten off, leaving a long tail (8-10 inches) for sewing.
- Weave in starting tail.
Attaching the Flower
- Position: Decide where you want the flower on the headband (usually centered or slightly off-center).
- Sewing: Using the long tail from the flower and your yarn needle, carefully sew the flower securely onto the headband. Stitch through the back of the flower and into the stitches of the headband, ensuring your stitches don’t show on the front.
- Weave in remaining tail from sewing.
Finishing Your Baby Headband
- Final Weaving: Double-check that all yarn tails (from the band and the flower) are securely woven in and trimmed. This prevents unraveling and keeps the headband neat, especially since babies might tug at it.
- Blocking (Optional): While not strictly necessary for a simple headband, light blocking can help even out stitches and ensure the band lays flat.
- Gently wet the headband.
- Gently squeeze out excess water.
- Lay it flat on a clean towel, reshaping it if needed. Let it air dry completely.
- Care Instructions: If you’re gifting the headband, include a small tag with care instructions for the yarn you used (e.g., “Machine wash cold, tumble dry low” or “Hand wash, lay flat to dry”).
You now have a detailed guide on how to crochet a lovely and practical baby headband! Enjoy creating this sweet accessory.
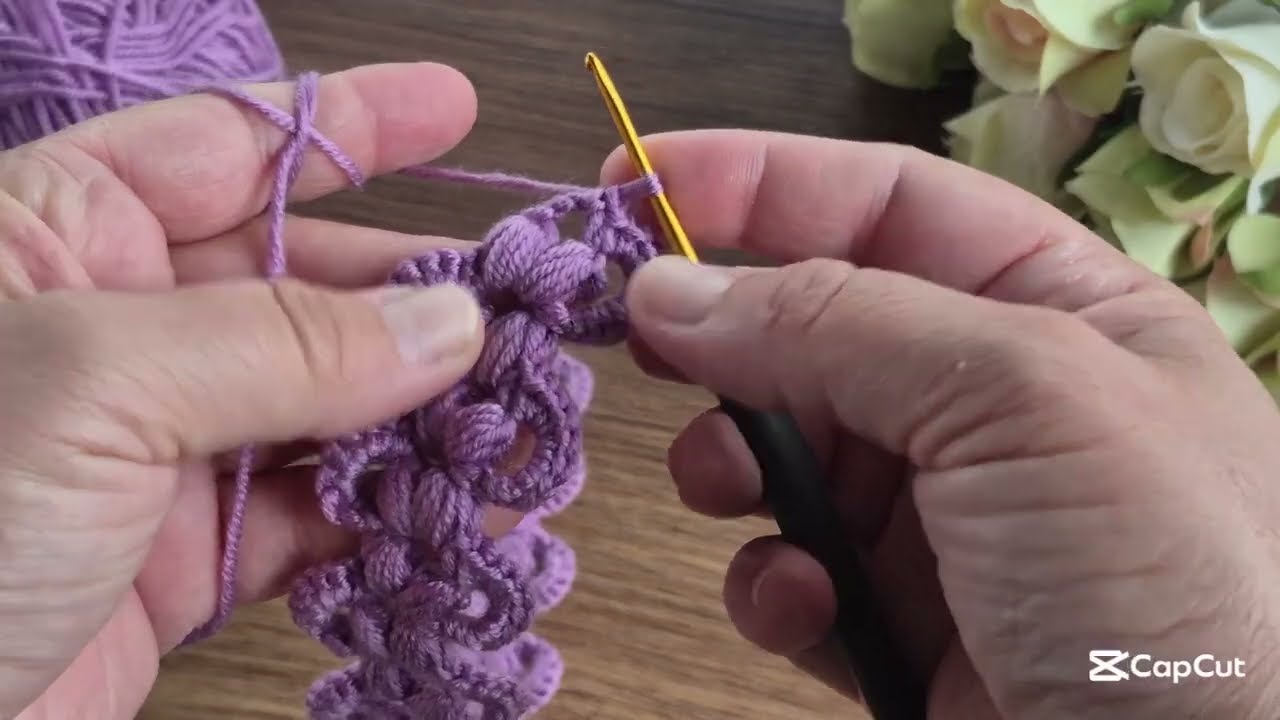
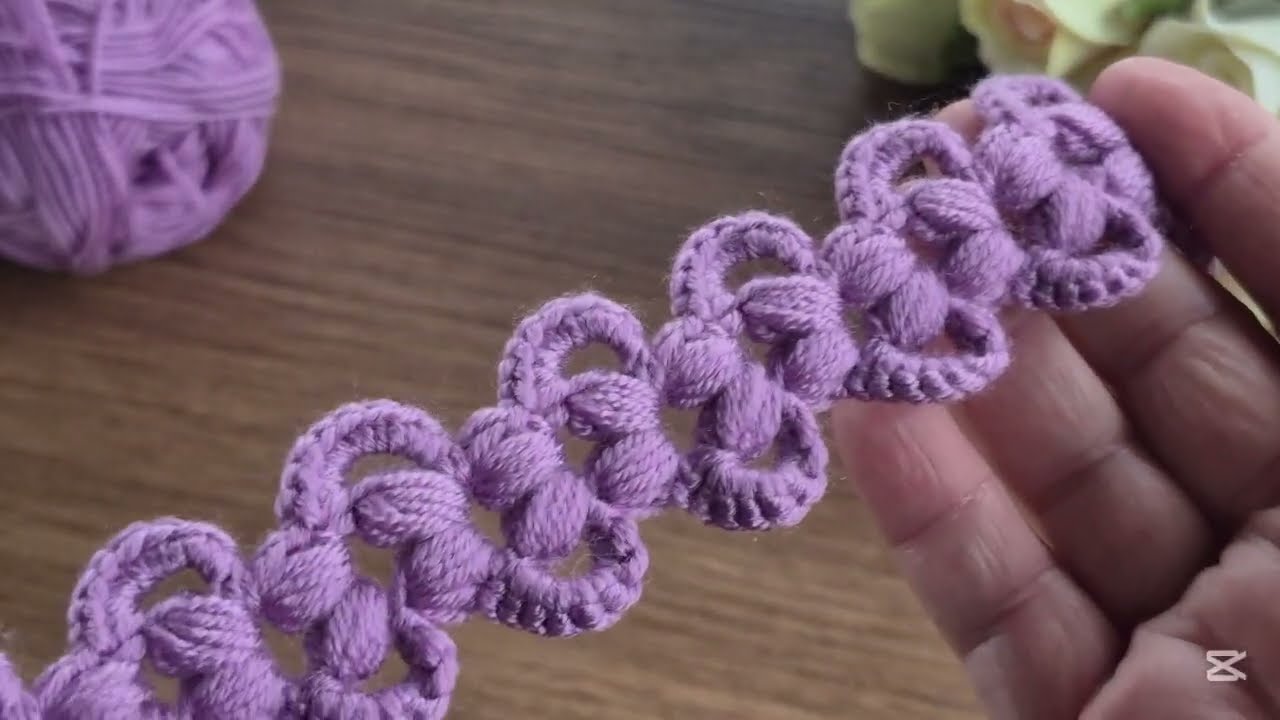
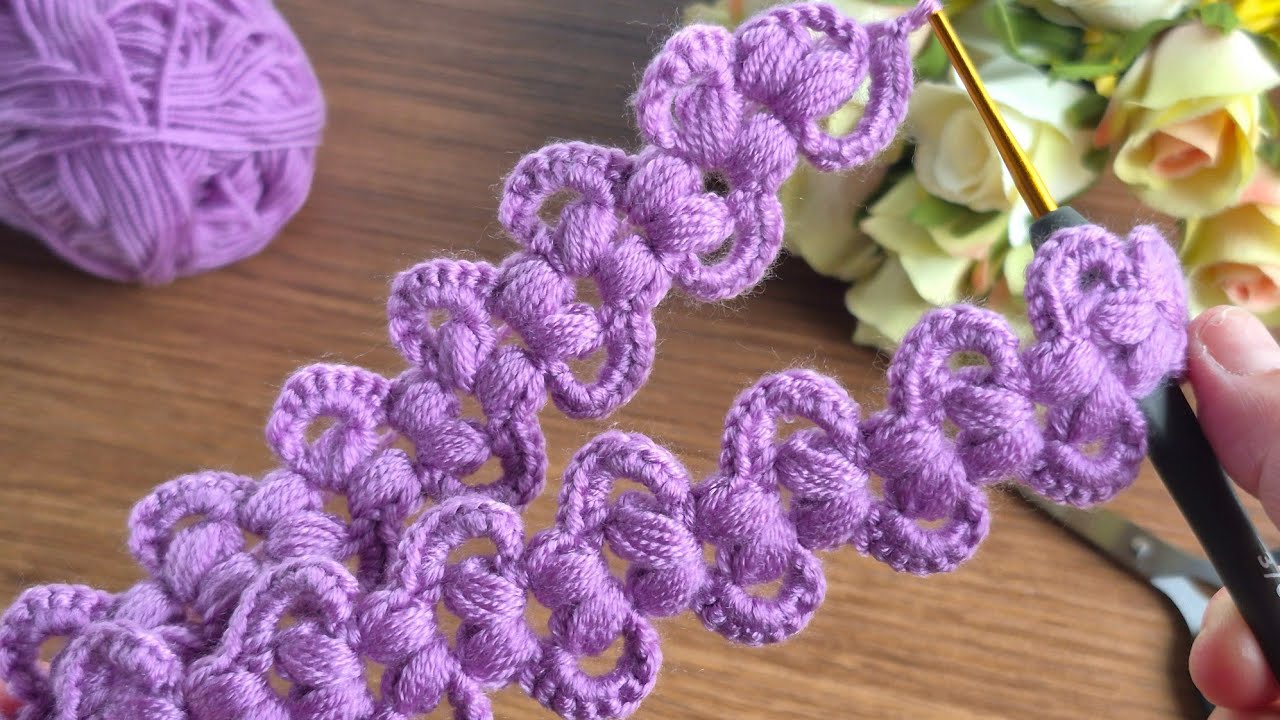
Video tutorial: