 by
by Starting your crochet journey with a granny square is a fantastic choice! It’s one of the most iconic and fundamental crochet motifs. This guide is designed to be as clear and straightforward as possible, focusing only on the basic steps you need to succeed.
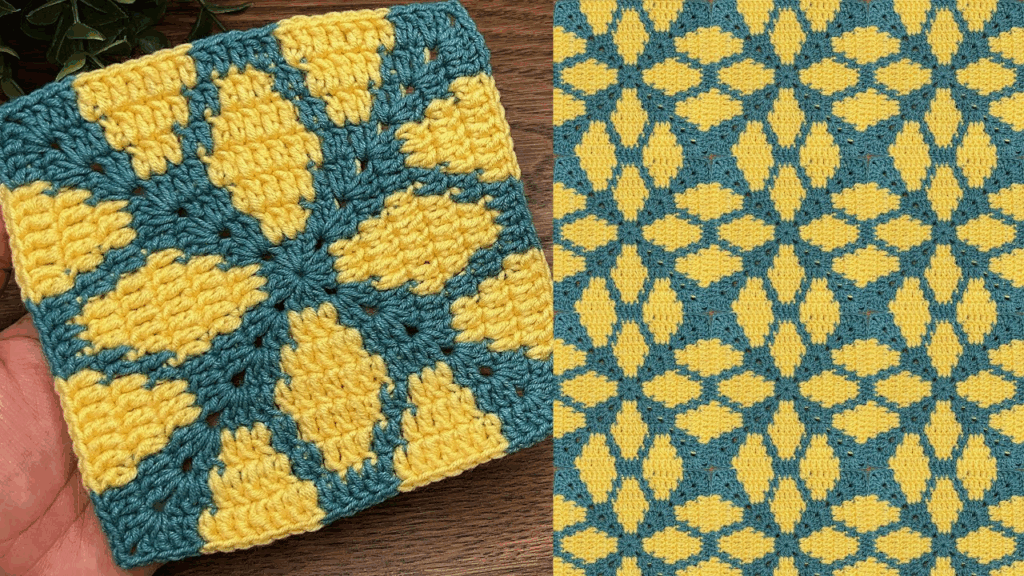
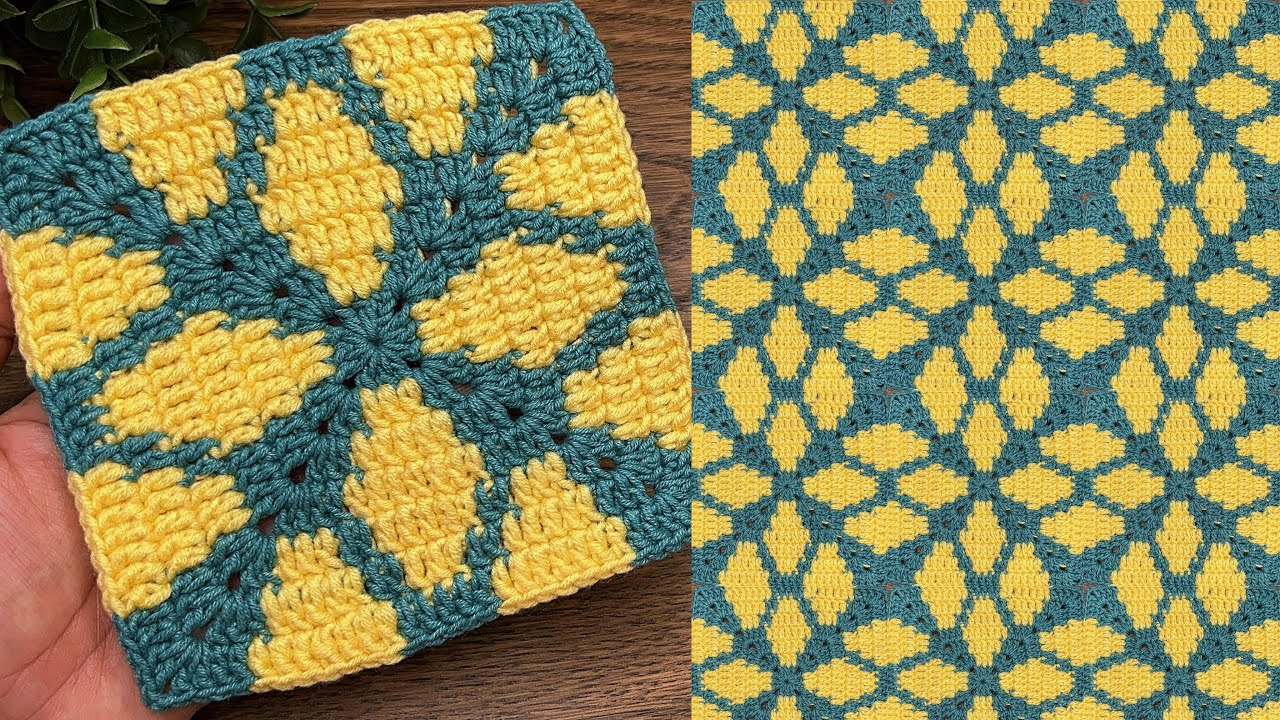
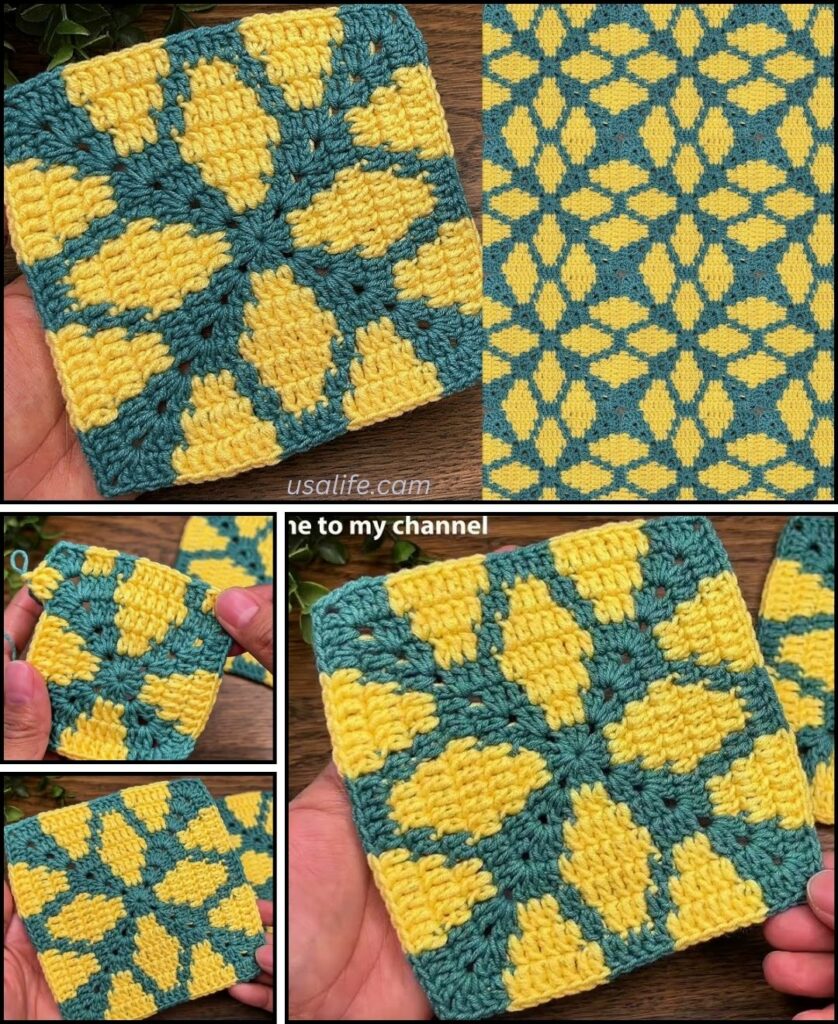
Easy Granny Square Tutorial for Beginners
A classic granny square is built from the center out, primarily using the double crochet (dc) stitch.
Materials You’ll Need
- Yarn: Medium-weight yarn (often labeled as worsted or size 4).
- Crochet Hook: The size recommended for your yarn (check the yarn label).
- Scissors: For cutting yarn.
- Tapestry Needle: For weaving in the ends.
Quick Crochet Terms
- ch: chain
- sl st: slip stitch
- dc: double crochet
- sp: space
- st(s): stitch(es)

Step-by-Step Guide
Round 1: Creating the Center
- Start the Ring: Make a slip knot, then ch 4. Join with a sl st into the first chain to form a ring. (This leaves a small hole in the center.)
- First Side and Corner:
- ch 3 (This counts as your first dc).
- Work 2 dc into the center ring. (This is your first 3-dc “cluster”.)
- ch 2 (This creates your first corner space).
- Repeat Three Times:
- Work 3 dc into the ring.
- ch 2.
- Finish the Round: You should have four 3-dc clusters and four ch-2 corner spaces. Join with a sl st to the top of the beginning ch 3. (If changing colors, cut the yarn and tie off.)

Round 2: Building the Square Shape
- Move to the Corner: If you didn’t change colors, sl st into the next two dc’s and then sl st into the corner space. If you changed colors, join the new yarn in any ch-2 corner space.
- First Full Corner:
- ch 3 (counts as first dc), work 2 dc into the same corner space.
- ch 2.
- Work 3 dc into the same corner space. (Your first complete corner is (3 dc, ch 2, 3 dc).)
- First Side Space:
- ch 1 (This is the side chain between corners).
- Repeat Three Times: Move to the next ch-2 corner space.
- Work (3 dc, ch 2, 3 dc) into that space.
- ch 1.
- Finish the Round: Join with a sl st to the top of the beginning ch 3. (If changing colors, cut the yarn and tie off.)

Round 3 and Beyond: Making it Bigger
This is the general pattern repeat that makes the square grow. You always work clusters into the corner spaces and the side chain spaces.
- Move to the Corner: If you changed colors, join the yarn in any ch-2 corner space. If using the same color, sl st over to the corner space.
- Corner:
- Work (ch 3, 2 dc, ch 2, 3 dc) into the corner space.
- Sides:
- ch 1.
- Work 3 dc into the next ch-1 side space.
- ch 1.
- (If your square is larger, you’ll repeat the (3 dc, ch 1) sequence for every side space you encounter.)
- Next Corner: Work (3 dc, ch 2, 3 dc) into the next ch-2 corner space.
- Repeat the side and corner sequence around the square.
- Finish the Round: Join with a sl st to the top of the beginning ch 3.
Continue repeating Round 3 until your granny square is the size you want!
Finishing Your Square
- Weave in Ends: Cut your yarn, leaving a 6-inch tail. Thread this tail onto your tapestry needle and weave it securely into the stitches on the back of your square. Do this for all loose ends.
- Blocking (Optional): If your square looks a bit curled or uneven, wetting it and pinning it flat until it dries will make the edges straight and the square perfectly defined.
Now you know how to crochet the most classic motif! What will you make with your first granny square?
Video tutorial: