 by
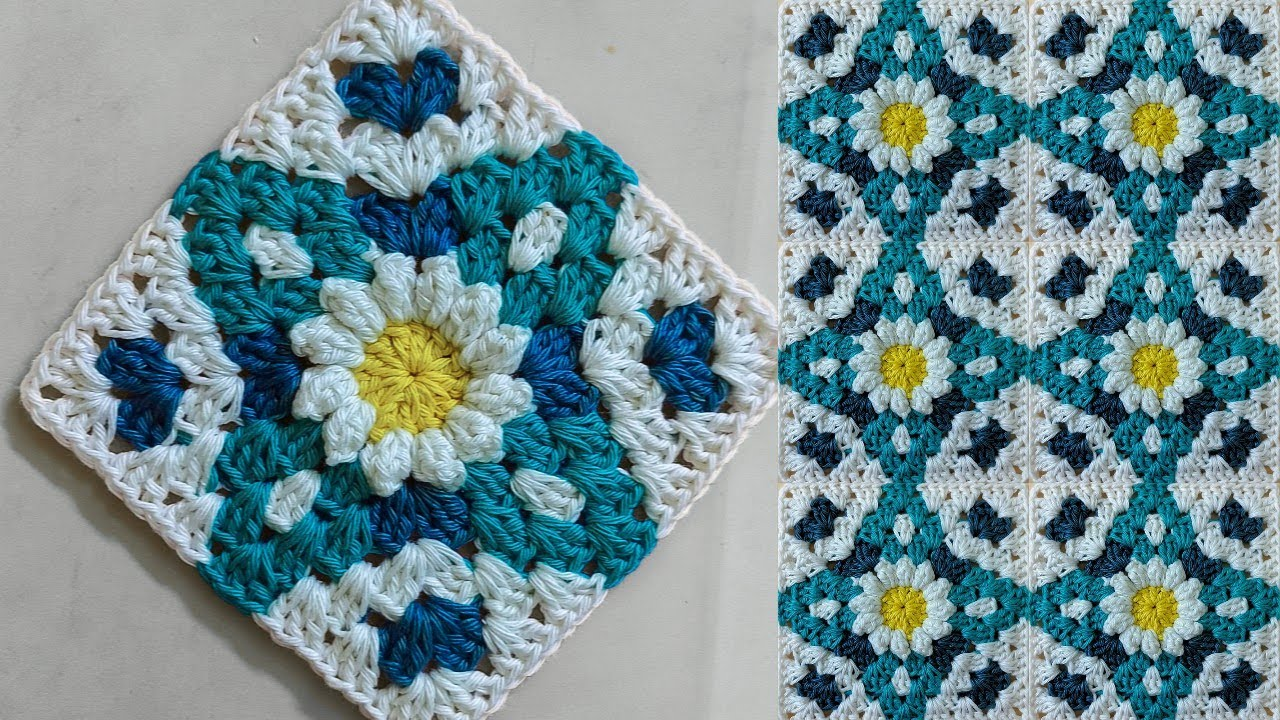
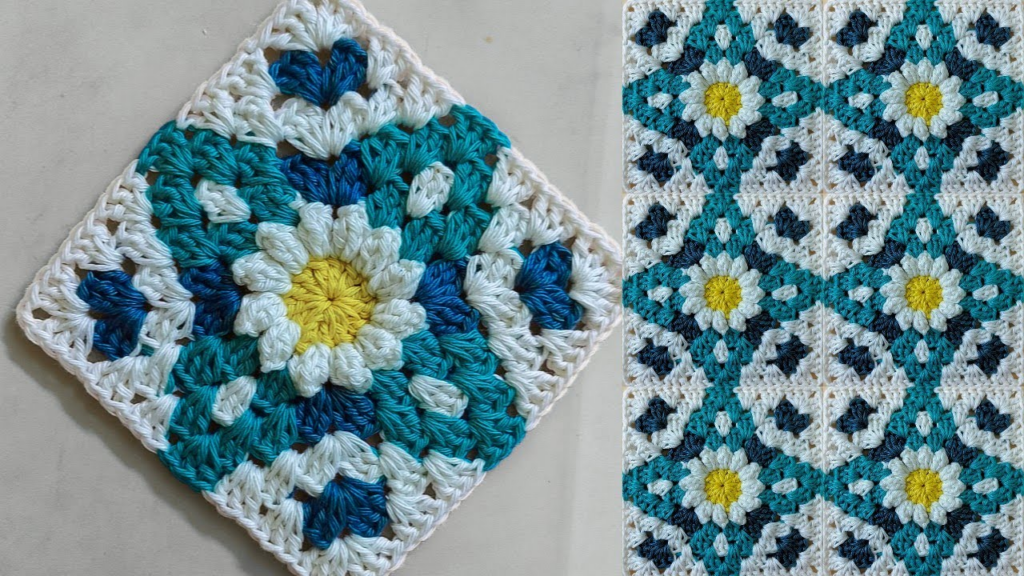
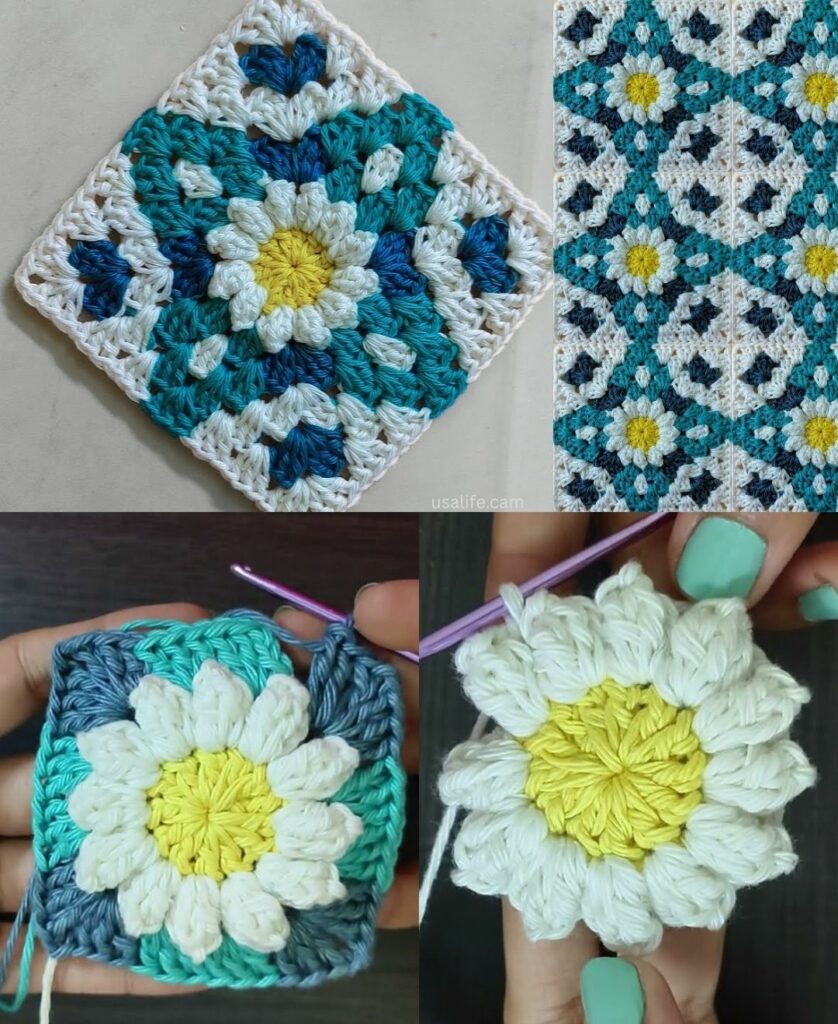
by A Tile Design Blanket (often called a “Mosaic” or “Faux-Tile” blanket) is a stunning, sophisticated way to create a heirloom-quality piece. Unlike a standard granny square blanket, the tile design focuses on repeating geometric motifs that mimic ceramic or Mediterranean floor tiles.
For a baby blanket or bedspread, this design is perfect because it is dense, warm, and highly structured.
🧶 The Toolkit
- Yarn: DK weight cotton or a soft-touch acrylic blend. Avoid heavy, fuzzy wool, as it will hide the crisp geometric lines of your “tile” pattern.
- Hook: 3.5 mm or 4.0 mm. You want a tighter gauge to ensure the “tiles” look like structured shapes rather than loose, floppy fabric.
- Color Palette: For the “Tile” look, use a High-Contrast 2-Color Palette.
- Main Tile Color (A): e.g., Navy Blue or Forest Green.
- Border/Grout Color (B): Crisp White or Cream.
🛠 The “Tile” Motif Pattern (The Basic Unit)
You will create multiple individual “tile” motifs and join them to create the blanket.
- Round 1: With Color A,
ch 4, join withsl stto form a ring. - Round 2:
ch 3(counts as dc), work 11 dc into ring. Join. (12 sts). - Round 3 (The Square-Off): Join Color B in any stitch.
- Work
(dc, ch 2, dc)in one stitch (the corner). - Work
dcin the next 2 stitches. - Repeat 4 times to turn your circle into a small square.
- Work
- Round 4 (The Texture): Join Color A. Work 1 sc in every stitch around, but in the corner
ch-2spaces, work 3 sc. This “frames” the circle inside the square, mimicking a grout line.

🛠 Assembly: The “Grout” Join
To achieve the professional “tiled” look, the method of joining is more important than the squares themselves.
- The Join-as-you-go Method: Do not sew the squares together. Instead, for your final round of every tile, join them to each other using a Flat Slip Stitch Join.
- The “Grout” Line: When joining, use your Color B (White/Cream). By joining with a contrasting color, you create a “grout line” that outlines every tile, making the whole blanket look like a piece of mosaic artwork.

✨ Pro-Tips for a Boutique Finish
- The “Border” Frame: Once your squares are joined, do not leave the edges raw. Work a 1-inch border of alternating
scanddcin your grout color (Color B). This creates a “border tile” effect that frames the entire blanket. - Steam Blocking (Non-Negotiable): Because this design relies on sharp geometric angles, you must block the finished blanket.
- Lay the blanket flat on a clean sheet.
- Use pins to pull each tile out to its perfect shape.
- Steam thoroughly with a garment steamer.
- Result: This turns a “homemade” looking piece into a crisp, flat, professional-looking textile.
- The Weight: If making a bedspread, keep in mind that cotton/tiled blankets can get heavy. If you find the blanket is too heavy, switch to a lightweight acrylic for the final border to reduce the overall weight.

💡 Design Variation: The “Modern Geometric”
To make the blanket look like a modern interior design piece:
- Alternate the tiles: Create two versions of the tile—one with a dark center and one with a light center.
- Checkerboard Layout: Arrange them in a checkerboard pattern.
- The Impact: This creates a rhythm for the eye and prevents the blanket from looking “busy,” making it look like a curated designer throw.
💡 Quick Math for Sizing
- Baby Blanket: Aim for roughly 30″ x 36″. With 4-inch tiles, you will need a grid of 8 x 9 tiles.
- Bedspread (Double/Full): Aim for roughly 80″ x 90″. With 4-inch tiles, you will need a grid of 20 x 22 tiles.
Would you like me to help you map out a specific color palette, or would you like to know how to crochet a “half-tile” to fill in the gaps if you want a jagged or decorative edge?