 by
by The Flower Motif is the ultimate crochet chameleon. By mastering one core floral square, you gain the ability to create everything from high-fashion apparel to intricate home decor.
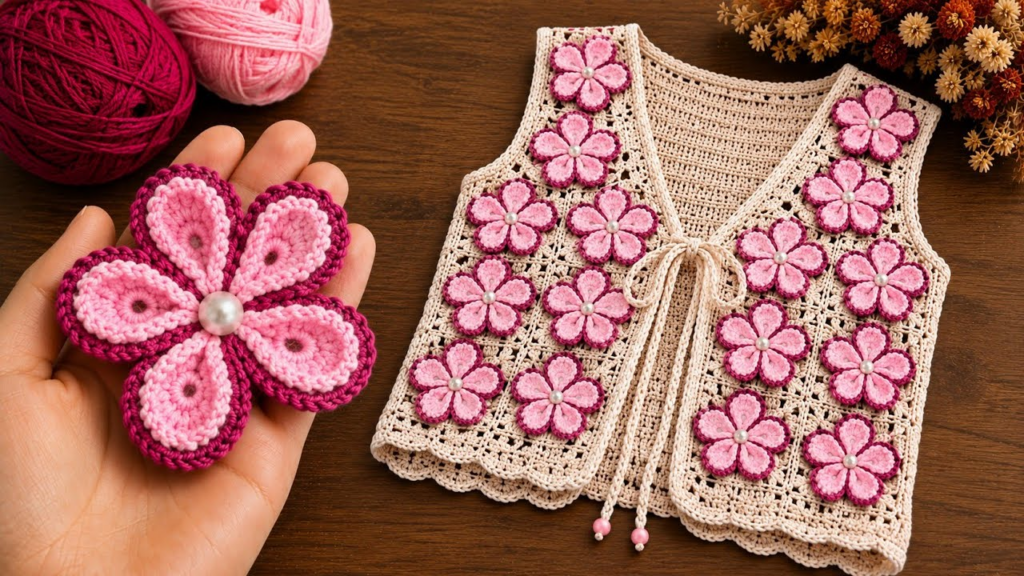
Here is your masterclass on creating a versatile, professional-grade flower motif and how to adapt it for four distinct projects.
🧶 The Master Motif: “The Garden Bloom”
To keep your motifs uniform across all projects, use a DK weight cotton yarn and a 4.0 mm hook. Cotton ensures your work remains crisp and professional without fuzzy pilling.
- Round 1 (The Heart):
ch 4, join to form a ring.ch 3(counts as dc), work 11 dc into the ring. Join. - Round 2 (The Petals): Join a new color.
*ch 3, 2 dc in same st, ch 3, sl st in next st.*Repeat around to create 6 petals. - Round 3 (The Square-Off): Join a neutral “frame” color in the back of any petal. Work
(3 dc, ch 2, 3 dc)in the corners and3 dcin the sides to turn your flower into a perfect square.
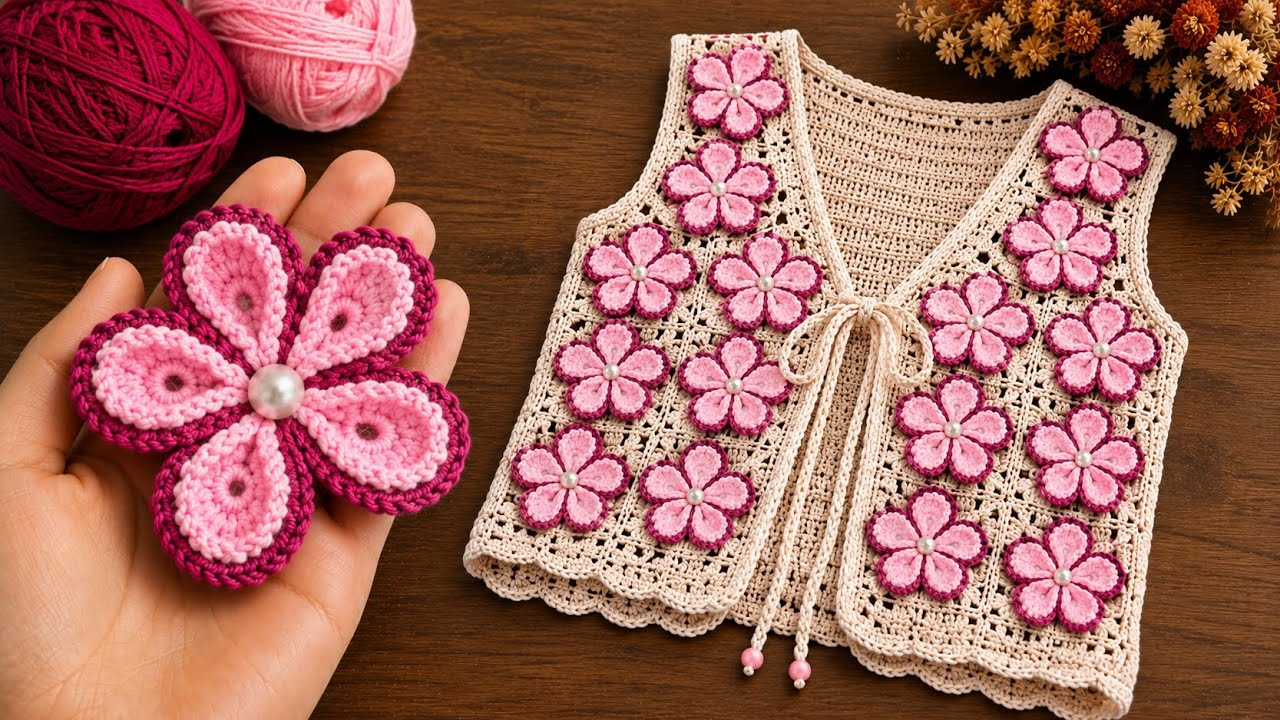
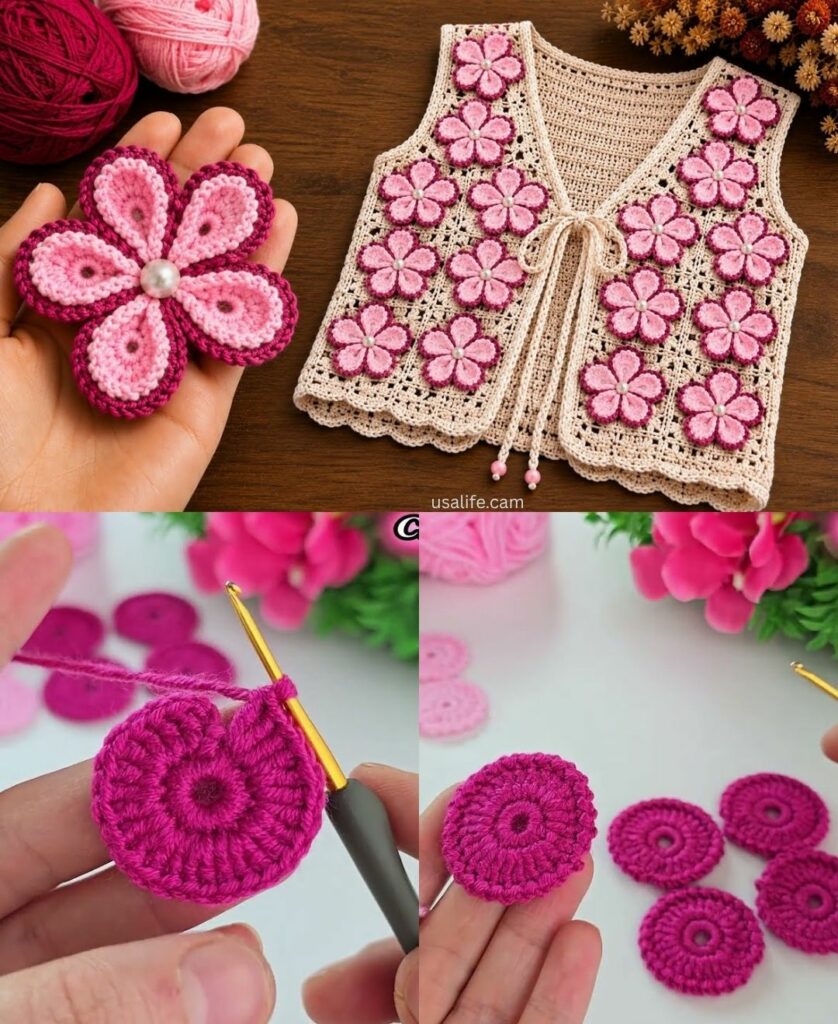
🧥 Project 1: The Flower Motif Vest
A vest is all about drape and fit.
- Assembly: Join your squares using the Flat Slip Stitch Join (back loops only) for a clean, boutique finish.
- The “Fit” Secret: Do not join all the way to the shoulder. Leave the top 4 inches open to create a natural “shoulder slope.”
- The Border: Work a
1-inchribbing around the armholes and neckline using Front Post Double Crochet (FPDC) and Back Post Double Crochet (BPDC). This mimics knitted ribbing and prevents the vest from looking like a flat, hanging fabric.

👜 Project 2: The Motif Tote Bag
Bags require structural integrity.
- Density: Use a 3.5 mm hook instead of a 4.0 mm. You want the stitches so tight that your items won’t stretch the flower petals apart.
- The “Must-Do”: You must line this bag with cotton fabric. Without a lining, the open spaces of the flower motif will stretch out of shape the moment you put a wallet or keys inside.
- Handles: Attach sturdy wooden or bamboo rings using a “tab” (a small 4-stitch wide strip) rather than crocheting the handles directly onto the bag. This prevents the handles from sagging over time.
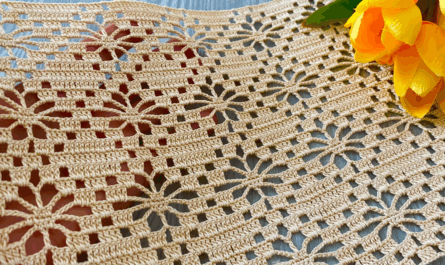
🍽 Project 3: The Floral Table Runner
Table runners should lay flat and elegant.
- Layout: Instead of a block, join your motifs in a long, singular strip.
- Lace Technique: Join the squares with a “Mesh Join” (a series of
ch 5loops) instead of a solid seam. This gives the runner a delicate, floating, lacy effect that looks exquisite on wood or glass tables. - Tassels: Add large, heavy tassels to the ends. They act as “weights” that keep the runner flat against the table and prevent it from sliding.

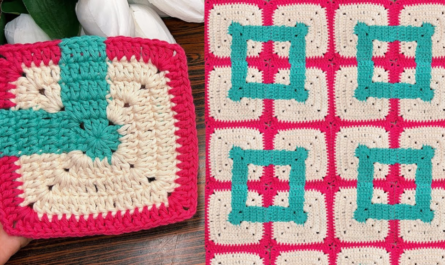
🧩 Project 4: The Granny Square Blanket
This is the ultimate application of your motif.
- The “Pop” Technique: Make your flowers in a variety of colors, but use the same neutral color (like cream or charcoal) for the “Square-Off” round (Round 3).
- The Effect: This creates a consistent “frame” for every flower. Even if you have 50 different colored flowers, the consistent frame makes the blanket look like a piece of high-end curated art rather than a collection of scraps.

✨ Pro-Tips for Professionalism
- Blocking is Everything: Flower motifs are prone to being wonky off the hook. Pin every single square to a blocking board (or foam mat), making sure all sides are equal lengths, and steam them well. This “sets” the flower into a permanent, perfect square shape.
- The “Weave” Rule: Never knot your ends. When finishing a motif, use a tapestry needle to weave your tail through the back of your stitches for at least 1.5 inches in two different directions.
- Mixing Textures: If making a vest, consider using a bamboo-cotton blend for the flower center (for shine) and a matte cotton for the frame (for structure). This contrast in sheen adds a layer of sophistication that professional designers use.
Would you like me to help you map out the number of squares needed for your specific vest size, or would you like to learn the “Invisible Join” method to ensure your blanket looks seamless?